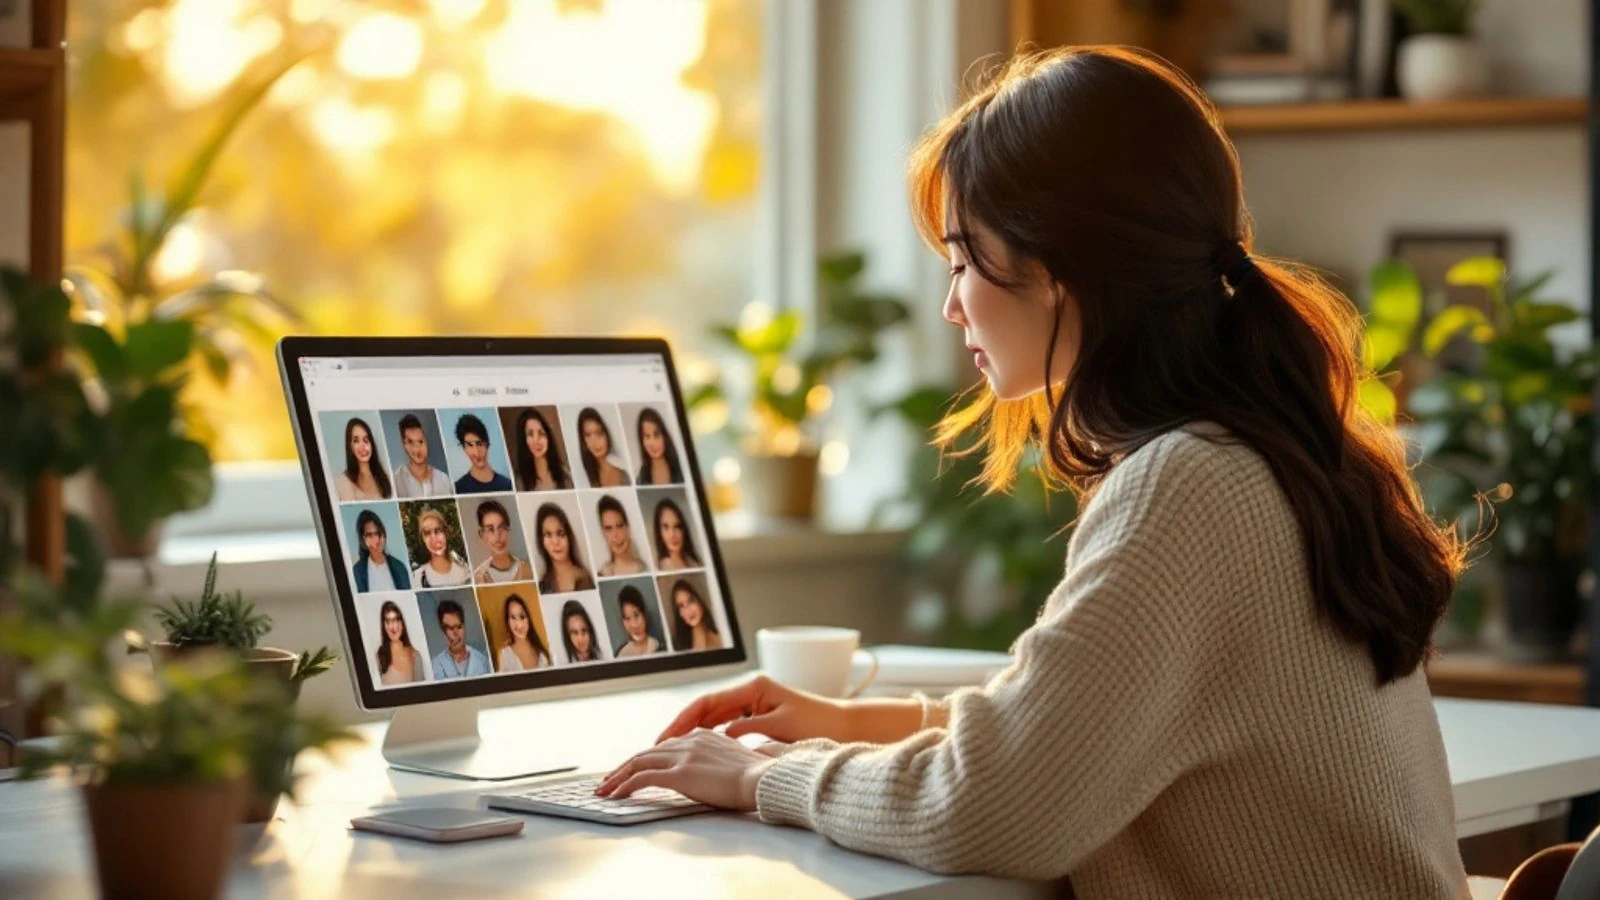
Consistent AI Face Across Photos: 3 Methods That Work
Learn three proven methods to keep the same AI face across multiple photos: training, face reference, and face swap. Compare quality and find your best fit.
Getting a consistent AI face across photos is essential if you want your AI influencer to look like the same person in every post. You can achieve this by training a custom face model, using face reference images, or swapping a consistent face onto existing photos—each method has different accuracy, time and cost trade-offs.
In this guide you'll learn how all three methods work, when to use each one, and how to check your results for the small details that give away an inconsistent face. By the end you'll know which workflow fits your content schedule and quality standards.
Key takeaways:
- Training a custom face model (LoRA) gives the most consistent results but takes time and training photos; best for long-term character work.
- Face reference (image-to-image guidance) is faster—no training—but can drift in extreme angles or lighting; ideal for quick photoshoots and testing concepts.
- Face swapping puts one face onto finished photos; it's the fastest fix for one-off inconsistencies but may look artificial if the source and target poses don't align.
- Combining methods (for example train a LoRA, then face-swap any outliers) often delivers the best balance of speed and quality.
- Always check eyes, teeth, ears and moles frame-by-frame; these details reveal whether the AI is actually rendering the same person.
Why AI Face Consistency Matters for Content Creators
Your audience notices when your AI influencer's face changes between posts. Eye color shifting from brown to green, a beauty mark that appears and disappears, or a jawline that morphs from round to angular all break the illusion that they're following a real person.
Consistency builds trust and follower loyalty. When every photo shows the same face, viewers treat your character like any other influencer—they remember her style, recognize her in their feed, and engage with her story. Inconsistent faces make your account look like a random image dump, and followers scroll past.
Brands care about consistency too. If you're pitching UGC content or affiliate partnerships, a client wants to see a coherent persona across your portfolio, not a new face in every sample. A stable character proves you can deliver professional, on-brand content at scale.
Method 1: Training a Custom AI Face Model
Training a custom face model (often called a LoRA in Stable Diffusion workflows) teaches the AI exactly what your character looks like. You feed the system multiple photos of the same face from different angles, lighting conditions and expressions, and it learns the unique combination of features—eye shape, nose width, skin tone, bone structure—that define that person.
How it works step by step:
- Gather training images. You need high-quality photos of the face: front, left profile, right profile, slight angles, smiling, neutral, different lighting. If you're building a character from scratch, generate a first batch with a text prompt, pick the best face, then generate more images of that face using image-to-image or inpainting to fill out your training set.
- Crop and tag the images. Most training tools auto-crop to the face and generate text tags describing each photo (for example "woman, brown eyes, long dark hair, smiling"). Review the tags to make sure they're accurate.
- Run the training. Upload your dataset to a training service or run it locally if you have a GPU. The output is a small model file (the LoRA) that you load alongside your base image generator.
- Generate new photos. When you create a new image, you activate the LoRA and write a prompt describing the scene. The AI renders your character's face in that new context—same person, new outfit, new background, new pose.
Our complete walkthrough of how to train a LoRA of a face covers dataset prep, tagging and training settings in detail.
Pros: Once trained, every new photo will show the same face with very high accuracy. You can generate hundreds of images over weeks or months and they'll all look like the same person. This is the gold standard for AI influencers who post daily.
Cons: The upfront time investment (gathering images, waiting for training) means you can't start posting in the next five minutes. If you later decide to change the character's face, you need to train a new model from scratch.
Method 2: Using Face Reference Images
Face reference (sometimes called "image prompt" or "IP-adapter" in technical terms) lets you show the AI a photo and say "make the face look like this" without any training. You upload one or more reference images alongside your text prompt, and the generator tries to match the facial features in real time.
How it works: You pick a clear, well-lit photo of your character's face—ideally a front-facing shot with neutral expression. When you generate a new image, you attach that reference photo and write your prompt as usual ("woman in a red dress at a rooftop party, sunset lighting"). The AI uses the reference to guide the face while following the text for everything else.
Strengths: Zero wait time and no training dataset required. You can test multiple different faces quickly to see which one fits your brand. It's perfect for quick experiments, one-off photoshoots, or creators who haven't settled on a final character design yet.
Limitations: The AI is interpreting the reference on the fly, so extreme angles, harsh shadows or unusual expressions can cause the face to drift. You might see slight variations in eye color, nose shape or skin tone across a batch of images. The more your new pose or lighting differs from the reference photo, the more the face can shift.
Best practices:
- Use multiple reference images (front, profile, smiling) if your tool supports it; this gives the AI a fuller picture of the face.
- Keep your prompts consistent—if you always describe "woman with brown eyes, olive skin" in text, the AI has two signals (text + image) pointing the same direction.
- Generate in batches and pick the most consistent results; treat any outliers as candidates for face swapping (see Method 3).
Face reference works well for creating realistic AI photos when you need a handful of images quickly and can tolerate minor variation.
Method 3: Face Swapping Existing Photos
Face swapping takes a "source" face from one photo and transplants it onto a "target" photo. If you generated ten images and nine look perfect but one has the wrong eye color, you can swap the correct face onto that outlier in seconds.
How it works: You load a source image (the face you want) and a target image (the photo where you want to replace the face). The face-swap algorithm detects both faces, maps the source face's texture and geometry onto the target face's position, and blends the edges so it looks natural. Modern AI face swaps preserve lighting, angle and expression from the target while keeping the identity from the source.
When to use it:
- Fixing one-off mistakes. You have a great photo but the AI gave your character green eyes instead of brown—swap in the right face and you're done.
- Repurposing stock photos. You find a perfect lifestyle shot (woman hiking, perfect composition) but it's a stranger's face; swap your character in and now it's on-brand.
- Speed over perfection. You need many images quickly and don't have time to train a model; generate a base set with any face, then swap your character's face onto all of them.
Pros: Extremely fast (seconds per image) and no training required. Many face swap app free options exist, and paid tools offer higher resolution and better blending.
Cons: If the source and target poses don't match (for example source is front-facing, target is a side profile), the result can look warped or uncanny. Lighting mismatches—source in soft daylight, target in harsh flash—also make the swap obvious. Face swapping is a finishing tool, not a primary generation method.
For a deeper look at techniques and tools, check out our face swapping tutorial and the rundown of best face swap software options.
When to Use Each Method (and When to Combine Them)
Choosing the right method depends on how many images you need, how much time you have, and how perfect the consistency must be. Here's a quick decision guide:
| Your situation | Best method | Why |
|---|---|---|
| Building a long-term AI influencer (posting daily for months) | Train a custom model (Method 1) | Upfront time pays off; every future image is consistent with near-zero effort. |
| Testing character concepts or making a one-time photoshoot | Face reference (Method 2) | No training wait; you can try multiple faces and styles in one session. |
| Fixing a handful of inconsistent images in an otherwise good batch | Face swap (Method 3) | Fastest fix for spot corrections; swap the right face onto the few bad frames. |
| Need many images quickly and moderate consistency is fine | Face reference + face swap | Generate with reference for speed, then swap any obvious outliers. |
| Maximum quality for a brand pitch or paid campaign | Train a model, then face-swap any remaining edge cases | Combines the consistency of training with the safety net of swapping. |
Combining methods in practice: Many creators train a LoRA for their main character, use that LoRA to generate most content, and keep a face-swap tool handy for the occasional weird angle or lighting fail. This workflow gives you high consistency from the trained model and lets you rescue any remaining issues with a quick swap.
Quality Checks: How to Spot Inconsistent AI Faces
Even the best method can produce subtle variations. Before you post, zoom in and check these details frame by frame:
- Eyes. Compare iris color, eye shape (round vs. almond), and the distance between the eyes. AI sometimes shifts eye color mid-batch (brown to hazel to green) or makes one eye slightly larger than the other.
- Teeth. Look at the number of visible teeth when smiling, tooth shape, and any gaps. An AI might give your character perfect white teeth in one photo and a slight gap in the next.
- Ears. If ears are visible, check their size, shape and how far they stick out. Ears are easy to miss but viewers notice when they change.
- Moles, freckles and beauty marks. These should appear in the same spots across all images. A mole that jumps from the left cheek to the right cheek (or vanishes) is a dead giveaway of inconsistency.
- Bone structure. Compare jawline, cheekbone height, and chin shape. Rotate through your images quickly (like a flipbook); if the face seems to morph, your method isn't locked in yet.
- Skin tone. Lighting changes are fine, but the underlying skin tone should stay constant. If your character is pale in one photo and olive in the next (same lighting), that's a consistency problem.
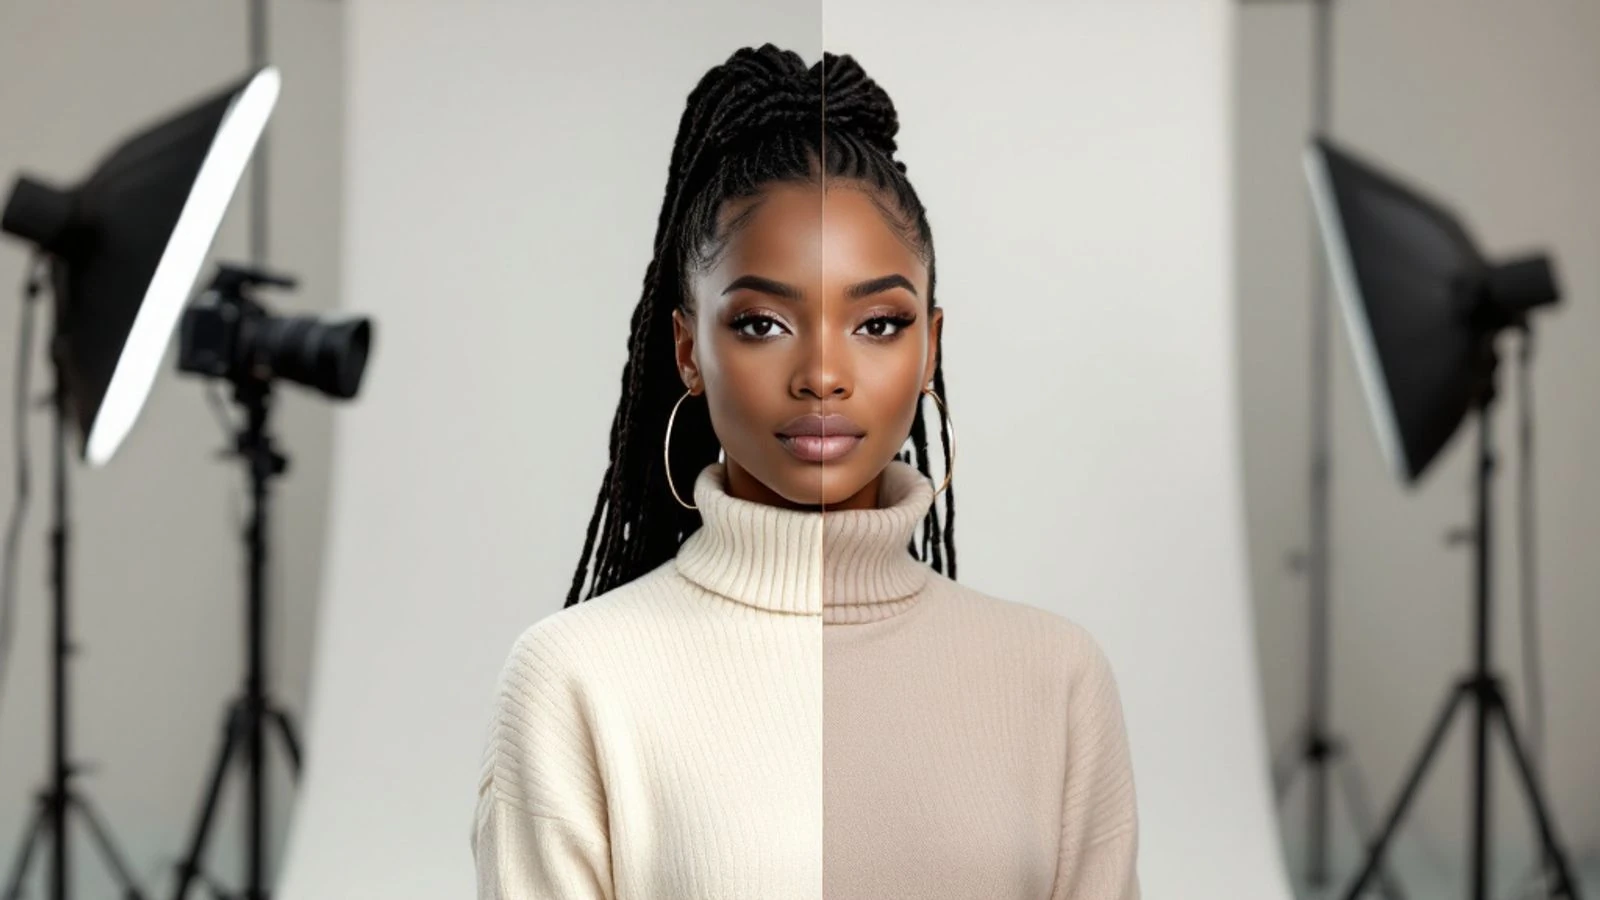
Side-by-side test: Put two photos next to each other and cover everything except the face. If you can't immediately tell it's the same person, your audience won't either. Aim for the same level of consistency you'd see in a real influencer's selfies—minor differences in makeup or expression are normal, but core features should match.
Creating Consistent AI Characters with CreateInfluencers
CreateInfluencers combines all three methods in one platform, so you can choose the workflow that fits each project. When you create a new AI character from a short description or by uploading your own selfies, the system trains the character's face so every new photo shows the same person. That trained character becomes your consistent base.
Generate new photos by typing a prompt ("my character at a beach bonfire, golden hour lighting") and the platform renders realistic selfies and lifestyle photos with the same face every time. The platform also includes photo packs—ready-made themed photoshoots like Instagram photoshoot, old money style, or night club—that generate multiple images in a matching outfit and location. You can turn any photo into a short AI video, choosing from several video models, or create talking videos with a script for UGC-style ads and spokesperson videos. The built-in face swap tool lets you fix any minor glitches in seconds, and an HD upscaler improves image quality.
For creators who post to Instagram, TikTok or other mainstream platforms, all content must stay safe-for-work; adult content generation is available only for platforms like Fanvue that allow it. Always label AI-generated content according to Meta's approach to labeling AI content and similar platform policies.
You can start for free (no credit card required); generations use credits, with monthly plans for more.
FAQ
How many photos do I need to train a consistent AI face?
Most training workflows work well with 20–40 high-quality images showing the face from multiple angles, expressions and lighting conditions. Aim for variety (front, profile, smiling, neutral, indoor, outdoor) rather than quantity of similar shots.
Can I use face reference and a trained model at the same time?
Yes, and many creators do exactly that. You load your trained LoRA (which already knows the face) and also attach a reference image for extra guidance. This "double signal" can improve consistency in difficult poses or lighting, though in most cases the trained model alone is enough. Experiment with both to see if the combination helps your specific workflow.
Why does my AI character's face look different in every photo even with face reference?
Face reference is less precise than a trained model, especially when the new pose, angle or lighting differs a lot from your reference image. Try using multiple reference photos (front and side angles), keep your text prompts consistent (always describe the same eye color, skin tone, etc.), and generate more images so you can pick the best matches. For true frame-to-frame consistency, training a custom model is the more reliable path.
Is face swapping detectable by platforms or viewers?
Modern AI face swaps are very convincing when the source and target poses align well, but viewers (and automated tools) can spot them if the lighting or angle doesn't match. Platforms like Instagram and TikTok ask you to label AI or manipulated content, so you should disclose that your images are AI-generated regardless of the method you used. Transparency builds trust and keeps you compliant with platform rules and FTC disclosure guidelines.
How do I keep my AI influencer's face consistent in videos?
Video consistency is harder because you need the same face across hundreds of frames. Start with a well-trained face model, generate or swap the face onto your video frames, and use tools that offer temporal consistency (frame-to-frame smoothing). Some platforms let you turn a single photo into a short talking or animated video, which keeps the face locked because it's based on one source image. Check each video carefully for flickering or morphing faces before you post.
Can I change my AI character's face later without starting over?
If you used face reference, you can simply swap in a new reference image and start generating with the new face immediately. If you trained a custom model, you'll need to train a new LoRA with photos of the new face—there's no shortcut to "update" an existing model. Plan your character's look carefully before training, or keep face reference as your method if you want flexibility to experiment.
Consistent AI faces turn a collection of random images into a believable influencer account that audiences recognize and follow. Whether you train a custom model for long-term projects, use face reference for speed, or face-swap the occasional outlier, the key is checking those small details—eyes, moles, bone structure—that prove it's the same person every time. Ready to build your own AI character with rock-solid consistency? Create your AI influencer free and see how all three methods work in one platform.