
How to Train a LoRA of a Face: The Complete Guide
Learn how to train a LoRA of a face with the right photos, angles, and lighting. Get step-by-step instructions for consistent AI-generated portraits.
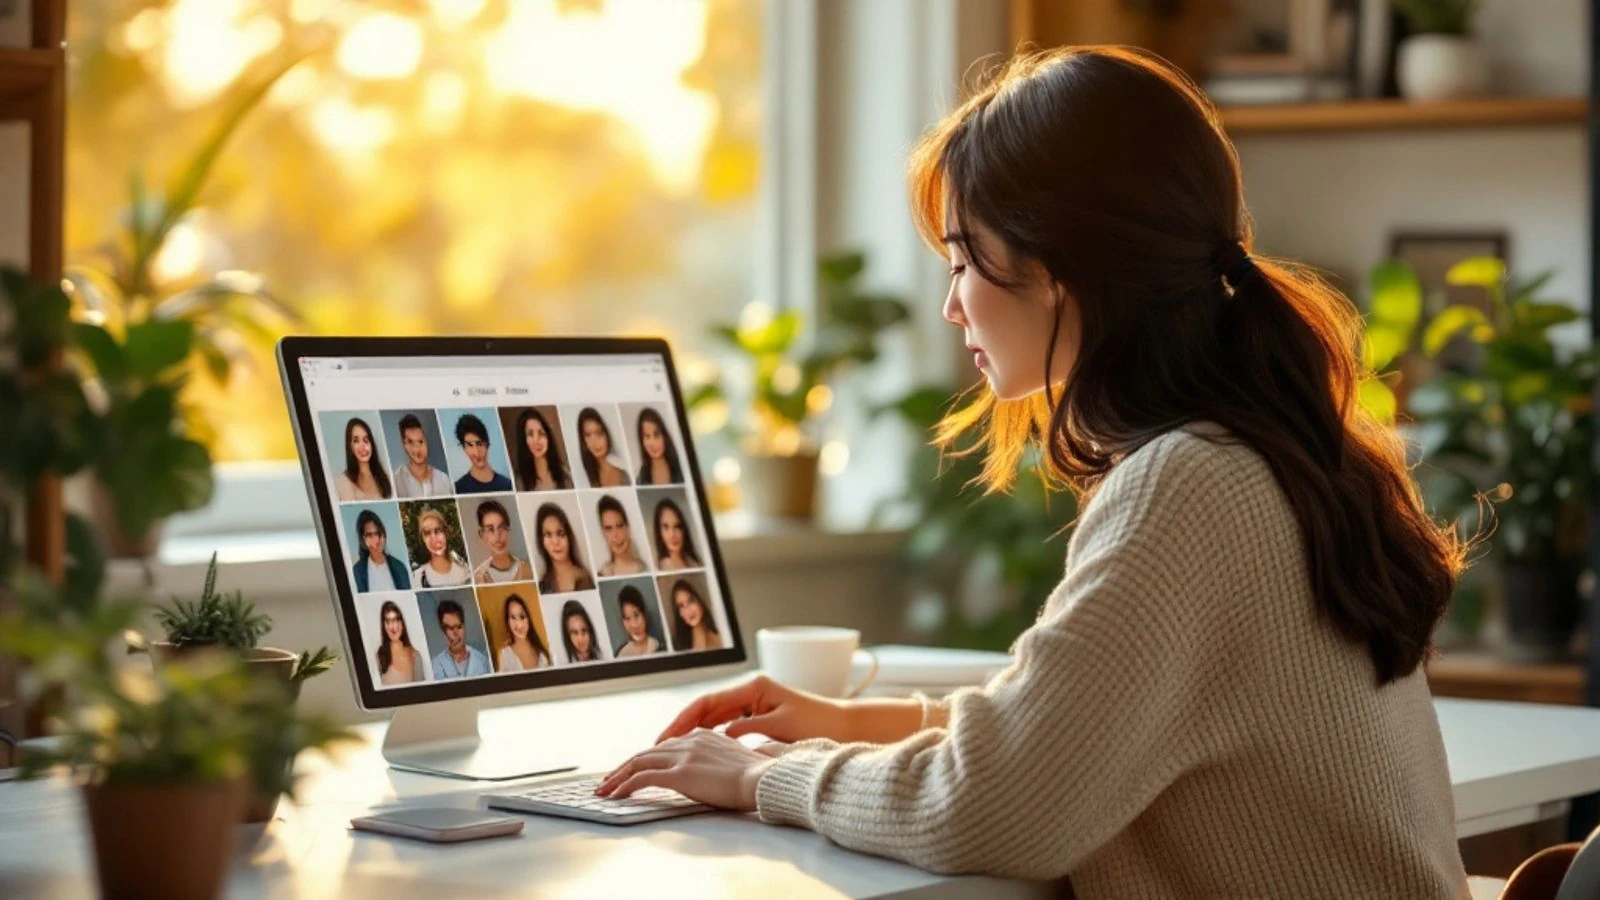
Training a LoRA of a face lets you teach an AI image generator to create consistent photos of the same person across hundreds of different scenes, outfits and poses. Instead of getting a random face every time, you upload a small set of photos of one person and the AI learns their unique features—then you can generate endless new images of that exact face in any scenario you can imagine.
This guide walks you through the entire process: how many photos you need, which types of images work best, what angles and lighting to use, and how to write prompts that bring your trained face to life. Whether you're building an AI influencer for social media or creating a digital version of yourself, you'll learn the practical steps that make the difference between a blurry, inconsistent result and a photorealistic character.
Key takeaways:
- You need 10-20 high-quality photos of the same face to train a reliable LoRA, with variety in angles and expressions.
- Clear, well-lit photos from multiple angles (front, 3/4, profile) teach the AI how the face looks from every direction.
- Training takes the unique features of your photos and creates a model file that you reference in every prompt to keep the face consistent.
- After training, you use a trigger word or model name in your prompts alongside scene descriptions to generate new images of that face.
- CreateInfluencers handles the entire training process automatically when you create a character, so you can start generating consistent photos in minutes.
What Is a LoRA and Why Train One for Faces?
LoRA stands for Low-Rank Adaptation—a technique that fine-tunes a large AI image model to recognize specific concepts without retraining the entire system. Think of it as teaching the AI a new vocabulary word: the base model already knows how to draw faces, bodies, lighting and scenes, but a face LoRA teaches it one particular person's unique features.
Without a trained LoRA, every time you generate an image the AI invents a new random face. One prompt might give you a blonde with blue eyes, the next a brunette with brown eyes—even if you use identical text. A face LoRA locks in the identity so every generation shows the same person, which is essential for building a recognizable AI influencer or digital character.
Face LoRAs are especially popular among creators building AI personas for platforms like Instagram, TikTok or Fanvue. They let you produce a consistent portfolio—dozens of lifestyle photos, outfit changes, travel shots—all featuring the same face, without hiring a model or staging photoshoots.
How Many Photos Do You Need to Train a Face LoRA?
Most LoRA training workflows perform well with 10 to 20 photos of the same face. Fewer than 10 and the AI might miss key features or produce inconsistent results; more than 30 and you risk overfitting, where the model memorizes your exact training images instead of learning the face's general structure.
The sweet spot for most creators is 15 photos. This gives the AI enough data to capture the face from multiple angles and expressions without overwhelming the training process or requiring hours of photo prep.
Quality matters far more than quantity. Fifteen sharp, well-lit photos from different angles will outperform fifty blurry selfies taken in the same pose and lighting. If you're starting out, aim for at least 12 images and focus on variety—different expressions, head tilts and backgrounds—rather than uploading every similar shot you have.
Which Photos to Upload: Quality Over Quantity
Your training set should include only clear, high-resolution images where the face is the main subject. Each photo should show the face clearly without heavy filters, sunglasses, or dramatic makeup that obscures natural features.
Here's what works best:
- Resolution: At least 512×512 pixels per image, ideally 1024×1024 or higher. Low-resolution or heavily compressed photos teach the AI a blurry version of the face.
- One face per photo: Group shots confuse the training algorithm. Crop to a single person or use solo portraits.
- Minimal editing: Avoid heavy Instagram filters, face-smoothing apps or dramatic color grading. The AI needs to learn real skin texture and natural color.
- Variety in expressions: Include neutral, smiling, serious and candid expressions so the AI understands the face's range.
- Different backgrounds: Training on varied backgrounds (indoor, outdoor, plain wall, busy scene) helps the model separate the face from the environment.
Skip photos where the face is partially covered by hands, hair or objects, and avoid extreme close-ups that crop out the hairline or jawline. The goal is to give the AI a complete, natural view of the face in each shot.
Best Angles and Poses for Face LoRA Training
A strong training set covers the face from multiple viewpoints so the AI can generate realistic images from any angle. If you only upload front-facing selfies, the model will struggle to render 3/4 views or profiles convincingly.
Aim for this mix of angles across your 10-20 photos:
- Front-facing (40%): Straight-on portraits where the face looks directly at the camera. These anchor the AI's understanding of symmetry and feature placement.
- 3/4 view (30%): Head turned slightly left or right, showing one side of the face more prominently. This is the most common angle in lifestyle photography.
- Profile (15%): Full side view, showing the nose, jawline and ear. Helps the AI learn the face's silhouette.
- Tilted or candid (15%): Head tilted up, down or at an angle; candid shots where the person isn't posing. These teach natural movement and dimension.
You don't need to hit these percentages exactly, but make sure you're not uploading 15 identical selfies. If every photo is a straight-on, eyebrows-raised bathroom mirror shot, your LoRA will produce that same rigid pose in every generation.
Lighting Requirements for Training Data
Good lighting is the single biggest factor separating a sharp, professional LoRA from a muddy, inconsistent one. The AI learns facial structure partly from how light and shadow define the nose, cheekbones, eyes and jawline—so poor lighting hides the very details you're trying to teach.
Natural, diffused light works best. Photos taken outdoors in open shade (under a tree, on a cloudy day) or indoors near a large window give even, soft lighting that shows skin texture and facial contours without harsh shadows. Avoid direct overhead sun or single-point lamps that create deep shadows under the eyes and nose.
Include a mix of lighting conditions across your set:
- Soft daylight (majority): Even, natural light that shows the face clearly.
- Golden hour or warm light (a few): Sunset or warm indoor light adds variety and teaches the AI how the face looks in different color temperatures.
- Indoor artificial light (a few): Normal room lighting or studio setups, as long as the face is well-lit and not underexposed.
Skip photos taken in dim bars, nightclubs or poorly lit rooms where the face is in shadow or lit only by a phone screen. If you can't see clear detail in the eyes, nose and mouth, the AI can't learn it either.
What Happens During LoRA Training?
When you start a LoRA training run, the system feeds your photos into a base image-generation model (usually Stable Diffusion or a similar architecture) and adjusts a small set of weights—the "low-rank" adaptation—so the model associates a trigger word or token with your specific face.
Here's a simplified step-by-step of what happens behind the scenes:
- Preprocessing: Your photos are resized to a consistent resolution (often 512×512 or 768×768) and tagged with captions or a trigger word (for example "a photo of person_xyz").
- Feature extraction: The AI analyzes each image to identify unique facial features—eye shape, nose width, jawline, skin tone, hair texture.
- Iterative training: The model generates test images using the trigger word, compares them to your training photos, and adjusts its weights to make the output more accurate. This repeats for hundreds or thousands of steps.
- Validation: The system checks that the LoRA generalizes well—it can produce the face in new poses and scenes, not just copy your training images.
- Export: The trained LoRA is saved as a small file (often a few hundred megabytes) that you load alongside the base model when generating images.
Training time varies. On a modern GPU, a 15-image LoRA might finish in 10 to 30 minutes; on slower hardware or larger datasets it can take a few hours. Platforms like CreateInfluencers handle this entire process automatically when you create a new character, so you don't need to manage training steps or hyperparameters yourself.
How to Use Your Trained Face LoRA in Prompts
Once your LoRA is trained, you reference it in every prompt to keep the face consistent. The exact syntax depends on the platform or UI you're using, but the concept is the same: you combine the LoRA trigger with a scene description.
Basic prompt structure:
[trigger_word], [scene/action], [style/quality tags]
For example, if your trigger word is "person_jenna":
- "person_jenna, sitting in a cafe, natural lighting, photorealistic, high detail"
- "person_jenna, wearing a red dress at a rooftop party, golden hour, candid photo"
- "person_jenna, close-up portrait, soft studio lighting, professional headshot"
The trigger word tells the AI which face to use; the rest of the prompt controls the scene, outfit, lighting and style. You can mix in any other descriptors—backgrounds, clothing, poses, camera angles—just as you would with a normal image prompt.
Tips for better results:
- Keep the trigger word at the start of the prompt so the AI prioritizes the face.
- Use style tags like "photorealistic," "high detail," or "cinematic lighting" to guide the overall look.
- Specify the angle if you want something other than the default: "3/4 view," "profile shot," "looking over shoulder."
- Experiment with negative prompts to exclude unwanted elements (for example "blurry, distorted, extra fingers").
If you're working with a platform that supports LoRA strength or weight sliders, start at 0.7 to 0.9. Higher values make the face more recognizable but can reduce flexibility; lower values give more variation but might drift from the trained identity.
Training a Face LoRA with CreateInfluencers
CreateInfluencers automates the entire LoRA training workflow so you can focus on creating content instead of managing technical settings. When you create a new AI character, you upload photos of the face you want to train, and the platform handles preprocessing, training and model deployment in the background.
Here's how it works:
- Upload your photos: Drag and drop clear images of the same face. The system checks resolution and quality automatically.
- Automatic training: CreateInfluencers trains the face model on its servers—no GPU or technical setup required on your end.
- Generate consistent photos: Once training completes, you can generate new images of that face in any scene or outfit by typing a prompt.
- Photo packs and video: Use ready-made photo packs (Instagram photoshoot, night club, old money style) to create themed sets, or turn any generated image into a short AI video.
The platform also includes face swap tools if you want to place your trained face into existing photos or videos. This is useful for creating varied content quickly—swap the face into different stock scenes or combine it with lifestyle backgrounds. You can explore more about face swapping techniques in our face swapping tutorial or check out the best AI face swap apps for other options.
Because CreateInfluencers handles training automatically, you don't need to learn command-line tools, adjust hyperparameters or manage model files. You upload photos, wait for training to complete, and start generating—ideal if you're building an AI influencer for Instagram, TikTok or adult platforms like Fanvue.
FAQ
How long does it take to train a face LoRA?
Training time depends on the number of photos and the hardware running the process. On a modern GPU, a 15-image LoRA typically trains in 10 to 30 minutes. Cloud platforms like CreateInfluencers handle training on their servers, so you don't need your own hardware—most users see their model ready after upload.
Can I train a LoRA with photos of different people?
No—each LoRA should represent one consistent face. Mixing photos of different people confuses the training algorithm and produces blurry, inconsistent results. If you want to create multiple characters, train a separate LoRA for each face using distinct photo sets.
Do I need permission to train a LoRA of someone's face?
Yes, you should have clear permission before training a LoRA of another person's face. Using someone's likeness without consent can violate privacy laws, platform terms of service and intellectual property rights. Most platforms (including CreateInfluencers) expect you to own the rights to any photos you upload, so stick to images of yourself or people who've given you explicit permission.
What if my trained LoRA doesn't look consistent?
Inconsistent results usually come from low-quality training photos—blurry images, heavy filters, poor lighting or too few angles. Re-train with 12-20 clear, high-resolution photos that cover front, 3/4 and profile views in good lighting. If you're using a manual training tool, you might also need to adjust the number of training steps or learning rate; platforms like CreateInfluencers optimize these settings automatically.
Can I use a face LoRA for commercial content?
It depends on the platform and the face. If you trained the LoRA on your own photos or images you have full rights to, you generally can use the output commercially (check your platform's terms). If you're building an AI influencer for brand partnerships or monetized content, make sure to label AI-generated images as required by Instagram, TikTok, YouTube and other platforms, and follow FTC disclosure rules for sponsored posts.
How do I improve the realism of my generated images?
Start with high-quality training photos and use detailed prompts that specify lighting, camera angle and style (for example "natural lighting, photorealistic, 50mm lens, high detail"). Experiment with negative prompts to exclude common AI artifacts like "blurry, distorted, extra limbs." If your platform supports it, adjust the LoRA strength to balance consistency and flexibility, and use an HD upscaler to sharpen the final output.
Ready to build your own AI influencer with a consistent, photorealistic face? Create your AI influencer free on CreateInfluencers—upload your photos, let the platform train your face model automatically, and start generating professional content in minutes.


