Face Swapping Tutorial: A Modern Guide
Master this face swapping tutorial and create realistic AI-powered edits. Learn techniques, tips, and tools to elevate your images.

A great face swap really boils down to two things: picking the right photos to start with and using a powerful AI to do the heavy lifting. I’ve found that success almost always comes down to starting with high-resolution, well-lit images where the faces are at similar angles. From there, a platform like CreateInfluencers can work its magic and blend them together.
What’s Happening Behind the Scenes With Modern Face Swaps?
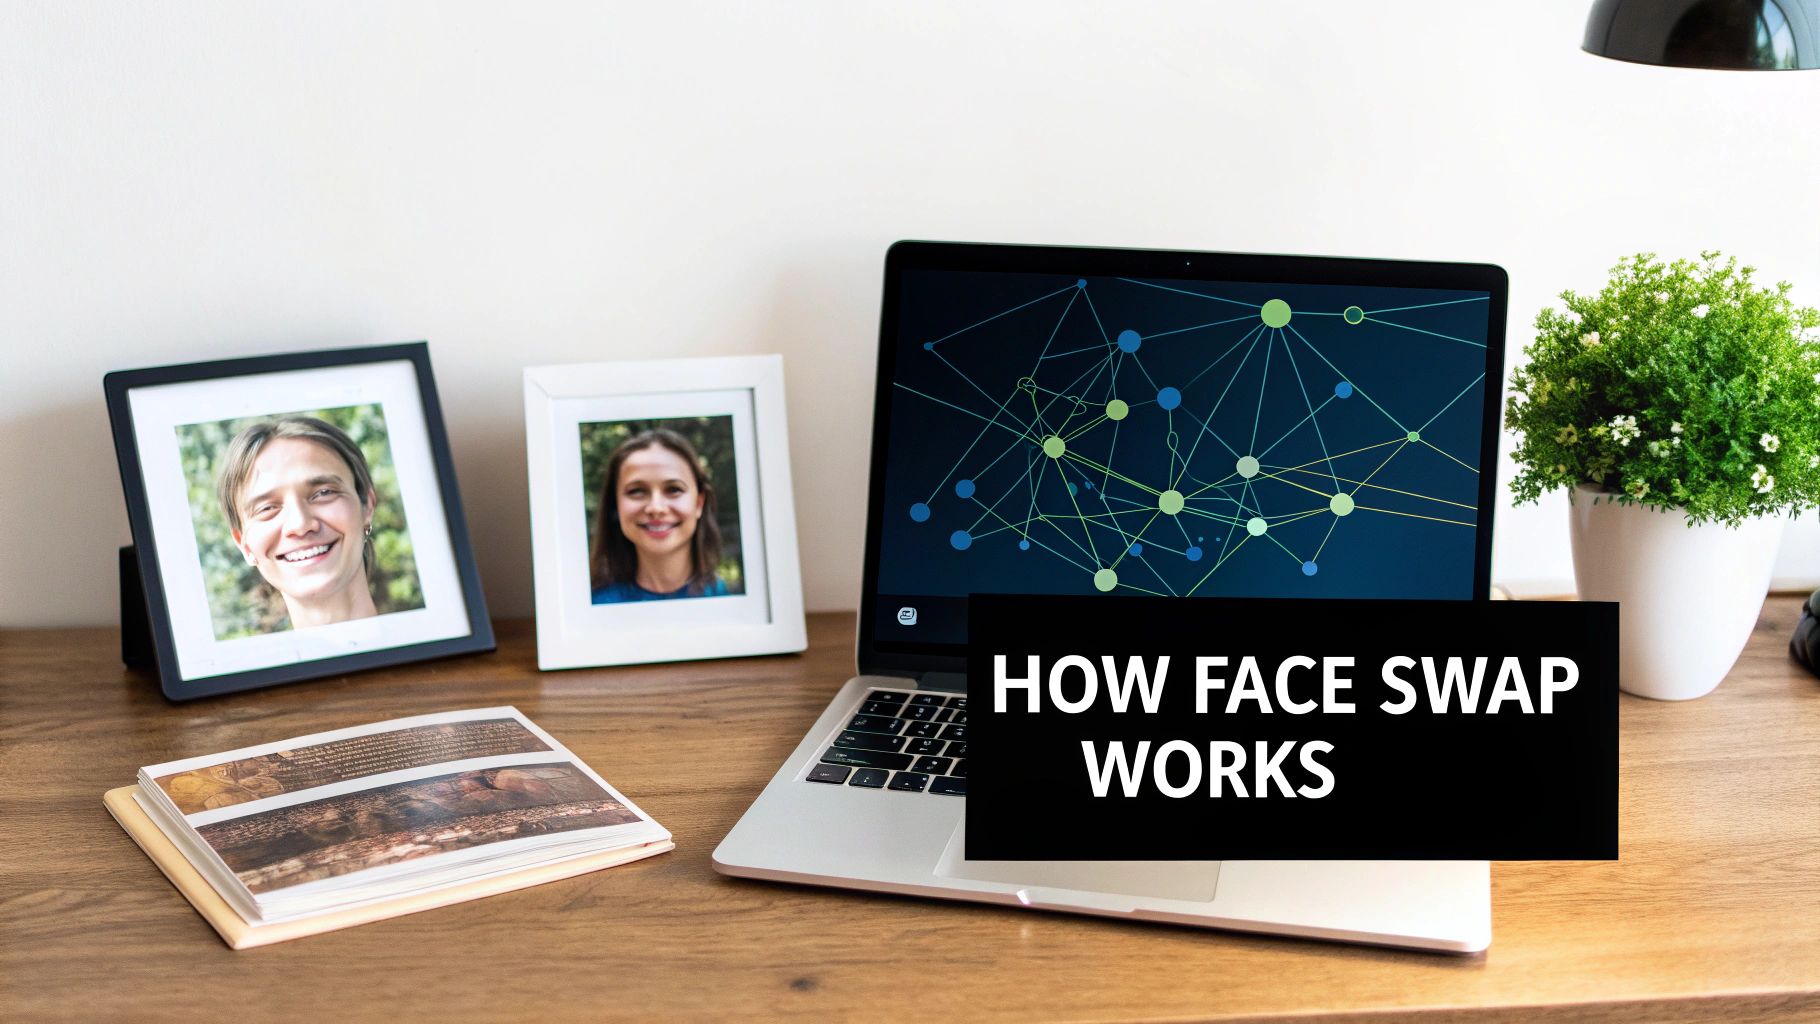
Before diving into a project, it’s actually useful to know a little about the tech that makes this all possible. What used to be a highly specialized skill for VFX artists is now something anyone can do with a decent internet connection. This change wasn't sudden; it's the result of some huge leaps in artificial intelligence that taught computers to see and create in ways we never thought they could.
This isn’t just for tech geeks. Knowing how the AI "thinks" helps you feed it better images, which ultimately leads to much more believable and impressive results.
The Spark: Generative AI
The real game-changer arrived back in 2014 with something called Generative Adversarial Networks, or GANs. This was a brilliant concept that basically had two AIs compete against each other. One AI, the "generator," creates images, while the other, the "discriminator," tries to spot the fakes. Through this constant back-and-forth, the generator got unbelievably good at making synthetic images that look real.
That core idea is what led to the tools we have today. Modern platforms like CreateInfluencers have taken that concept and made it faster, more precise, and way easier to use. The AI scans key facial points—eyes, nose, mouth, jawline—to perfectly map one face onto another, all while making smart adjustments for things like skin tone and lighting.
Key Takeaway: The quality of your face swap is directly linked to how well the AI can read facial geometry and lighting. If you give it clear, high-quality images, you're setting it up for success.
How This Helps Your Projects
When you understand the basics, you can start to troubleshoot problems like a pro. For example, if a swap just looks "off," you'll have a hunch it's probably because the lighting in your two source photos is completely different, or the head angles are too extreme for the AI to handle. You're giving it conflicting information.
For anyone serious about mastering this, digging into the underlying artificial intelligence principles is the next step. This knowledge is what separates a simple, fun swap from something that looks like compelling digital art. And if you're looking to push your skills even further, we've got more in-depth resources over in our other guides: https://createinfluencers.com/guides.
Choosing the Right Photos for a Perfect Swap
The secret to a jaw-droppingly good face swap isn't just about the software—it’s all about the photos you feed it. I can't stress this enough. Think of it like cooking: you can have the best oven in the world, but if you start with subpar ingredients, you're not going to get a gourmet meal. Getting this step right from the start will save you a world of frustration and countless re-dos.
Before you even think about hitting that "upload" button on CreateInfluencers, pause and really look at your photos. The AI needs clean, clear data to work its magic. It's mapping everything from facial landmarks to subtle lighting, so the better your input, the more seamless the output.
Start with High-Resolution and Clear Lighting
Image quality is the absolute bedrock of a successful swap. A blurry, pixelated face will only ever produce a blurry, pixelated result. The AI needs detail to work with, so always grab the highest-resolution photos you can find for both the source face and the target image. It makes a huge difference.
Lighting is just as critical. You’re looking for photos with soft, even light that doesn't cast deep, dramatic shadows. A shot taken outdoors on a cloudy day often works wonders, much better than one in the harsh midday sun, which tends to create dark spots under the eyes and nose that can totally confuse the AI.
- Good Lighting: Diffused, even light that clearly shows the entire face.
- Poor Lighting: Harsh shadows, strong backlighting, or dappled light that hides key features.
Match Angles and Expressions for a Believable Result
This is a classic rookie mistake. If you want a swap that looks natural instead of just... weird, you have to match the angles. Trying to slap a profile shot onto a front-facing photo is a recipe for disaster—it will almost always look distorted. For the most convincing swap, make sure the person in both photos is looking in roughly the same direction.
Pro Tip: It's not just the direction, but the tilt and expression too. Swapping a huge, laughing grin onto a serious, pensive pose can look jarring. The muscles around the eyes and cheeks just won't line up, and the result will fall flat.
To give you a clearer picture, I've put together a quick checklist comparing what makes an image great for swapping versus what you should definitely avoid.
Image Selection Checklist for Optimal Results
| Image Characteristic | Good Example (What to Look For) | Poor Example (What to Avoid) |
|---|---|---|
| Resolution | Crystal clear, high-resolution image (e.g., 3000x3000 pixels). | Blurry, low-res, or pixelated photo. |
| Lighting | Even, soft lighting from the front (e.g., overcast day or studio light). | Harsh shadows, backlighting, or dappled sunlight. |
| Face Angle | Subject is looking directly at or slightly off-camera. | Extreme angles (looking up/down) or a side profile. |
| Obstructions | The entire face is clearly visible, with no obstructions. | Hair across the eyes, sunglasses, or a hand on the chin. |
| Expression | A neutral expression or a simple smile. | Exaggerated expressions like yelling or a wide-open mouth. |
Using this table as a quick reference can seriously level up your results and help you pick the perfect pair of photos every time.
Common Pitfalls to Sidestep
Knowing what not to do is just as important as knowing what to do. Before you finalize your images, run through this mental checklist to make sure you're not setting yourself up for a failed attempt. You can find more deep dives and practical tips like these over on the CreateInfluencers blog.
Here are a few common traps to watch out for:
- Facial Obstructions: Things like hair falling across the face, a hand resting on the cheek, or even thick-rimmed glasses can really trip up the AI's ability to map features accurately.
- Extreme Angles: Photos where the camera is looking straight up a person's nose or down on the top of their head are notoriously difficult to work with. Stick to shots taken at or near eye level.
- Low Contrast: If an image is too "flat" or washed out, the software can struggle to define the edges of features like the jawline or nose, leading to a muddy blend.
A Practical Walkthrough of CreateInfluencers
Alright, you've picked out the perfect photos. Now for the fun part: putting it all together. Let's fire up the CreateInfluencers platform and walk through exactly how to turn those two images into one seamless final product. I'll guide you through the interface so you know precisely what to click and what to look for to get your first professional-looking face swap done right.
The whole process is designed to be straightforward, so you can skip the technical headaches and just focus on the creative side of things. Forget getting lost in complex menus; we’ll stick to the buttons and settings that actually matter.
Kicking Off Your First Swap
When you land on the face swap page, you'll see a clean, simple layout. It’s all built around two main actions: uploading your source image and your target image. Just to be clear, the source image is the one with the face you want to use, and the target image is the photo you want to put that face onto.
The screen is kept intentionally minimal. You'll find two clearly marked boxes for your uploads, which really helps prevent mixing them up—trust me, it's a common mistake that leads to some confusing (and hilarious) results. The platform handles standard formats like JPG and PNG, so you won't need to mess around with converting files.
This infographic gives you a quick visual on what to aim for when picking your photos. Notice the difference between a crisp, high-res shot and a blurry one.
The main takeaway here is simple: the AI is only as good as the information you give it. Clean inputs are absolutely essential for getting clean outputs.
Getting Around the User Interface
Once your images are uploaded, they’ll pop up side-by-side. This is your last chance to give them a final check and make sure everything looks right before you use any credits. On the left, you’ll have your source face; on the right, the target body and background.
This preview is a lifesaver. It’s where you confirm that your uploaded photos are ready to go before hitting the big button. The prominent "Swap Face" button is right there, waiting for you to give it the green light.
From here, the most important action is to simply click that "Swap Face" button. The AI takes the wheel, analyzing facial structures, lighting, and skin tones to blend everything together. The whole thing usually takes less than a minute, though it can vary a bit with server traffic. People are often surprised by how fast it is—all the heavy lifting happens behind the scenes.
Pro Tip: Got a group photo as your target? CreateInfluencers is smart and will usually detect the most prominent face automatically. If you want to swap a face that's more in the background, your best bet is to crop the image first to isolate the person you want to change.
Fine-Tuning and Finalizing Your Result
After the AI has worked its magic, the final image appears. Now it's time to play critic and review the quality of the swap. I always check a few key areas to see how well it turned out:
- The Jawline and Neck: Is the transition between the new face and the original neck smooth and believable?
- Skin Tone Matching: Does the color and texture of the face blend naturally with the rest of the body?
- Lighting Consistency: Do the highlights and shadows on the face match the lighting in the target photo?
If you're not happy with the result, 9 times out of 10, it comes back to the photos you started with. For instance, if your source face had harsh side lighting, but the target photo was shot with soft, frontal light, the result will probably look a little "off." The good news is you can just start over with different images.
To see what else the platform can do, it's worth exploring the official CreateInfluencers website. It’s the best place to get a feel for the full range of creative tools they offer.
Refining Your Swaps for Professional Results
Getting a fun, quick swap is easy. But taking that swap and making it look genuinely professional? That takes a bit more finesse. While the default settings in CreateInfluencers are brilliant for most jobs, the real magic happens when you dive into the advanced options and make a few small tweaks beforehand. This is where you really start to take control.
Often, the most significant improvements come from work you do before you even upload a single photo. A quick, subtle adjustment to your source image can completely change how the AI interprets and blends the faces. These are the little tricks of the trade that make a massive difference in the final product.
Pre-Editing Your Source Image for a Better Blend
Think of it like cooking—you have to prep your ingredients. You'd never post a photo without a little editing, right? The same logic applies here. Making small adjustments to your source face can head off potential blending problems before they even start.
For instance, if your source face has a warmer skin tone than the target photo, a quick color correction in any basic photo editor will help the AI nail a seamless match.
Here are a few pre-edits I do all the time:
- Color Matching: I'll tweak the temperature and tint of the source face to get it in the same ballpark as the lighting in the target photo.
- Exposure Bumping: If the source face is a bit dark, I'll bump the exposure just enough to help it sit naturally in a brighter scene.
- Subtle Sharpening: A very gentle sharpening filter can help the AI lock onto key features like eyes and lips, which almost always results in a cleaner, crisper swap.
These adjustments take maybe a minute, but they feed the AI much better data to work with. It's a foundational step for anyone serious about getting high-quality results.
Navigating Advanced Settings in CreateInfluencers
Once you're inside CreateInfluencers, you’ll find settings that give you more direct control over the final image. These aren't just sliders to play with; they're powerful tools for fine-tuning how the AI actually merges the two faces. Knowing what they do is key.
Insider Tip: The "Face Similarity" slider is your best friend. Cranking it up tells the AI to preserve more of the source face's unique features, which is perfect for creating a true-to-life likeness. Lowering it gives the AI more freedom to blend the face with the target's bone structure, which can sometimes create a more "natural" fit, depending on the shot.
Let's say you're swapping a face onto a movie poster that has some really dramatic, high-contrast lighting. A default swap might look a little flat. In that scenario, you could bump up the "Face Similarity" to keep the strong jawline from your source photo, while still letting the AI do the heavy lifting on matching that complex lighting.
Real-World Scenarios and Adjustments
Here’s a practical example. Imagine you're creating a marketing shot for a fitness brand. Your source photo is a perfectly lit studio headshot of a model, but the target photo is an action shot in a gym with harsh overhead lights and shadows everywhere.
- The Problem: A straight swap will likely look "pasted on." The lighting just won't feel right.
- The Solution: First, I'd go back to the source photo and add a little bit of contrast before uploading it. Then, after running the swap in CreateInfluencers, I might use a setting that enhances shadow blending to really sell the idea that the face belongs in that dynamically lit gym.
It’s these small, deliberate moves that separate amateur work from professional-grade composites. When you combine simple pre-edits with the powerful settings inside the platform, you can tackle just about any challenge and create images that are truly believable.
Creative and Commercial Uses for Face Swapping
https://www.youtube.com/embed/z-Cxegj2jEA
Face swapping might have started as a fun gimmick for social media, but it's grown into so much more. This technology has officially jumped from a playful pastime to a serious tool for creative professionals. For anyone in visual storytelling, marketing, or digital art, it's become a surprisingly powerful asset.
The whole thing really took off with apps like Reface, which made high-quality face swaps accessible to everyone. It blew up, hitting the top of the app charts in over 90 countries and proving that people were hungry for this kind of tech. That massive public interest really set the stage for more advanced platforms to emerge.
Applications in Media and Advertising
In the world of filmmaking, face swapping is a game-changer for visual effects, especially when you're trying to keep costs down. Think about digital stunt doubles—you can now seamlessly place an actor's face onto a stunt performer's body. This keeps the actor safe while maintaining the illusion on screen. It’s also brilliant for de-aging effects, letting you convincingly dial back the years on an actor for a flashback scene without a Hollywood-sized CGI budget.
Marketers are getting in on it, too. They're using face swapping to create incredibly versatile ad campaigns. You can shoot a commercial once, then swap in different faces to make it resonate with specific regional markets or different demographics. Suddenly, one production budget stretches a whole lot further, and the ads feel more personal to the people watching them.
Key Insight: The real commercial magic of face swapping is its ability to create personalized, adaptable content at scale—something that used to be incredibly expensive and time-consuming for most brands.
Empowering Digital Artists and Content Creators
For digital artists, face swapping is a whole new canvas. It's a way to explore complex themes like identity and transformation, creating surreal portraits and thought-provoking conceptual pieces. By blending different facial features, artists can invent entirely new characters and build visual stories that were never possible before. This is exactly where a tool like CreateInfluencers comes into its own, giving creatives a sandbox to experiment in.
And this is just one piece of a much larger puzzle. Beyond just swapping faces, there are countless other powerful AI tools for content creators that can help with everything from workflow to asset generation. Many are even finding ways to turn their AI creations into a revenue stream. If that sounds interesting, you can check out the CreateInfluencers affiliate program to see how it works.
Got Questions About Face Swapping? We’ve Got Answers.
Even when a tool is easy to use, you're bound to have a few questions. That's a good thing—it means you're thinking about how to get the best results and use the tech responsibly. Let's walk through some of the most common things people ask when they start face swapping.
We've heard all of these before, so you're in good company. Here’s the rundown on what you need to know.
Why Does My Face Swap Look Blurry or Distorted?
This is the number one issue people run into, and the fix is almost always in the photos you start with. If your final image looks blurry or just… off, the AI probably didn't have enough clean data to do its job.
Think of it as "garbage in, garbage out." Low-resolution photos are the main culprit. The AI needs sharp, clear details to map one face onto another accurately. Mismatched angles are another classic cause. If you try to force a profile shot onto a front-facing photo, the AI will struggle to make it look natural, leading to weird distortions.
Here’s how to fix it:
- Always use high-resolution photos. Seriously, this is the most important tip. The bigger and clearer the source and target images, the better your swap will be.
- Match the angles and lighting. Make sure the people in both photos are looking in roughly the same direction. Similar lighting conditions also help create a much more seamless blend.
Is This Legal? Am I Doing Something Unethical?
The short answer is: it all comes down to how you use it. Face swap technology is just a tool, like Photoshop. Using it for your own creative projects, making funny memes with your friends (who are in on the joke), or other personal entertainment is perfectly fine.
The ethical bright line is consent. Using face swap tech to create deepfakes of people without their permission is a major problem. Creating content for misinformation, harassment, or to impersonate someone is not only unethical but can also be illegal. Always put people's privacy first.
Can I Actually Use Face Swapping for Professional Work?
Absolutely. It’s happening all the time in professional settings. In the film industry, it's a go-to for creating digital stunt doubles or de-aging actors for flashbacks. You've definitely seen it in action without even realizing it.
Advertisers also use it to tweak a model’s appearance for different regional campaigns, which can save a ton on reshoots. As long as you have the proper rights to all the images and you're being transparent about the process when it matters, it's an incredibly powerful tool for professionals.
What’s the Difference Between a Single and a Multiple Face Swap?
A single face swap is exactly what it sounds like—you're replacing just one face in an image. This is what most people start with.
A multiple face swap is a more advanced feature that lets you replace several faces in the same picture, like a group photo at an event. To pull this off, you need a high-quality source image for each person you want to swap in. The tool then processes each swap individually to make sure every face blends in perfectly.
Ready to create your own professional-grade swaps with ease? Get started for free with CreateInfluencers and unlock the power of AI for your creative projects. Try CreateInfluencers Today!