Unlock realistic ai generated images: Master Prompting for Consistency
Master realistic ai generated images with expert prompts, character consistency, and refinement techniques in our concise guide.
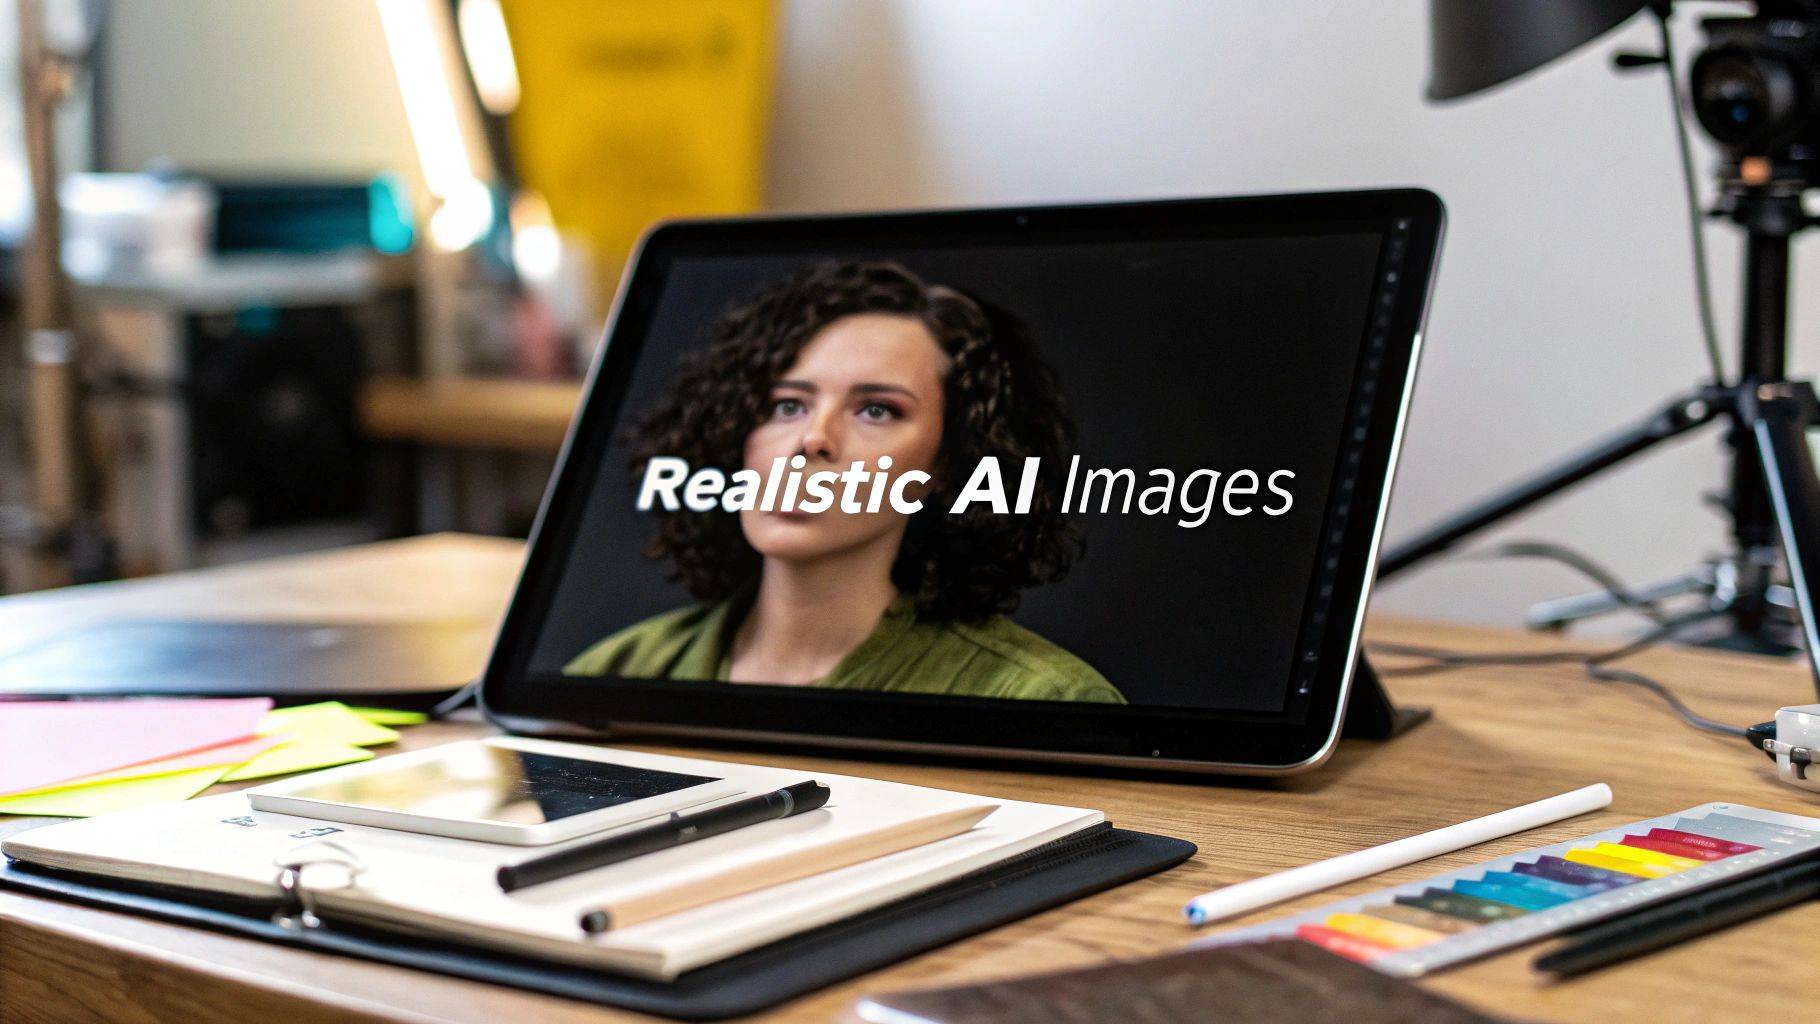
Creating realistic AI generated images isn't some far-off idea from a sci-fi movie anymore—it's a practical skill that’s actively reshaping how we make digital content. For anyone in the creative space, from influencers to marketing agencies, this tech is a gateway to producing stunning visuals at a speed and level of control that was once unthinkable.
The New Frontier of Hyper-Realistic AI Images
Welcome to a completely new era of visual storytelling. What used to be the stuff of fantasy is now a tool you can use today, whether you're generating a consistent AI model for an Instagram brand or designing a unique digital personality from the ground up.
Getting good at this is a serious advantage. The power to create photorealistic images whenever you need them can set you apart, whether you're launching a new brand or just trying to scale up your content production for clients. This guide cuts through the technical fluff to give you the practical know-how you can start using right away.
Why Realism Matters Now More Than Ever
The bar for high-quality, authentic-looking visuals is higher than ever. You can see this reflected in the numbers: the AI image generator market was valued at around USD 9.10 billion and is expected to explode to USD 63.29 billion by 2030. That’s a staggering compound annual growth rate of 38.16%, signaling a massive industry shift toward AI-driven creation.
This isn't just growth for growth's sake; it’s fueled by real-world needs:
- Consistency: A strong brand or AI influencer needs a consistent look. AI makes that easy to maintain across every single post.
- Efficiency: Forget expensive photoshoots. Agencies can now whip up diverse campaign visuals in a tiny fraction of the time and cost.
- Creativity: Got a wild concept you want to bring to life? You're no longer held back by physical limitations or budgets.
The real goal here is to create images that are virtually indistinguishable from a professional photograph. It’s not just about writing a good prompt—it’s about a deeper understanding of light, composition, and the tiny details that trick our eyes into believing what we see.
Core Pillars for Achieving Photorealism
Getting to that level of realism isn't about finding one magic trick. It's a skill built on several key pillars that all work together. This table breaks down the core concepts you'll need to master, which we'll explore in detail throughout the guide.
| Pillar | What It Involves | Why It's Critical for Realism |
|---|---|---|
| Model Selection | Choosing the right foundational AI model trained for photorealism. | The model is your starting point. A poor choice will always produce stylized or cartoonish results, no matter how good your prompt is. |
| Prompt Engineering | Crafting detailed, specific text prompts that describe every aspect of the image. | This is how you communicate your vision to the AI. Vague prompts lead to generic images; detailed prompts create specific, believable scenes. |
| Lighting & Composition | Specifying camera angles, lens types, and lighting conditions (e.g., golden hour, soft studio light). | Proper lighting and composition are the soul of photography. Replicating them correctly is what separates a snapshot from a professional shot. |
| Refinement & Iteration | Using techniques like inpainting, outpainting, and iterative prompting to fix flaws and enhance details. | Your first generation is rarely perfect. Refining the image—fixing weird hands, adjusting backgrounds—is a crucial part of the workflow. |
By mastering these areas, you can push beyond basic image generation and start creating truly stunning AI Super Realistic images.
Each of these pillars builds on the last, from picking the right AI model to the fine art of prompt engineering and post-generation touch-ups. These concepts form the bedrock of what is often called synthetic media, a field that's quickly changing the creator economy. Now, let’s get into the step-by-step process.
Choosing Your AI Model and Character Foundation
Every truly realistic AI-generated image you've ever admired starts with a solid foundation. This first step—picking the right AI model and defining your character—is the single most important decision you'll make. Get this right, and everything else flows smoothly. Get it wrong, and you'll spend hours fighting the AI to get the results you need.
Think of an AI model like a camera lens. Some are great all-rounders, while others are specialists, built to excel at one specific type of shot. You have to know what you’re trying to capture from the very beginning.
Dedicated Character Models vs. General-Purpose Generators
The first big choice you'll face is whether to use a dedicated character creation tool or a general-purpose image generator. This decision directly impacts your ability to maintain consistency, which is absolutely critical if you're building a brand or a recognizable AI persona.
Platforms like CreateInfluencers are built from the ground up for character consistency. You can literally start with a single selfie and generate a unique, repeatable AI model in just one click. This approach gives you some serious advantages:
- Effortless Consistency: The model locks onto your character's core facial features. This means they'll look like the same person across dozens, or even hundreds, of different images and scenarios.
- Speed and Simplicity: It completely sidesteps the headache of trying to describe a specific face with complex text prompts, saving you a massive amount of time and frustration.
- Focused Results: The AI is fine-tuned for one thing: creating believable people. That means you get more realistic skin textures, expressive eyes, and natural features right from the start.
General-purpose models offer incredible creative freedom, but consistency becomes a manual, and often tricky, task. You’re left trying to replicate a face using complex prompts and specific seed numbers, which can be very hit-or-miss. For a closer look at the different platforms out there, check out our guide on the best AI image generators.
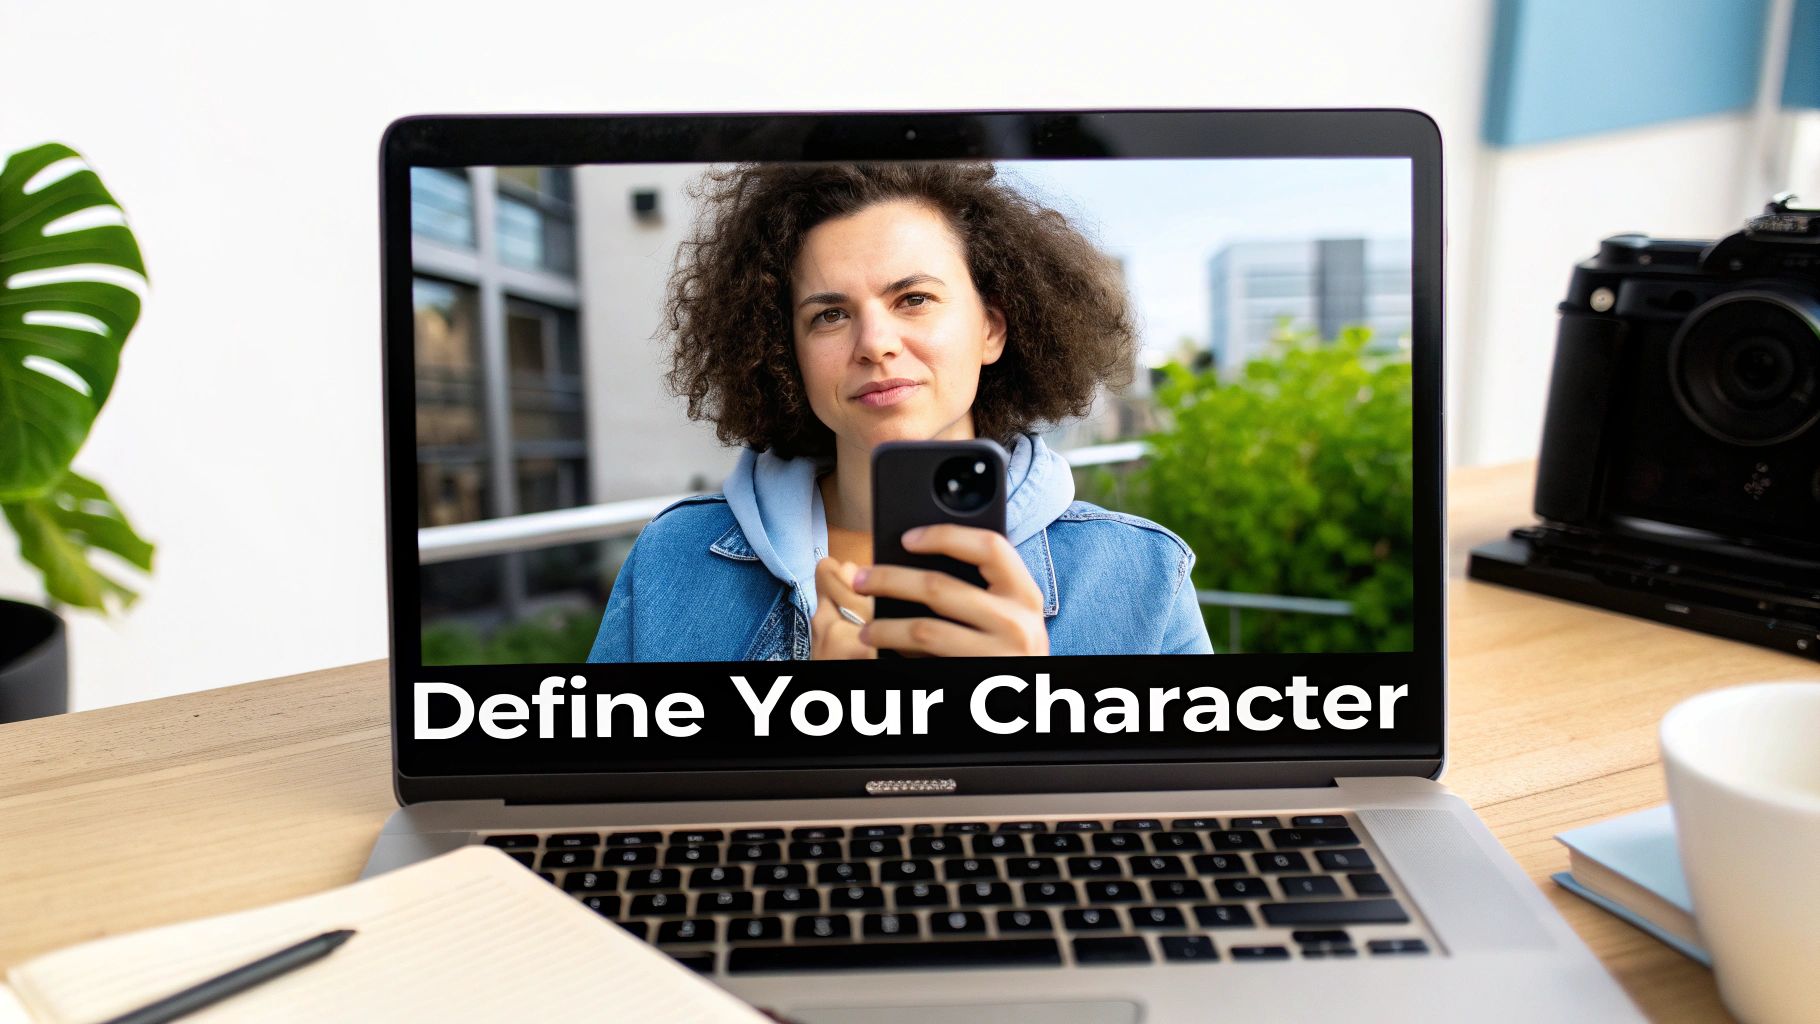
Defining Your Core Character Attributes
Once you’ve settled on a platform, it’s time to define the person you want to create. This is like casting for a movie. The attributes you set now will guide every single image you generate later on. Don't rush this; a clearly defined character is far easier for an AI to interpret accurately.
Start with these foundational elements:
- Age and Ethnicity: These are your primary building blocks. Be specific. "A woman in her late 20s" is much more effective than "a young woman."
- Core Physical Features: Pinpoint key details like eye color, hair color and style, and any unique marks like freckles or a mole. These are your anchors for keeping the look consistent.
- Overall Style and Vibe: What is your character's aesthetic? Is it "Old Money," "bohemian," "tech-forward," or "athletic"? This choice will inform their clothing, the environments they're in, and the overall mood of the images.
A well-defined character foundation does more than just ensure consistency; it breathes life into your creation. It gives the AI a distinct personality to work with, making the resulting images feel intentional and authentic rather than random and generic.
This detailed prep work is more important than ever. The generative AI market, largely fueled by realistic image creation, is projected to hit a value of USD 55.51 billion in 2026 and could soar to an incredible USD 1,206.24 billion by 2035. This explosion shows just how vital believable digital assets have become for creators and businesses alike.
Mastering Prompt Engineering for True Realism
Let's get straight to the point: your prompt is everything when it comes to creating realistic AI generated images. It's the blueprint. A vague sketch gets you a flimsy, generic picture, but a detailed, precise set of instructions can build a masterpiece.
The real leap from amateur results to breathtaking photorealism happens when you stop giving the AI simple commands and start directing it like a professional photographer. This is the art of prompt engineering—a mix of creative vision and technical precision. It’s not just about listing things you want to see; it’s about describing the world, the light, the mood, and the very camera capturing the scene.
The Anatomy of a Powerful Prompt
A truly great prompt is built in layers. Anyone can type "a woman in a cafe," but a prompt engineered for realism dives much, much deeper, breaking the scene down into specific components that leave nothing to chance.
Each detail you add pushes the final image closer to something that could pass for a real photograph. For anyone serious about creating high-quality, believable AI visuals, mastering these components is essential. And a big part of that is understanding how specific AI models work; for instance, learning how to get ChatGPT to generate images you'll actually want to use is a skill in itself.
Here are the core building blocks of a prompt that actually works:
- Subject Description: Be specific. Don't just say "a man." Instead, try "a man in his late 30s with a rugged beard, tired eyes, and wearing a worn leather jacket." Give him a story with your words.
- Setting and Environment: Build a world for your subject to live in. "Sitting at a dimly lit wooden table in a Parisian cafe, steam rising from a coffee cup, rain streaking the window behind him."
- Art Style and Medium: This is where you tell the AI to aim for reality. Use phrases like "photorealistic," "ultra-realistic photo," or "shot on film" to steer it away from looking like digital art.
- Camera and Lens Specifics: Want it to look like a real photo? Tell the AI what gear to use. "Shot on a Sony A7III with an 85mm f/1.4 lens" instructs the AI to mimic the look of a professional portrait, complete with that creamy, out-of-focus background.
- Lighting Conditions: Lighting is the soul of photography, and the AI knows it. Get explicit. "Golden hour sunlight streaming through the window," "dramatic Rembrandt lighting," or "soft, diffused studio light."
The difference between a good image and a great one often comes down to the lighting. If you can master describing light—its color, direction, and intensity—you've unlocked one of the biggest secrets to achieving photorealism.
Controlling Light and Composition
Just saying "photorealistic" won't cut it. You have to build that realism using the language of photography, because that's a language the AI understands.
For example, asking for a "shallow depth of field" or a "low aperture like f/1.8" creates that beautiful background blur (bokeh) that immediately screams "professional portrait." On the other hand, specifying a "deep depth of field, f/11" is what you'd ask for in a landscape shot where you need every detail from front to back to be razor-sharp.
Think about camera angles, too. A "low-angle shot" makes a subject look powerful. A "Dutch angle for dramatic effect" adds tension. An "overhead flat lay" is perfect for product shots. These small commands completely change the story your image tells. If you're looking for more ideas, our comprehensive list of AI image prompts has tons of examples.
Using Negative Prompts to Eliminate Flaws
One of the most powerful, yet most overlooked, tools in your arsenal is the negative prompt. This is where you tell the AI exactly what you don’t want. AI models have known weaknesses—mangled hands, extra limbs, creepy doll-like faces. A negative prompt is your quality control filter.
Think of it as a simple list of things to ban from your image.
Common Negative Prompt Terms:
deformed, distorted hands, extra fingers, mutated handsblurry, grainy, low-resolutioncartoon, anime, drawing, paintingugly, disfigured, surrealwatermark, text, signature
For anyone aiming for consistently realistic images, using a strong negative prompt is a non-negotiable step. It saves you so much time and frustration by weeding out the most obvious AI-tells before they even appear.
The table below gives you a clear picture of how adding these specific details elevates a simple idea into something truly hyper-realistic.
How Prompt Details Transform Your AI Images
See how adding specific details to your prompts dramatically enhances image quality and pushes it toward hyper-realism.
| Prompt Component | Basic Example | Advanced (Hyper-Realistic) Example |
|---|---|---|
| Subject | A woman smiling | A 28-year-old Scandinavian woman with light freckles and wind-swept blonde hair, a genuine, joyful laugh |
| Setting | At the beach | On a secluded beach in Iceland with black volcanic sand, dramatic cliffs in the background, overcast sky |
| Lighting | Daytime | Soft, diffused morning light of an overcast day, creating gentle shadows and highlighting skin texture |
| Camera | A photo | Photorealistic shot on a Canon R5, 50mm f/1.2 lens, shallow depth of field, subtle film grain |
Moving from the "Basic" column to the "Advanced" column is like going from giving a vague suggestion to providing a detailed creative brief. This level of specificity is what closes the gap between a generic AI image and a photorealistic work of art.
Taking Your Images from Good to Flawless
Getting that first great image from the AI is a fantastic start, but it's rarely the final step. The real magic happens in the refinement stage, where you take a promising draft and polish it into something truly professional. This is where you move beyond simple prompting and into the advanced techniques that separate the amateurs from the pros.
Think of it like this: your initial AI-generated image is the raw footage. It’s got potential, but it needs editing to become a final, campaign-ready asset. This post-generation workflow is all about fixing those little imperfections, boosting the quality, and adding creative touches that make the image truly shine.
Upscaling to Crystal-Clear Quality
One of the first things you'll likely notice is that AI often generates images at a lower resolution. They look great as thumbnails, but blow them up for a blog post or marketing banner, and things start to get soft and pixelated. That’s where a dedicated AI upscaler comes in.
Tools like the HyperReal engine are built for this exact purpose. They don't just stretch the image; they intelligently analyze it and add new, context-aware details. This can take a standard 1024x1024 pixel image and transform it into a stunning 4K or even 8K masterpiece. You'll see the difference immediately in the sharpness of the textures and the clarity of the details. If you're looking for the right tool, we've broken down the best options in our guide to the best image upscaling software.
- When to Use It: Any time an image is destined for a high-quality blog, print materials, or a large-format display.
- What to Look For: A great upscaler won't make things look plastic. It should preserve and enhance fine details like skin pores, the weave of a fabric, or individual strands of hair.
The Power of Face and Body Swapping
For anyone managing an AI influencer or creating consistent brand visuals, face swapping is an absolute game-changer. It lets you take the face of your established AI character and seamlessly place it onto a different body or into an entirely new scene.
Say you need your AI influencer at a beach one day and a black-tie gala the next. Instead of wrestling with prompts trying to get the face just right in two totally different scenes, you can generate the perfect beach scene with a generic model and simply swap your influencer’s face in. The amount of control this gives you is incredible.
The ability to swap faces or bodies isn't just a gimmick; it's a powerful tool for narrative consistency. It ensures your AI character remains recognizable across countless scenarios, which is the bedrock of building a believable online persona.
This is also fantastic for creating fun, engaging content. You could superimpose your AI’s face onto a famous painting or an iconic movie scene. It bridges the gap between a static AI model and a dynamic, adaptable character people can connect with.
Using Reference Images for Unmatched Precision
Sometimes, no matter how clever your text prompt is, you just can't get that one specific detail right. This is where you bring in a reference image, a technique often called image-to-image. By giving the AI a visual guide alongside your text, you can direct the final output with far greater accuracy.
Here are a few real-world situations where this is a lifesaver:
- Fixing Small Imperfections: We've all seen AI-generated hands that look… a little off. With an inpainting tool, you can simply mask the flawed area and feed the AI a prompt like "realistic human hand, holding a coffee cup" to regenerate just that part.
- Expanding the Scene: Got a perfect portrait but wish it was a wider shot? Outpainting tools let you extend the canvas. The AI analyzes what's already there and intelligently fills in the new space, creating a larger, more complete image.
- Matching a Specific Vibe: If you need to match an existing brand aesthetic, you can use a reference image to guide the AI’s style, color palette, or composition. This ensures your new creations fit in perfectly.
This level of granular control is why creative industries are adopting this technology so quickly, with North America currently dominating the generative AI market. The demand for realistic AI generated images in advertising and fashion has driven the US AI image generator market to capture a huge portion of this growth. According to one report, the market is poised for explosive expansion, as detailed in these generative AI market size insights on einpresswire.com. By mastering these refinement techniques, you’re not just making better pictures—you’re stepping into the future of visual creation.
4. Practical Workflows for Creators and Agencies
Knowing the right prompts and tools is a great start, but the real magic happens when you build a repeatable system. To get consistent results, you need a solid workflow, whether you're a solo creator developing a digital personality or a marketing agency churning out content for multiple campaigns. A clear process is what turns this from a fun experiment into a reliable part of your content strategy.
This isn't about starting from scratch every single time. It's about developing a go-to method that takes you from a basic idea to a polished, final image without all the guesswork. You want a system that works for you, not against you.
Workflow for AI Influencers and Content Creators
When you're building an AI influencer, consistency is everything. Your audience has to recognize your character in a split second, from one post to the next. This workflow is all about building that instant recognition while keeping your content creation efficient.
The foundation is always locking down your character with a dedicated model. Once that's set, you can start thinking in batches or themed photo sets—maybe a "fall weekend in New York" series or a "summer road trip" collection. Working this way helps you maintain a cohesive vibe and ensures you always have a backlog of content ready to publish.
Here’s a simple way to approach a themed shoot:
- Nail Down the Theme: What’s the mood, location, and style? (e.g., "Professional headshots, modern office, business casual outfit").
- Craft a Base Prompt: Create a core prompt that includes your character model, the theme, ideal lighting, and camera specifics.
- Generate in Batches: Run that base prompt over and over, making small tweaks to get different poses, expressions, and angles.
- Curate and Polish: Sift through the results, pick the strongest images, and use post-generation tools to fix any small weirdness or upscale for better quality.
Following this process keeps your character's look consistent but still gives you enough variety to make their "life" look interesting.
High-Volume Workflow for Marketing Agencies
Agencies are playing a totally different game. The challenge here is creating tons of on-brand visuals quickly and without breaking the bank. For agencies, the workflow needs to be built for speed, efficiency, and strict brand alignment.
The first move is usually to train a model on the brand’s specific look, or at the very least, create a bulletproof set of prompts that nail the brand's aesthetic. This becomes your "brand template" for every visual you create. A skincare brand, for instance, might need clean, bright lighting and minimalist backgrounds—that all gets baked right into the prompts.
For agencies, the biggest win is scale. A single creative brief can spin off dozens of ad variations, product mockups, and social media posts in the time it used to take to plan one traditional photoshoot. This slashes production costs and timelines.
Once you have a great generation, the refinement process kicks in.
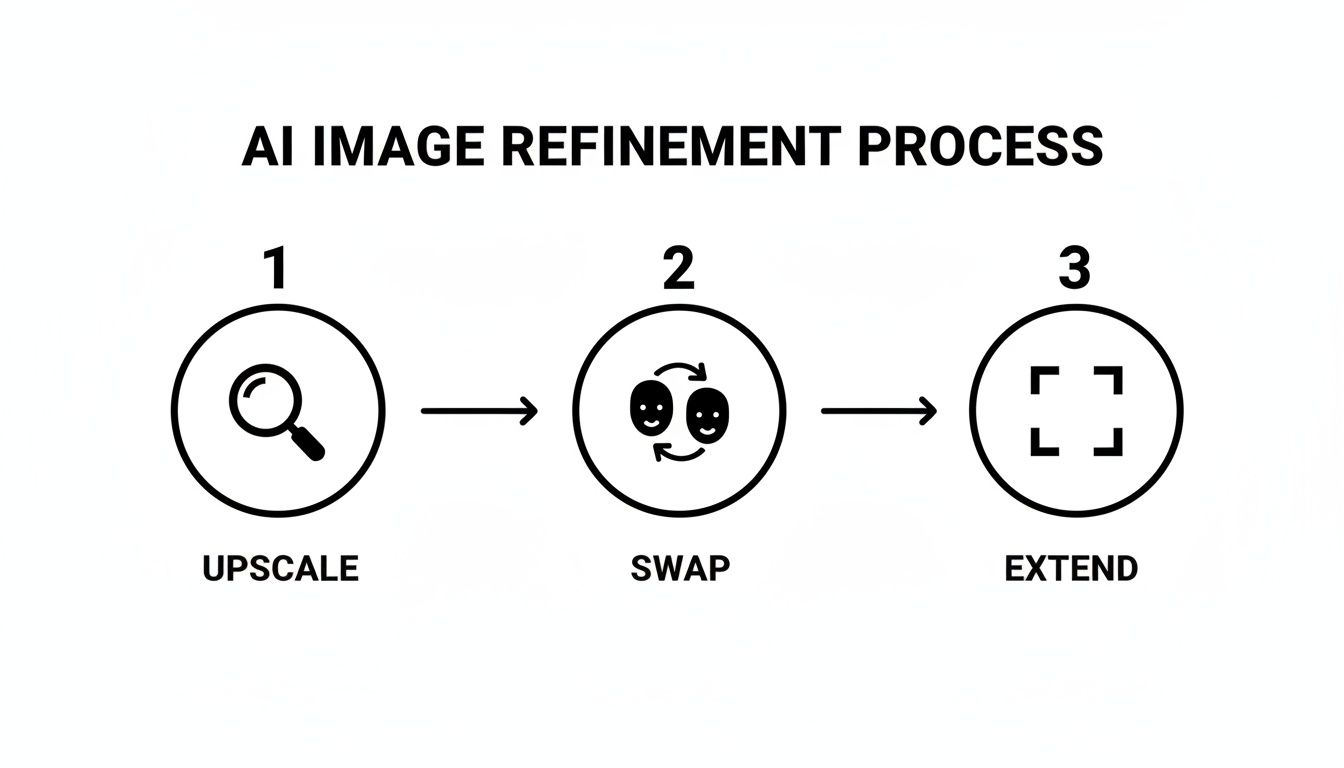
This simple three-step flow—upscaling for detail, swapping for consistency, and extending for better composition—is a powerful final check for any professional work.
Essential Quality Control Practices
No matter what your workflow looks like, a final quality check is an absolute must. Skipping this step is how you end up with those uncanny, obviously fake images that scream "AI." Before you publish any realistic AI-generated images, run through this quick mental checklist.
- Face Check: Do the eyes, nose, and jawline match the character's other photos? Look for those subtle differences that just feel "off."
- Anatomy Scan: The classic AI giveaway is mangled hands. Always count the fingers and check for natural-looking joints. Make sure arms and legs are proportional and connect to the body in a way that makes sense.
- Light and Shadow: Does the lighting feel real? Shadows should fall away from the light source, and highlights should pop on the right surfaces. Bad lighting is an instant giveaway that shatters the illusion.
- Background Sweep: Glance over the background for any weird, melty objects or bizarre details the AI might have hallucinated into existence.
By making these workflows and quality checks a habit, you can reliably produce high-quality, believable visuals for any project. If you're just getting started and want to test the waters, you can learn how to generate AI images for free to get a feel for the process.
Common Questions About Realistic AI Images
As you get more hands-on with creating realistic AI generated images, you'll naturally start hitting a few common roadblocks. Nailing the basics is one thing, but consistently producing truly believable, high-quality work means you've got to learn how to troubleshoot. Let's walk through some of the most frequent questions I hear from creators and agencies.
How Do I Keep My AI Influencer Looking Consistent?
Consistency is everything. It's the absolute foundation for making an AI persona feel real and recognizable. By far, the best way to handle this is to use a tool that creates a persistent character from a single seed image. This effectively locks in their core facial structure and features.
Then, it comes down to discipline in your prompting. You need to reuse the same core descriptors for your character in every single image you generate. For instance, if your character is "Jane, a 25-year-old with freckles and long auburn hair," that exact phrase should be part of every prompt. This simple habit is what makes your AI influencer look like the same person from one post to the next, regardless of the outfit or location.
What Are the Biggest Mistakes to Avoid?
I see a lot of newcomers make the same few mistakes that immediately break the illusion of realism. If you can steer clear of these, the quality of your images will improve dramatically.
- Vague Prompts: Writing something like "a woman on a beach" is a surefire way to get a generic, soulless image. You have to get specific. What time of day is it? What kind of camera and lens are you "using"? What’s the mood? That's what gives an image its character.
- Ignoring Lighting: Never, ever forget to describe the light. Is it the warm glow of "golden hour"? Is it "soft window light" on a cloudy day? Or "dramatic studio lighting"? These terms are the visual language the AI needs to build a believable scene.
- Chasing Perfection: Think about it—real photos are almost never perfect. They have little imperfections like subtle film grain, a bit of soft focus, or slight motion blur. Deliberately adding these elements into your prompt can paradoxically make your image feel much more authentic.
The single biggest mistake? Skipping the final quality check. You absolutely have to zoom in and hunt for the classic AI tells—mangled hands, weird artifacts in the background, or skin that just looks a little too smooth. A few seconds of inspection can save an otherwise great shot from looking obviously fake.
What Are the Legal and Ethical Considerations?
Figuring out the legal and ethical landscape of AI imagery is non-negotiable. This technology is incredibly powerful, and with that power comes real responsibility.
On the ethical front, transparency is your best friend. If you’re building an AI influencer, make it clear that the character isn't a real person. Disclosing this builds trust with your audience and ensures no one feels tricked or deceived by your work.
Legally, things are still evolving, but a few ground rules are already pretty clear.
- Commercial Rights: Most platforms give you commercial rights to the images you generate, but you need to read the fine print. Always double-check the terms of service of the tool you're using.
- Likeness and Publicity: This is a big one. Never create images of real, identifiable people without getting their explicit consent. Doing so can violate their right of publicity and land you in serious legal trouble.
- Copyrighted Styles: Be careful about prompting the AI to directly copy the style of a living, copyrighted artist. It's a legal gray area, but the safer path is to describe the aesthetic you're after ("a moody, cinematic style with high contrast") instead of name-dropping an artist.
At the end of the day, while you can't copyright an image made entirely by AI, the more you add your own creative touch through editing and post-production, the stronger your claim to the final, modified piece of work becomes.
Ready to stop troubleshooting and start creating your own stunning, lifelike AI characters? CreateInfluencers gives you all the tools you need, from one-click character generation to advanced refinement features. Start for free today and bring your vision to life.