How to Generate AI Images: Quick Guide to how to generate ai images
Learn how to generate ai images with practical prompts, tools, and workflows to craft stunning, realistic AI art.

Generating high-quality AI images really comes down to a simple process: pick the right tool, feed it good source material—whether that’s your own photos or a killer text description—and then fine-tune what it spits out. The best results I've seen always come from a smart mix of very specific prompts and high-quality training images, which is how you build a consistent digital persona that actually looks like you.
Choosing the Right AI Tool for Photorealistic Images
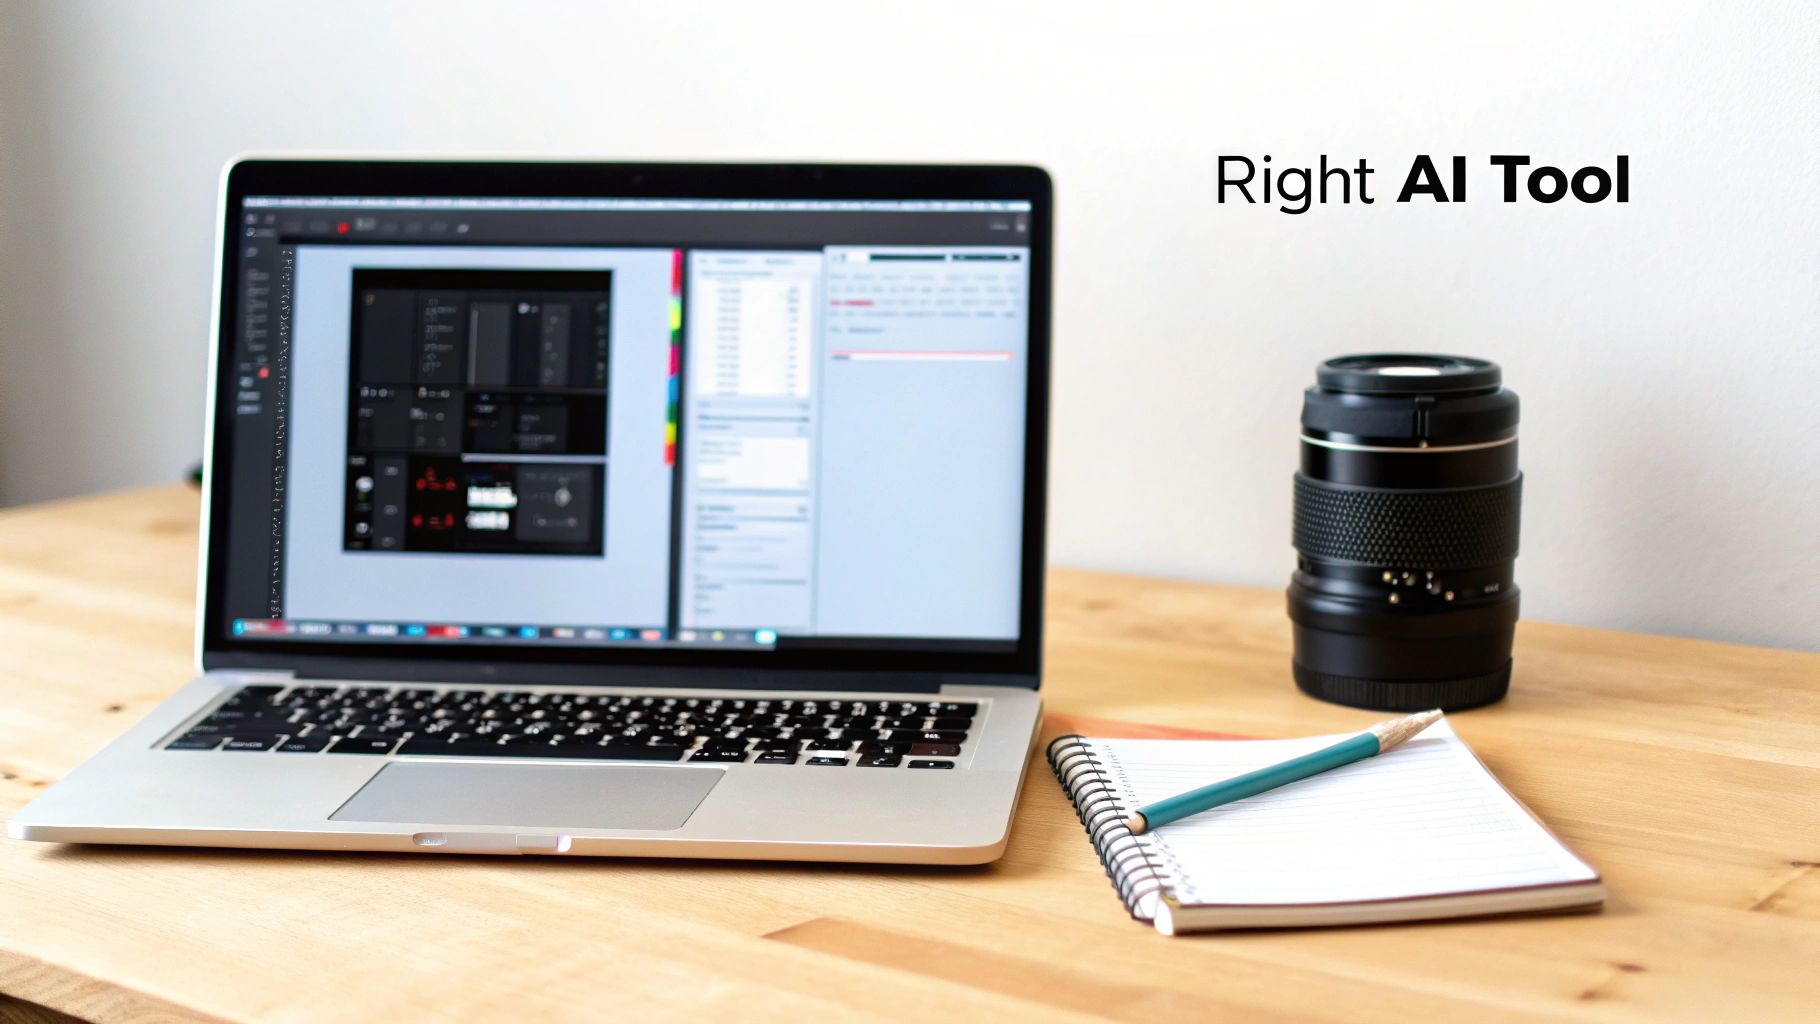
The secret to incredible AI images isn’t just about prompts; it starts with your toolkit. Instead of getting bogged down in technical specs, let's talk about what actually matters for creators and influencers: finding a platform that’s powerful but doesn't feel like you need a computer science degree to use it. Your choice here will make or break how quickly you can create and how good your final images look.
Generally, the market is divided into two camps. You've got the super-complex, open-source models that give you ultimate control but come with a monster learning curve. Then you have the user-friendly platforms built for speed and consistency. For most content creators, this second option is a no-brainer.
If you're an influencer or marketer, you want a tool that understands your workflow. That's why I always recommend looking for platforms with features specifically designed for creators.
Key Features for Creators
When you’re trying to figure out how to generate AI images that represent your brand, a few features are absolute game-changers. These are the things that separate a basic image-maker from a professional content creation engine.
- One-Click Character Creation: Being able to train a consistent AI version of yourself from a handful of photos is non-negotiable. This is what ensures your AI "look" stays the same across hundreds of different shots.
- Themed Photo Packs: Look for platforms with pre-made templates for things like Instagram shoots, professional headshots, or even boudoir scenes. This saves a ton of time you'd otherwise spend wrestling with prompts.
- Seamless Face Swapping: This is a huge one. It lets you generate the perfect scene first and then drop your character’s face in, ensuring a perfect match every single time.
- HyperReal Upscaling: An upscaler built right into the platform is crucial. It’s what turns a standard-res AI image into a crisp, high-definition photo you can actually use professionally.
These are the kinds of tools that have fueled the explosion in the AI image generator market. It went from just USD 257.175 million in 2022 to a projected USD 917.448 million by 2030—that's a compound annual growth rate (CAGR) of 17.4%. This isn't just corporate growth; it shows how regular creators are now making incredible visuals in minutes.
Evaluating Your Options
As you start comparing platforms, just keep three things in mind: the learning curve, the quality of the images, and how much you can customize. A tool might offer a million settings, but if it takes you weeks to learn, your content pipeline grinds to a halt. You're looking for that sweet spot.
Your ideal tool should feel intuitive from the get-go. The goal is to move from an idea to a finished, photorealistic image as quickly as possible without giving up creative control.
Of course, not every tool is for photorealistic portraits. There are specialized platforms for all sorts of creative needs. For example, a good AI meme generator can be great for whipping up viral, shareable content. If you're looking for a deep dive into the best platforms specifically for creators, check out our guide on the best AI image generators.
Ultimately, the right tool is the one that fits your goals, whether you're building an AI influencer from scratch, creating marketing assets for a brand, or just making cool digital art.
Getting Your Source Photos Right for Flawless AI Training
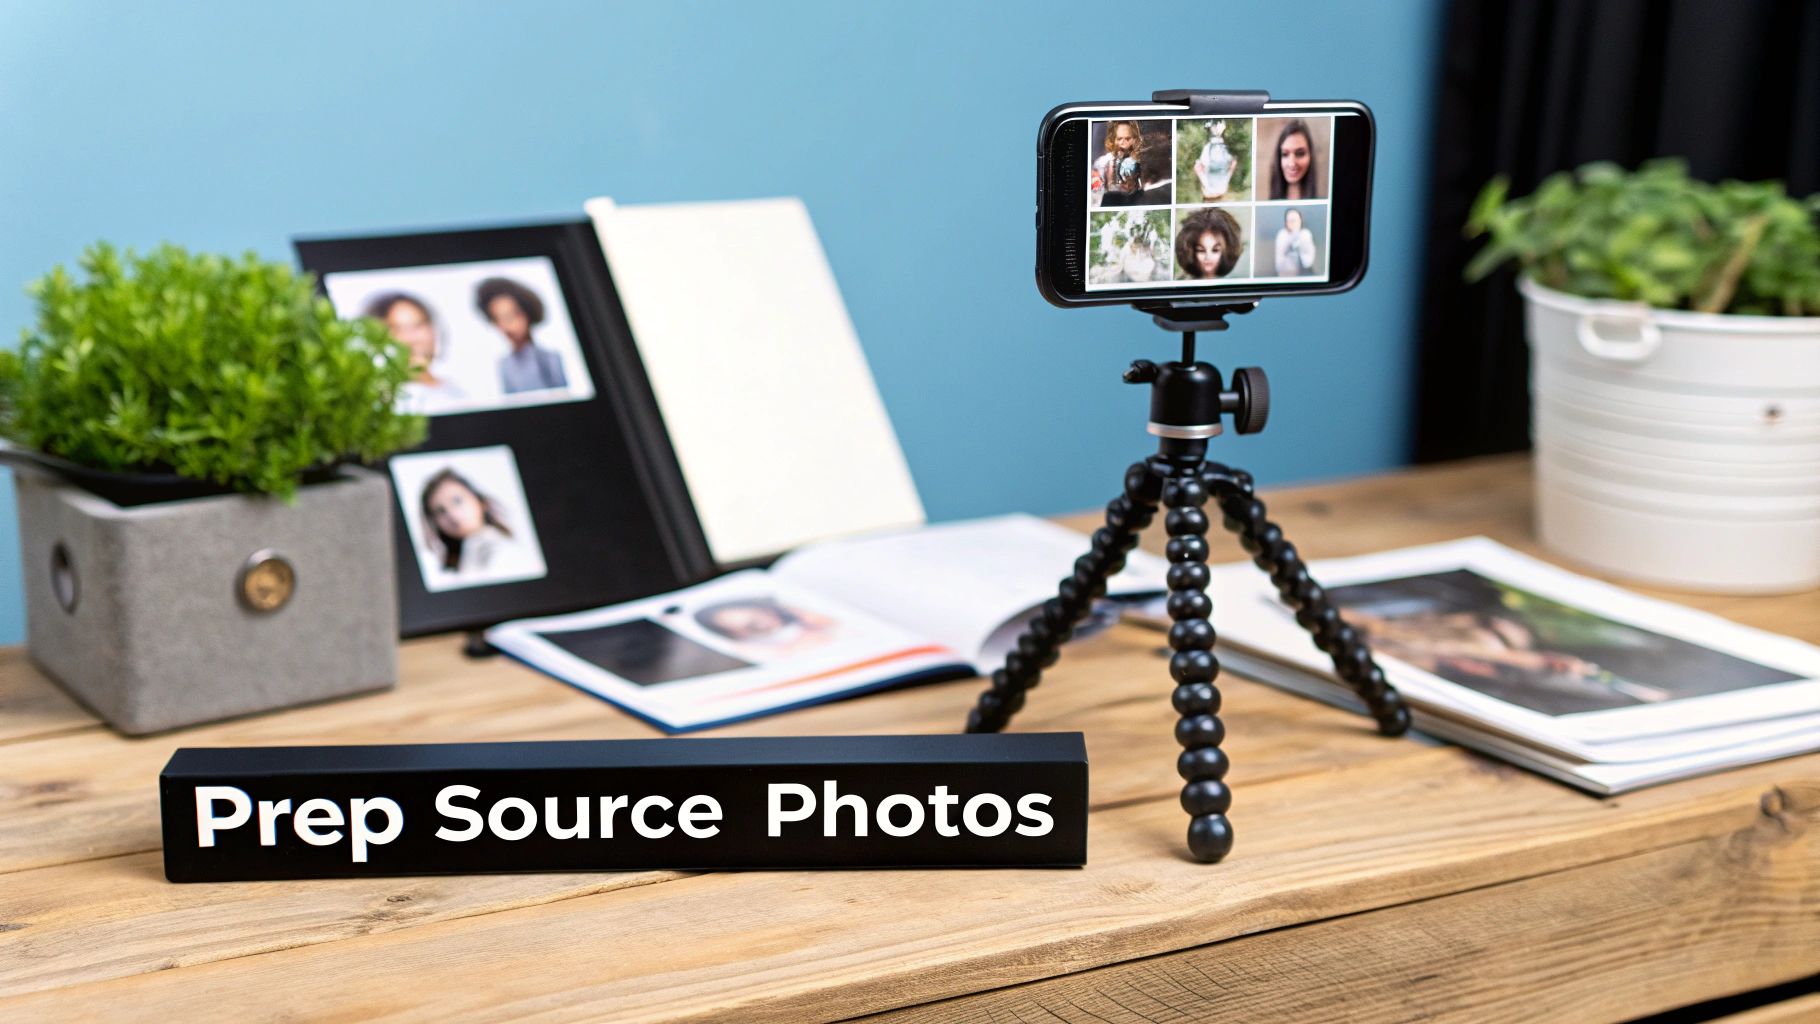
The quality of the AI persona you create is a direct reflection of the photos you feed it. Think of it like a chef: give them subpar ingredients, and you'll get a disappointing meal. The same principle applies here. Your source images are the absolute foundation for a believable and consistent AI character.
The journey to generating professional-looking AI images doesn't start with a clever prompt. It begins with curating a top-notch dataset of yourself. Honestly, this is probably the most important part of creating an AI influencer that truly stands out.
The Sweet Spot for Image Quantity
You might be tempted to think that more is always better, but that’s not quite the case. The sweet spot for training a character model usually falls somewhere between 10 to 20 high-resolution images.
If you use fewer than 10, the AI might struggle to capture your true likeness. On the flip side, using too many can sometimes overfit the model, making it less flexible and creative. Sticking to this range gives the AI enough data to learn your unique features without becoming too rigid, ensuring it can place you accurately in all sorts of new scenarios.
Variety Is Your Most Powerful Tool
How do you get a consistent AI model? The secret is variety in your source photos. The AI needs to understand what makes you look like you, no matter the situation. If every photo you provide features the same smile in the same room, the AI will have a hard time generating anything outside of that very specific context.
To build a robust and versatile AI character, you need to provide a healthy mix of shots.
- Diverse Angles: Don't just stick to front-on shots. Include three-quarter views and profiles. Snap some photos looking up, down, and to the side.
- Varied Facial Expressions: Move beyond the standard smile. Give it photos where you look happy, neutral, serious, surprised, or even thoughtful. This emotional range is what brings your content to life.
- Different Lighting Conditions: Shoot in natural light near a window and also under artificial light. This teaches the AI how shadows and highlights naturally fall across your face.
- Multiple Backgrounds: Simple, uncluttered backgrounds are your best bet. Using a few different simple backdrops prevents the AI from permanently "baking" one specific environment into your character’s identity.
This variety is what ultimately gives you the creative freedom you're looking for. For a more detailed walkthrough on this, check out our guide on how to create an AI avatar from a photo.
Key Takeaway: The goal here is to give the AI a complete visual resume of your appearance. Every unique angle, expression, and lighting setup you provide makes your final AI model smarter and more adaptable.
What to Absolutely Avoid
Knowing what to include is only half the battle; knowing what to leave out is just as critical. Certain elements can seriously confuse the AI and tank the quality of your final character. Think of these as data pollutants that will only muddy the training process.
Here’s a quick list of what to keep out of your training set:
- Group Photos: Never, ever use photos with other people in them. The AI can get confused about who it's supposed to be learning from.
- Obscured Faces: This is a big one. No sunglasses, no heavy shadows covering your eyes, and no hands in front of your face.
- Heavy Makeup: While a little is fine, overly dramatic or theatrical makeup can get "baked" into the model, making it almost impossible to generate a natural look later.
- Blurry or Low-Resolution Images: This should be obvious, but if you can't clearly see the fine details of your face, the AI can't either. Always use sharp, high-quality photos.
By being meticulous with your photo selection, you're setting yourself up for success and giving the AI the best possible ingredients to work with.
Crafting Prompts That Actually Look Real
Your prompt is the single most important bridge between your idea and what the AI actually spits out. Honestly, it’s what separates a generic, plasticky-looking image from something truly photorealistic. Getting this right isn't about coding; it’s about learning to talk to the AI with clarity and detail.
Think of it like you're an art director on a photoshoot. You wouldn't just tell the photographer, "Hey, take a picture of a person." You’d give them the full picture: the location, the exact mood you're going for, the lighting, the camera lens, even the expression on the model's face. That’s the level of detail you need to aim for when you’re trying to generate AI images that feel real.
The Anatomy of a Powerful Prompt
A great prompt is built in layers, starting broad and getting more and more specific. Each new detail you add is another instruction that refines the final image, pushing the AI closer to what's in your head. I've found the most reliable method is to start with the main subject and then layer on details about the style, lighting, and composition.
Let's break down the core components you need in your creative toolbox.
- Subject and Action: This is your starting point. Be vivid and clear about who or what is in the scene and what’s happening. Don't just say "woman smiling." Try something like, "a young influencer with freckles laughing joyfully."
- Style and Aesthetic: This sets the whole vibe. Do you want it to look like a pro photograph, a still from a vintage movie, or even an oil painting? Using terms like "photorealistic," "cinematic," or "shot on Portra 400 film" gives the AI powerful stylistic clues.
- Lighting: This is absolutely critical for realism. You have to specify the light source and its quality. Is it "soft morning light filtering through a window," a "dramatic golden hour sunset," or "glowing neon city lights at night"?
- Composition and Framing: Tell the AI how to frame the shot. Use real photography terms like "full-body shot," "close-up portrait," "wide-angle," or "shot from a low angle." This gives you direct control over the perspective.
When you start combining these elements, you're no longer giving the AI a vague request—you're handing it a professional, detailed brief.
Injecting Photographic Realism with Technical Details
If you really want to level up your images, start thinking like a photographer and include technical camera specs in your prompts. AI models are trained on billions of images, and many of those images have metadata about the cameras, lenses, and settings used to capture them. You can tap into that knowledge.
For example, adding "85mm lens, f/1.8" tells the AI you want that classic portrait look with a beautifully blurred background (bokeh), which immediately makes the image feel more professional. Likewise, specifying "shot on a Canon EOS 5D Mark IV" can influence the final image's color science and grain, nudging it toward a specific camera's signature look.
The more specific your technical language, the less the AI has to guess. It's your most direct way to control the subtle qualities that make an image feel authentic and professionally shot.
Here’s a quick look at how you can build a prompt from something simple to something that delivers professional results.
Effective Prompt Components Breakdown
Building a prompt is like assembling a recipe. Each ingredient adds a layer of flavor and detail, turning a simple idea into a fully-realized concept. This table breaks down how to layer these components to get exactly what you want.
| Component | Description | Example Usage |
|---|---|---|
| Subject | The core focus of your image. Be specific. | a young influencer with long brown hair |
| Action | What the subject is doing. Make it dynamic. | laughing while holding a cup of coffee |
| Setting | The environment or background. | at an outdoor Parisian cafe on a cobblestone street |
| Style | The overall aesthetic and feel. | cinematic, photorealistic, candid shot |
| Lighting | The source and quality of light. | soft morning light, golden hour glow |
| Camera/Lens | Technical details to mimic a real camera. | shot on a Canon EOS 5D, 85mm lens, f/1.8 |
By combining these elements, you’re not leaving anything to chance. You're guiding the AI with a clear, professional vision that results in a much higher quality output.
The Power of Negative Prompts
Telling the AI what you want is only half the battle. You also have to tell it what you don’t want. That’s where negative prompts come in, and they are a complete game-changer. Think of them as your quality control filter, helping you weed out common AI flaws before they ever show up.
We’ve all seen the classic AI fails: distorted hands with six fingers, unnaturally smooth skin, a weirdly blurry background, or an image that looks more like a cartoon than a photo. You can actively fight these problems by listing them in your negative prompt.
A solid, all-purpose negative prompt I use often looks something like this:
deformed, mutated, disfigured, blurry, ugly, bad anatomy, extra limbs, extra fingers, poorly drawn hands, plastic, cartoon, 3d render
For influencers who need a realistic aesthetic, adding terms like "illustration, painting, CGI, unrealistic" is essential. It tells the AI to stay strictly in the photographic lane. If you consistently use a well-crafted negative prompt, you'll save yourself tons of time and frustration from having to re-roll images to fix basic mistakes. To go even deeper on this, check out our complete guide to AI image prompts.
Advanced Workflows for Next-Level Realism
Getting a solid base image from your prompt is a great start, but it’s really just the beginning. The real magic happens in post-production. This is where professional creators and top-tier influencers take a good AI image and make it truly breathtaking—the kind of image that's almost indistinguishable from a professional photograph.
Think of it this way: the initial generation is your raw footage. Now, it's time to edit. Two of the most powerful techniques in your toolkit will be face swapping and high-fidelity upscaling. Once you get the hang of these, you’ll be able to build a cohesive and believable AI persona that truly connects with an audience.
Using Face Swapping for Consistent Characters
Let's be honest, one of the most frustrating parts of AI image generation is keeping your character consistent. You can get the perfect shot, but the face is just a little... off. Or you run the same prompt again, and suddenly your character looks like a distant cousin. This is where face swapping becomes a game-changer.
Instead of trying to nail the perfect face, outfit, and background all in a single, complex prompt, you can break the process down. It’s far more efficient.
- First, generate the scene. Concentrate on getting the body pose, the lighting, and the environment exactly right. Don't stress if the face doesn't perfectly match your character yet.
- Then, swap the face. Take your trained AI character's face—the one you use consistently—and superimpose it onto the new image. Suddenly, your influencer looks identical across every photo, whether they’re at the beach or a rooftop bar in the city.
This workflow is the secret sauce behind those perfectly curated, cohesive Instagram feeds. It gives you incredible creative freedom and lets you build a recognizable digital identity that followers can actually connect with.
Pro Tip: For a seamless swap, pay close attention to the lighting. If your source face is lit from the side, it's going to look pretty weird pasted onto a body that's lit from the front. Try to match the lighting direction and temperature as closely as possible.
For those who really want to dive deep and get granular control, mastering techniques like Stable Diffusion img2img can open up a whole new world of possibilities.
High-Fidelity Upscaling for Pro-Level Detail
An image straight out of the AI generator is usually a standard resolution, something like 1024x1024 pixels. That's fine for a quick look, but it’s not going to cut it for professional use. It will look pixelated and blurry when viewed on a larger screen. This is where upscaling comes in.
High-fidelity upscaling isn’t just about making the picture bigger; it’s about making it better. The AI intelligently adds new detail, sharpening textures and refining lines instead of just stretching the pixels. A good upscaler can take a standard-res image and blow it up to a 4K or even 8K masterpiece, bringing out details you didn’t even know were there—like the subtle weave of fabric or the texture of skin.
This all starts with a great prompt, which lays the foundation for an image worth the extra effort.
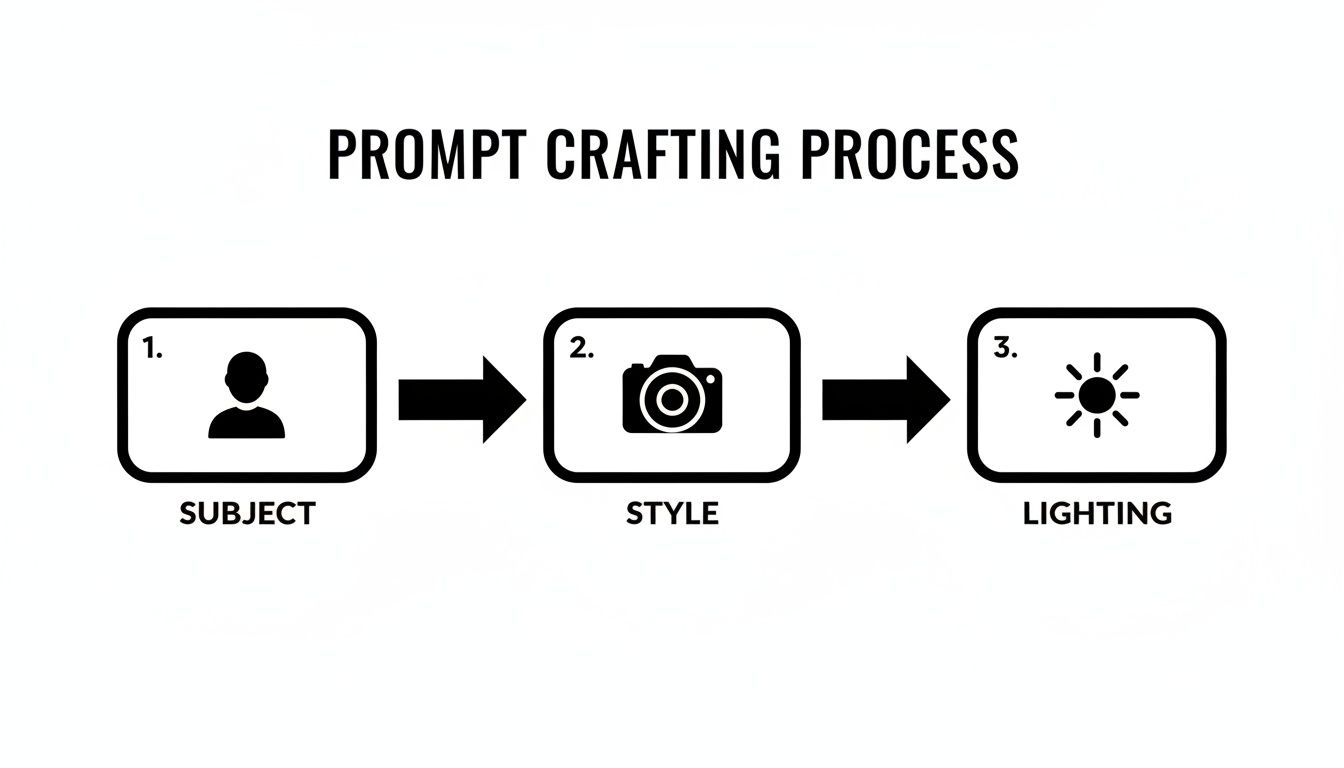
As the diagram shows, breaking your prompt down into core components like Subject, Style, and Lighting is the first step toward getting that high-quality result.
The difference between a standard and an upscaled image is night and day. A regular image might look okay on your phone, but an upscaled version looks crisp and stunning on a big monitor or even in print.
If you want to explore this further, we've put together a guide on the best free AI image upscaler tools out there right now. It's a great place to start finding the right tool for your workflow.
How to Turn Your AI Creations Into Cash
Once you get the hang of creating stunning AI images, you’re not just an artist—you're an entrepreneur. The real game-changer is learning how to turn those pixels into profit. It’s all about shifting your perspective from simple creation to building a business around your new skill.
And make no mistake, this is a booming industry. The market for AI image generators is projected to rocket from USD 9.10 billion in 2024 to an eye-watering USD 63.29 billion by 2030. That's a compound annual growth rate of 38.16%. For creators like you, this explosive growth spells one thing: massive opportunity.
Create and Grow an AI Influencer
One of the most popular ways to make money right now is to build your own AI influencer. Think of it as creating a digital celebrity from scratch on platforms like Instagram or TikTok. This isn't just about posting cool images; it’s about crafting a personality, a backstory, and a community that people connect with.
As your AI persona's following grows, so does the interest from brands. Sponsorships and paid collaborations are a natural next step. Companies are constantly searching for innovative ways to connect with customers, and a virtual influencer offers them a unique and highly controllable marketing channel. Imagine your AI character showcasing the latest fashion, tech gadgets, or even travel destinations.
Sell Your Content on Creator Platforms
There's a massive appetite for AI-generated content, especially on creator-focused platforms like Fanvue. Top creators are already pulling in serious monthly income by selling exclusive photo sets and custom content to their subscribers.
This model lets you earn directly from your audience. You can set up different subscription tiers, offering everything from behind-the-scenes content to personalized image requests. It's a powerful way to build a business around your digital muse. The key is to stay consistent and really listen to what your audience wants. For a more detailed breakdown, check out our guide on making money using AI.
Think of your AI model as a digital talent you manage. You can tap into the creator economy by producing high-quality, desirable content that your audience is happy to pay for.
Offer AI Image Generation as a Service
If you have a knack for this, you can offer your skills as a service. Many businesses desperately need custom visuals for marketing, social media, or their websites, but they don't have the in-house expertise or budget for traditional photoshoots.
You can step in as a specialist, creating bespoke imagery for clients faster and more affordably than ever before. This could look like:
- Custom Marketing Visuals: Crafting unique images for a specific ad campaign.
- Product Mockups: Generating photorealistic shots of products in any environment imaginable.
- Social Media Feeds: Supplying a client with a consistent stream of on-brand images.
Don't forget about affiliate programs, either. Many of the AI tools you're already using have programs that pay you for referring new users. By sharing your favorite tools with your followers or clients, you can build a nice, steady stream of passive income that complements your main hustle.
A Quick Word on the Legal and Ethical Stuff
Creating incredibly realistic images of people, especially when they're based on actual photos, is more than just a technical exercise. It comes with some serious responsibilities. As you get the hang of making AI images, you absolutely have to know where the ethical and legal lines are drawn. This isn't just about CYA (Cover Your Assets); it's about building a brand that people trust and respect.
The single most important word here is consent. When you train an AI model on someone's likeness—even your own—you're working with personal data. Using another person's photos without their direct, informed permission is a huge ethical no-no and can get you into a world of legal trouble.
Consent, Deepfakes, and Staying Out of Trouble
Let's be blunt: creating unauthorized "deepfakes" is not just shady, it's often illegal. Many places have specific laws against creating and sharing non-consensual intimate images, and the penalties are no joke. Even if the content isn't explicit, using someone's face for your own commercial gain without a contract can easily trigger a lawsuit over their right to publicity.
Here’s a simple rule to live by: if you don’t have clear, written permission, don't do it. It’s that easy. This protects you, your brand, and most importantly, it shows respect for the people whose images you're using. A long-term career in this space is built on trust, and that foundation starts with doing things the right way.
So, Who Actually Owns Your AI Art?
The copyright situation with AI-generated images is still a bit murky legally, but a general understanding is starting to take shape. Here's how it currently breaks down:
- Purely AI-Generated Images: If you just type a text prompt and the AI spits out an image without much creative involvement from you, that image generally can't be copyrighted. The U.S. Copyright Office has been pretty firm that works need human authorship to qualify for protection.
- AI Art with a Human Touch: Now, if you take that AI image and put in significant work—like digital painting, heavy photo-editing, or combining it into a larger collage—the final piece might be copyrightable. The copyright would only cover your creative additions, not the original AI-generated part.
- Images Based on Your Own Photos: This is the key for most creators. When you train a model on your own pictures to generate images of yourself, you almost always own the commercial rights to the results. The platform's terms of service will have the final say, but you're typically free to use and monetize these creations.
Your power to use, sell, or license your AI images comes down to two things: the source material and the platform's rules. Always, always read the terms of service before you even think about building a business around your AI creations.
Be Honest With Your Audience
For any creator or influencer, your relationship with your audience is everything. Honesty is non-negotiable. Your AI-generated content might look indistinguishable from reality, but you need to be transparent about it. Trying to pass off your AI model as a real person is a ticking time bomb that can demolish the trust you've spent so long building.
Look at the most successful AI influencers out there—many are completely open about their digital origins. They lean into it, building a story around being a virtual persona, and audiences love it. This kind of transparency doesn't just keep you out of ethical hot water; it can become a compelling part of your brand. It shows you're a forward-thinking creator exploring a new frontier, and you're doing it with integrity.
Your Top AI Image Questions, Answered
Jumping into AI image generation brings up a lot of questions. It's totally normal. Getting a handle on the key details from the start can save you a ton of headaches and help you get those professional-looking results much faster.
Let's clear up some of the most common things people ask.
How Many Photos Do I Really Need for a Good AI Avatar?
This is probably the number one question I get. For a really solid, realistic result, you'll want to use between 10 to 20 high-quality photos. The key here isn't just the number, but the variety.
Think of it like giving the AI a complete 3D scan of you using 2D images. You need to provide photos showing your face and body from multiple angles, in different lighting conditions, and with a range of expressions. Happy, serious, looking left, looking right—mix it up.
A pro tip: Ditch any photos where you're wearing sunglasses or heavy makeup, and definitely don't include shots with other people in them. The cleaner and more varied the photos you feed the AI, the more accurate and flexible your final avatar will be.
Can I Actually Sell the AI Images I Make?
For the most part, yes, but you have to pay attention to the fine print. The answer really boils down to the generator's terms of service and what you used to create the image.
- If you create an image from a pure text prompt (no faces involved), you generally own the commercial rights to that image.
- When you train an avatar on your own photos, you also own the rights to the images you generate with it.
But here’s where you have to be careful: creating and selling images based on another person's likeness without their crystal-clear, explicit consent is a legal minefield. Don't do it.
What's the Trick to Fixing Mangled Hands and Weird Faces?
Ah, the classic AI hands problem. We've all been there. This is a super common hiccup, but thankfully, it's getting easier to fix. Your two best friends here are negative prompts and inpainting.
First, beef up your negative prompt. Start adding terms like 'mutated hands, extra fingers, deformed face, blurry, poorly drawn hands' to tell the AI exactly what to avoid. This often cleans up a surprising amount of the weirdness.
If you still have a stubborn issue, that's when you turn to a refinement tool like inpainting or rerendering. These features let you draw a mask over the messed-up part of the image—like a weird thumb or a wonky eye—and have the AI regenerate only that specific spot. You can keep rerolling just that section until it looks perfect, giving you surgical control over the final details.
Ready to build your own stunning AI influencer? With CreateInfluencers, you can generate high-resolution images, create themed photoshoots, and maintain a consistent character with just a few clicks. Sign up for free today and bring your digital persona to life.