How to Take Better Selfies A Practical Guide
Learn how to take better selfies with our practical guide. Discover expert tips on lighting, angles, posing, and editing to capture amazing self-portraits.
Want to take a better selfie? It really just comes down to three things: finding great light, hitting the right angle, and letting your real expression shine through. You don't need a fancy camera or expensive equipment—the secret is just making a few smart tweaks before you hit that capture button.
The Art of the Modern Selfie
The selfie has come a long way. It's no longer just a quick photo; it’s a powerful tool for personal branding, a way to tell your story, and a means of connecting with others.
In a world that values authenticity, taking a better selfie is really about capturing a version of yourself that feels both genuine and confident. The goal isn't to create some impossibly flawless image. It’s about snapping a photo that shows off your actual personality. This guide will help you move past random, awkward snapshots and start creating self-portraits with purpose.
Your Smartphone is Your Best Friend
Thanks to huge leaps in mobile technology, the camera you carry around in your pocket is more than powerful enough to take incredible photos. Smartphones have completely changed the game. In fact, they’re now used to take a staggering 92.5% of all photos worldwide.
This trend is especially true for younger generations. A whopping 95% of people between 18 and 24 have taken selfies, with self-portraits making up about a third of all the pictures they take. If you want to dive deeper into these numbers, you can review the full mobile photography statistics.
This means everyone has the power to master the art of the selfie. It’s not about owning the newest phone—it’s about knowing the fundamentals.
A great selfie isn't about looking perfect. It’s about capturing a moment of genuine confidence and personality. The best photos feel authentic, not staged.
Whether you're trying to step up your social media game, polish your professional profiles, or even explore AI-powered content creation, your selfie skills are a huge asset. For those curious about the future of digital personas, our guide on how to create AI influencers is a great place to start.
Quick-Start Selfie Checklist
Before you snap your next picture, run through this quick checklist. Thinking about these four elements will instantly improve your results.
| Element | Why It Matters | Quick Tip |
|---|---|---|
| Lighting | Good light is the #1 factor for a clear, flattering photo. It smooths skin and adds life to your eyes. | Face a window or a soft light source. Avoid harsh overhead lighting or direct sun. |
| Angle | The wrong angle can create unflattering shadows or distort your features. The right one highlights your best self. | Hold the phone slightly above eye level and tilt it down. Experiment by turning your head slightly. |
| Background | A cluttered or distracting background takes the focus off you. | Find a simple, clean backdrop. A plain wall, an interesting texture, or a blurred outdoor scene works well. |
| Expression | A forced smile or stiff pose looks unnatural. Authenticity connects with people. | Think of something that genuinely makes you happy. Try a soft smile, a laugh, or even a thoughtful look. |
Keeping these simple points in mind is the fastest way to move from mediocre snapshots to selfies you're proud to share.
Mastering Light and Composition
If you only nail one thing in your selfies, make it the lighting. Seriously. Good light is the secret sauce that takes a photo from just okay to absolutely stunning. It has this incredible ability to smooth out your skin, make your eyes sparkle, and set a mood that feels both genuine and professional.
And the best part? The most flattering light you can find is totally free. It’s the natural light from the sun, and all you need to do is learn how to work with it.
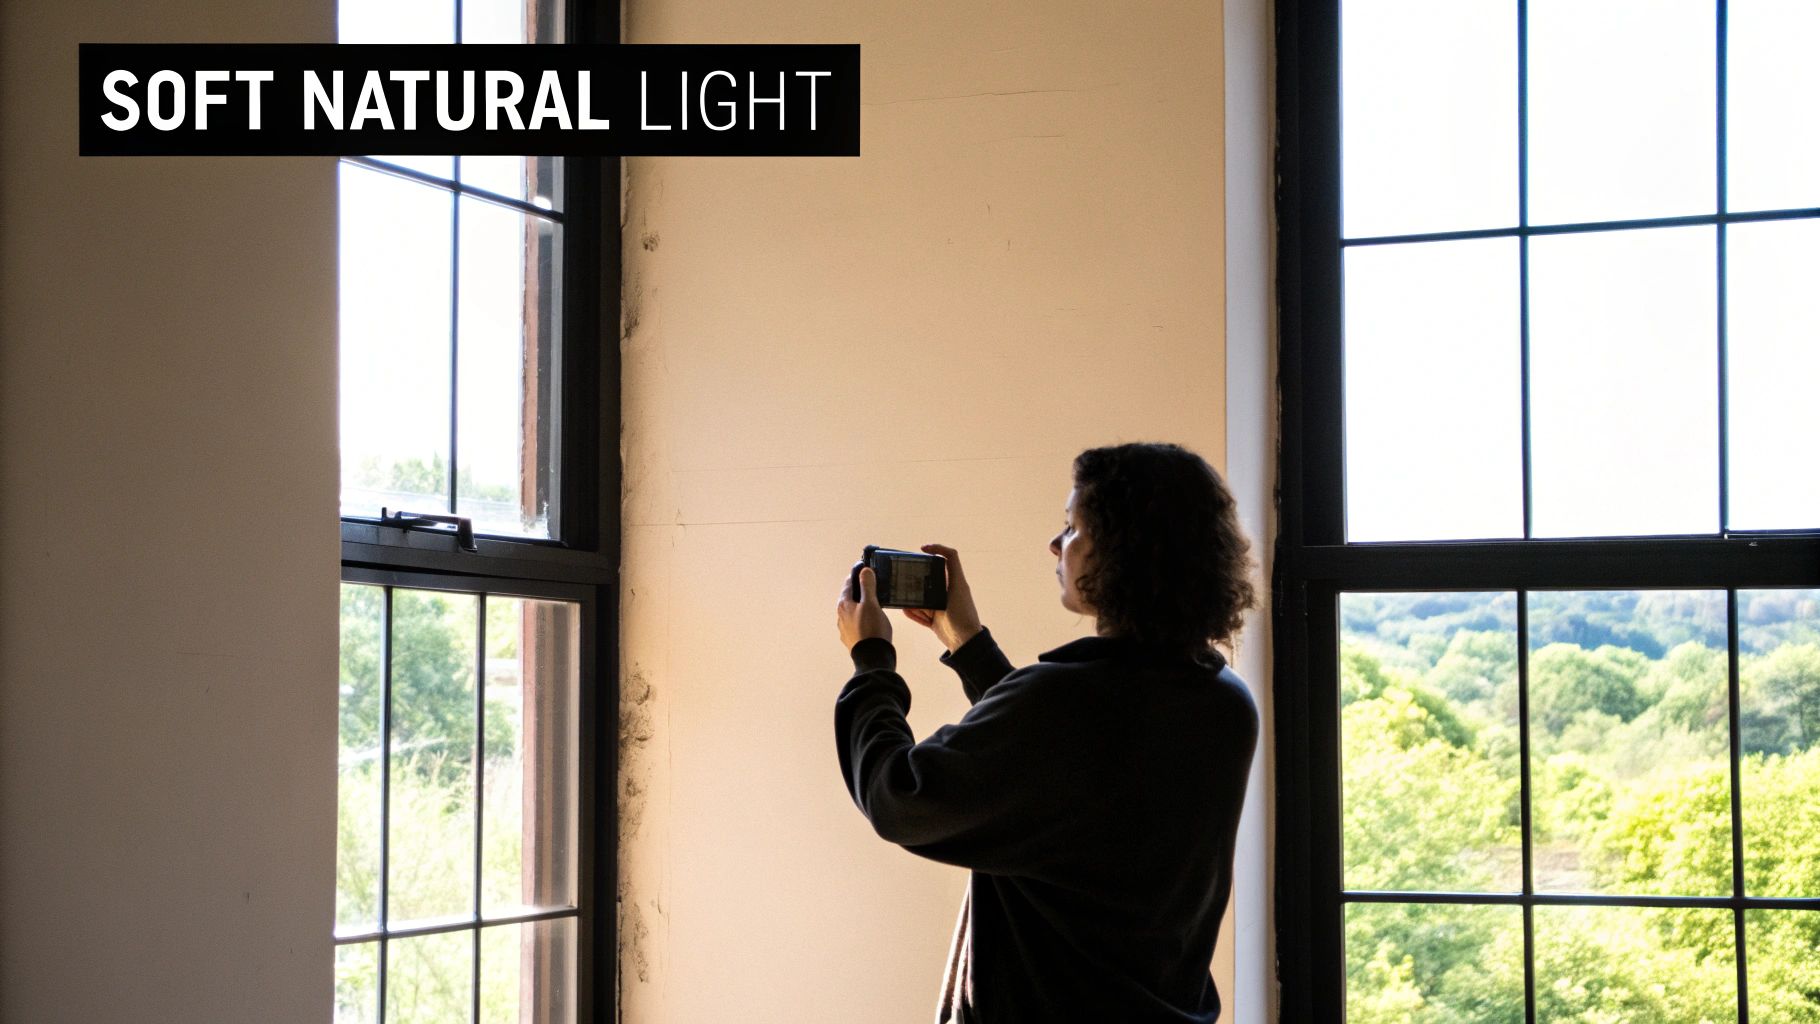
Hunt for the Best Natural Light
Before you even think about your pose, find a window. Facing a window bathes your face in soft, even light that erases harsh shadows and gives you a natural glow. It’s like having your own personal softbox, but without the price tag. If the window has sheer curtains, even better—they act as a perfect diffuser.
What you really want to avoid is direct, overhead sunlight. That’s the kind you get at high noon, and it’s notorious for creating those dark, unflattering shadows under your eyes and nose. Photographers call this "panda eyes," and it's a look nobody wants. Instead, seek out what’s called open shade. Think of the bright area just under a building’s awning or beneath a leafy tree on a sunny day. It’s bright, but not direct.
And then there’s the holy grail of light: the golden hour. This magical window happens shortly after sunrise and just before sunset. The light becomes incredibly soft, warm, and golden, casting long, beautiful shadows. A selfie taken during this time will instantly have a dreamy, professional-grade feel.
Pro Tip: If you're shooting indoors, do yourself a favor and turn off the overhead lights. Mixing the cool tones of natural light with the warm, yellowy light from a lamp can create some really weird color casts on your skin. Stick to one good light source for the cleanest look.
Make Composition Simple with the Rule of Thirds
Okay, you've found your perfect light. Now, where do you put yourself in the frame? This is where composition comes in, and the easiest way to make your selfies more dynamic is by using the Rule of Thirds. It’s a classic trick that instantly makes your photos more visually appealing.
Your phone almost certainly has a grid feature you can turn on in your camera settings. This grid overlays your screen with nine equal squares, giving you a guide.
- Switch on your camera grid. You can usually find this in
Settings > Camera > Composition. Just toggle the "Grid" option on. - Position yourself off-center. Instead of sticking your face right in the middle of the shot, line up your face with one of the vertical grid lines.
- Align your eyes. For an even stronger photo, try to place your eyes along the top horizontal line.
This small shift creates a more balanced, engaging image. It naturally guides the viewer's eye around the frame instead of just locking it in the center. It’s a tiny adjustment that makes a massive difference. Mastering fundamentals like this is key, and you can dive into more creative strategies in our other detailed influencer guides.
4. Find Your Angles and Pose with Confidence
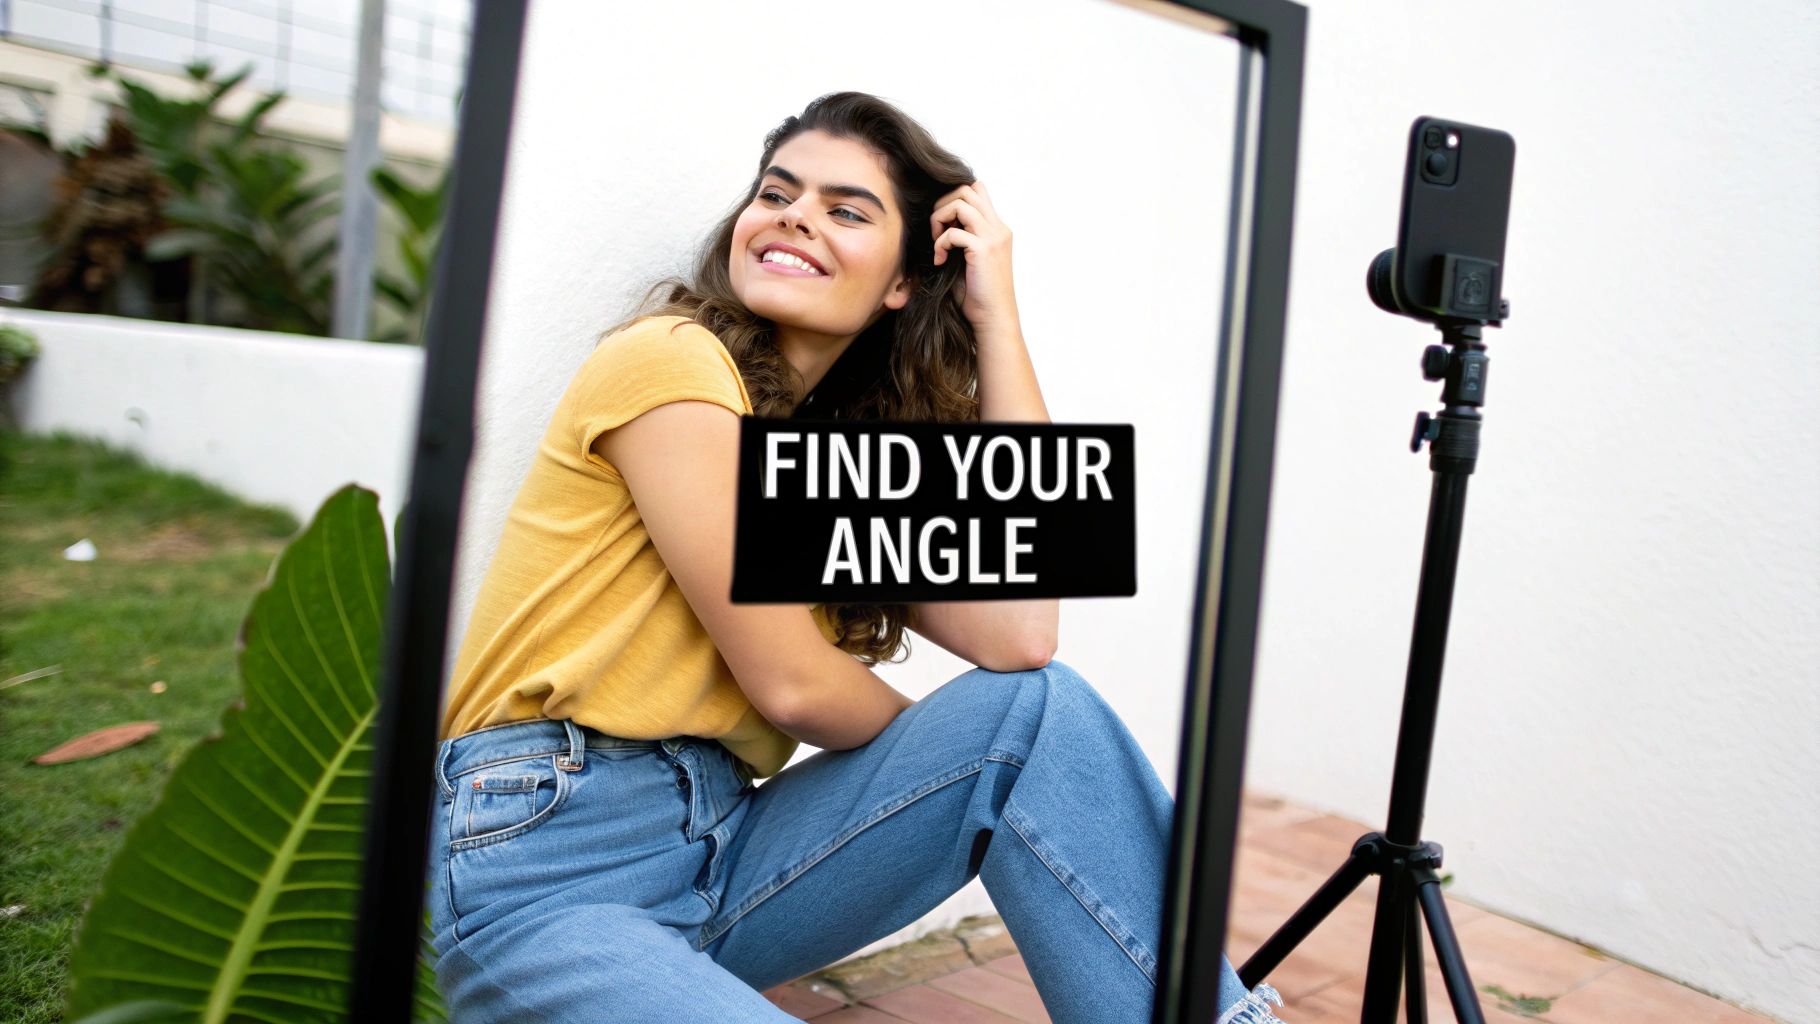
Let’s be honest, posing for a selfie can feel really awkward at first. But it absolutely doesn’t have to be. The real secret to a great shot is finding a pose that feels natural to you and lets your personality come through. It’s time to ditch the stiff, forced smiles and find poses that just ooze genuine confidence.
This part is all about experimenting. Forget the myth of having a universal "best side"—your most flattering angles can change with the lighting, your mood, or even the outfit you’re wearing. The end goal is to feel comfortable enough in front of the camera that your authentic self shines through.
Recent trends show a big move toward more authentic, unpolished photos that often perform better than perfectly staged shots. The #1 reason people take selfies today is to ‘capture a memory,’ which really drives home that desire for genuine expression.
Small Tweaks for a Better Headshot
You’d be surprised what a few tiny adjustments can do for a headshot selfie. Instead of just staring straight into the camera, try introducing some subtle movement.
A slight tilt of the head, for example, can make a photo feel instantly more dynamic and less like a passport picture. Tilting your head to one side or the other changes how shadows fall on your face, highlighting your features in new and interesting ways.
Here's another trick that feels a little weird but works wonders: gently push your chin forward and slightly down. This move, sometimes called "turtling," is amazing for defining your jawline and getting rid of any hint of a double chin.
Pro Tip: Try holding your phone just above eye level and angling it down. This classic angle is popular for a reason—it makes your eyes look bigger and has a natural slimming effect on your face.
Posing for Mirror and Full-Body Selfies
When you're capturing more than just your face, your posture becomes everything. A full-body or mirror selfie is your chance to show off your style and create some really interesting lines with your body.
The key is to avoid standing rigidly straight. Instead, give these simple techniques a try to create a more relaxed and flattering shape:
- Shift your weight. Put your weight onto one leg. This creates a natural, effortless curve in your hip.
- Create some space. Don't press your arms flat against your body. Placing a hand on your hip or tucking it into a pocket creates a gap that helps define your waist.
- Try the "S-Curve." Gently twist your torso and angle one shoulder slightly towards the camera. It’s a universally flattering pose that creates dynamic, appealing lines.
If you want to take it a step further, mastering some simple contouring techniques for enhancing your facial features can really make your bone structure pop. And as you start sharing these stunning selfies, you might even think about turning your influence into income. Our resources at https://createinfluencers.com/affiliate can be a great place to start exploring those options.
Choosing Backgrounds That Enhance Your Photo
The background of your selfie isn't just empty space—it’s the stage for your shot. It sets the mood and tells a story. A messy, cluttered, or just plain boring background can completely kill the vibe of an otherwise great picture, drawing attention away from the one thing that matters: you.
But the right background? That can elevate your selfie from a simple snapshot to a fantastic portrait. It frames you perfectly and makes you the undeniable focus.
Before you even raise your phone, think about the story you want to tell. A clean, neutral-colored wall gives you that classic, minimalist portrait look. It's great for professional shots or anytime you want your facial expression to be the main event. On the other hand, a vibrant city mural, a cool architectural feature, or a gorgeous natural landscape injects personality and context, making your selfie feel much more alive and interesting.
The secret ingredient here is intentionality. Just take a half-second to scan what’s behind you. Is there a rogue pile of laundry? A person walking into your shot? A crooked picture on the wall? A quick glance and a small shift in position can be the difference between a keeper and a photo that goes straight to the trash folder.
Create Depth with Portrait Mode
One of the best tools for controlling your background is probably already in your pocket. Portrait Mode is a game-changer, using software to mimic the shallow depth-of-field effect you see in professional photography. It beautifully blurs the background, leaving you perfectly sharp and in focus.
This effect, known as bokeh, is your best friend when the background is too busy or just not very appealing. It instantly separates you from your surroundings, pulling the viewer's eye right where you want it. It's a lifesaver in a few common situations:
- Crowded places: Magically blur out the chaos of a busy street festival or a packed coffee shop.
- Nature scenes: Soften a complex backdrop of trees and leaves to make your face stand out.
- Everyday settings: Transform your living room into a studio-like setting by blurring out the furniture behind you.
Prioritize Safety Above All Else
Look, I get it. We all want that epic shot with a jaw-dropping background. But in the heat of the moment, it's easy to forget what's most important: your safety. Chasing a dramatic selfie in a dangerous spot can have truly devastating results.
One of the most critical, and yet most overlooked, parts of taking a great photo is simple situational awareness. Some of the most stunning locations are also the most hazardous if you're not paying attention.
This isn't me being dramatic; the statistics are sobering. Between March 2014 and May 2025, there were 425 documented deaths across the globe from selfie-related accidents. A shocking 46% of these were from falls from high places like cliffs, waterfalls, and rooftops. You can read more about these selfie safety statistics to get a clearer picture of the risks.
No photo, no matter how many likes it might get, is worth your life. Always watch your footing, stay a safe distance from edges, and never, ever let the quest for the perfect shot compromise your personal safety.
6. Edit Your Selfies for a Natural, Polished Look
https://www.youtube.com/embed/sLgHqZSe2o0
Think of editing as the final polish on your selfie, not a complete overhaul. The goal here is subtle enhancement. We want to bring out the best in the photo you already took, making it look crisp, vibrant, and—most importantly—still like you.
Heavy, obvious filters are a thing of the past. The new standard is all about gentle, thoughtful adjustments. In fact, the best edits are the ones nobody even notices.
A Simple Editing Workflow to Start
Jumping into a photo editing app can feel like stepping into a cockpit with a million buttons and sliders. It's easy to get overwhelmed. The good news is you only need to master a few key adjustments to make a huge difference.
I personally recommend apps like VSCO, Snapseed, or the mobile version of Adobe Lightroom because they give you precise control instead of just slapping on a generic filter.
For a clean, repeatable process, try making your adjustments in this order:
- Straighten and Crop: This should always be your first step. Fix any tilted horizons or awkward framing. A level photo just feels more professional. You can also crop in to remove distracting background elements and tighten up your composition.
- Adjust Exposure (Brightness): Is the photo a bit too dark? Gently nudge up the exposure. A word of caution: a little goes a long way here. Be careful not to "blow out" the highlights, which is when the brightest parts of your image lose all detail and just become white blobs.
- Tweak the Contrast: Contrast is simply the difference between the light and dark areas of your photo. Giving it a small boost adds depth and dimension, preventing your selfie from looking flat.
- Enhance Vibrance (Not Saturation): This is a pro-tip. Always reach for Vibrance first. It's a smarter tool that boosts the less-saturated colors while leaving skin tones alone. Saturation, on the other hand, boosts all colors equally and can quickly make you look orange and unnatural. Use it with extreme caution, if at all.
My best advice on editing can be summed up in one word: restraint. The goal is to enhance the photo you took, not to create a fantasy version. If an edit is obvious, you’ve probably gone too far.
Handling Blemishes and Minor Imperfections
Hey, we're human. Pimples happen, and sometimes a stray hair has a mind of its own. Luckily, almost every good editing app has a "healing" or "spot removal" tool designed for exactly this.
This tool is incredible. You just tap on a small imperfection, and the app intelligently samples the texture and color from the surrounding skin to cover it seamlessly. It's like digital concealer.
Just remember to use this tool for temporary things, like a blemish or a piece of lint on your shirt. I’d advise against removing permanent features like moles, beauty marks, or scars—those are part of what makes you unique. The idea is to present a polished version of reality, not a fabricated one.
As this image shows, even simple background choices or subtle filters can dramatically change the vibe of your shot, making you the clear focus.
Popular Selfie Editing Apps Compared
With so many apps out there, it can be tough to choose the right one for your needs. I've broken down a few of the most popular options to help you decide which tool best fits your editing style.
| App Name | Best For | Key Features | Price |
|---|---|---|---|
| FaceTune | Detailed portrait retouching and glamour edits. | Skin smoothing, teeth whitening, face reshaping, makeup filters. | Freemium (with in-app purchases) |
| VSCO | Aesthetic, film-like filters and advanced controls. | High-quality presets, grain/fade tools, community platform. | Freemium (membership for full access) |
| Snapseed | Comprehensive, all-in-one free editing. | Selective adjustments, healing brush, huge range of tools. | Free |
| Adobe Lightroom Mobile | Professional-grade color and light correction. | RAW photo editing, presets, cloud sync with desktop. | Freemium (premium features require subscription) |
Each of these apps brings something different to the table. If you're looking for quick, powerful touch-ups, FaceTune is a classic. For a more artistic, moody vibe, VSCO is unmatched. Snapseed is a fantastic and free workhorse, while Lightroom is the go-to for those who want ultimate control over every detail.
Once you’ve perfected your selfie, the last thing you want is for a social media platform to ruin it with weird cropping or compression. Before you post, it's always a smart move to check a social media post dimensions guide. This ensures your hard work is displayed exactly as you intended.
Common Selfie Questions Answered
Even when you've got the basics down, certain little problems always seem to pop up when you're trying to nail the perfect selfie. Let's dig into some of the most common questions I hear and get you some clear, practical answers to fix them for good.
Sometimes, all it takes is one tiny tweak to solve a super frustrating issue.
How Do I Avoid a Double Chin in Selfies?
This is easily the number one frustration people have, but thankfully, it’s all about posture and camera angle. The main culprit is almost always shooting from too low, which squishes everything under your chin.
Here’s the fix: always hold your camera slightly above your eye level and tilt it down. Next, jut your forehead out just a tiny bit toward the camera. It feels weird, I know, but this little move stretches your neck and gives you a much sharper, more defined jawline. You'll be amazed at the difference it makes.
What Is the Best Way to Take a Selfie in Low Light?
Taking a selfie in a dark room or at night is a classic challenge. Your first instinct should be to find whatever light source is available—a lamp, a window, a neon sign—and face it directly. Whatever you do, avoid your phone's built-in front flash like the plague. It's harsh, creates weird shadows, and is the fastest way to get red-eye.
Instead, here's what actually works:
- Embrace Night Mode: If your phone has a "Night Mode," use it. This feature is a game-changer. It keeps the shutter open a bit longer to soak in more ambient light, giving you a surprisingly bright and clear shot.
- Try a Screen Flash: Apps like Snapchat and Instagram have a clever workaround where your entire screen lights up to act as a flash. It's a much softer, more flattering glow than the harsh little LED flash.
- Be Smart with Editing: If your photo still comes out a bit dark, don't give up. A good editing app can be your savior. Gently bump up the brightness and lift the shadows to bring out the details. Just be careful not to overdo it, or the photo will start to look grainy.
A natural smile can feel impossible to fake on command. Here’s a trick I love: right before you snap the photo, think of something that genuinely makes you laugh. Another great tip is to say a word that ends in an "uh" sound, like "mocha." It naturally parts your lips and lifts the corners of your mouth into a relaxed, effortless-looking smile.
Are Selfie Sticks Still a Good Idea?
One hundred percent, yes. They might have a bit of a touristy reputation, but selfie sticks are seriously practical tools, especially for two key situations: group shots and travel photos.
A selfie stick gives you a wider perspective that's just not possible at arm's length. That extra distance means you can fit all your friends in the frame or capture the stunning landscape behind you without that slightly distorted look front-facing cameras can create up close. For capturing memories with people or showcasing an epic view, a selfie stick is still an invaluable accessory. For more advice on building a great social media presence, you can find a ton of insights on our CreateInfluencers blog.
Ready to see what your best selfies can really do? With CreateInfluencers, you can turn your favorite shots into incredible AI avatars and pro-level images in just a few minutes. Start creating for free today and see the magic for yourself!