How to Improve Photo Quality: Pro Tips for Sharper Images
Discover how to improve photo quality with pro lighting, shooting routines, and editing tips to capture vibrant, sharp images.
Improving photo quality kicks off with six key focus areas: device settings, lighting and composition, shooting habits, editing workflow, AI upscaling, and export settings. Tackle each one deliberately, and you’ll notice sharper edges and richer colors in every shot.
Photo Quality Improvement Roadmap
This roadmap lays out the pivotal actions that transform raw captures into polished photos. Working through these steps in order ensures you’re building a solid foundation before diving into detailed edits.
Below is a quick glance at each workflow stage and why it matters.
Core Steps To Boost Photo Quality
| Workflow Step | Core Action | Primary Benefit |
|---|---|---|
| Device Settings | Set maximum resolution and enable RAW capture | Cleaner files with more data |
| Lighting And Composition | Rely on natural light and follow framing rules | Balanced exposure and strong focus |
| Shooting Habits | Stabilize camera and bracket exposures | Consistently sharp images |
| Editing Workflow | Apply noise reduction and color grading | Professional, polished look |
| AI Upscaling | Use HyperReal-style enhancement | Restored detail on low-res photos |
| Export Settings | Pick the right format and color profile | Optimal display on each platform |
Use this table as your checklist to track progress from capture through export.
Starting at the source is crucial. Open your camera’s menu and dial in maximum resolution, then switch on RAW capture. That extra data makes highlight recovery and noise control far easier in post.
- Fine-tune device settings to get the cleanest base file.
- Leverage proper lighting to minimize heavy noise reduction later.
- Keep your framing consistent to reduce wasted frames.
Once your shots are well-exposed, move into editing. Apply denoise tools sparingly—overdoing it softens fine details and flattens textures.
Key Takeaway
Attention to detail from capture all the way through export is what truly elevates final image quality.
Practical Example From Portrait Session
Picture a portrait bathed in soft window light, shot in RAW. That setup lets you push skin retouching and recover highlights without introducing color shifts.
After your round of gentle edits, an AI upscaling pass can bring back lifelike textures—especially on eyes and hair.
- AI enhancement performs best when the subject is evenly lit.
- Export JPEG at 85% quality for social feeds, or go PNG for maximum crispness.
- On dating apps, resize to smaller dimensions so images load instantly.
Discover more AI-driven image and avatar tools on the CreateInfluencers platform.
Optimizing resolution and lighting up front slashes editing time later. Each step builds on the last, turning casual snaps into work you’ll be proud to share, print, or publish online.
This guide equips you to refine every phase with confidence. Next, dive deeper into camera settings to capture the cleanest shots possible.
Optimize Camera And Phone Settings
Getting sharp, detailed photos starts before you even raise the camera to your eye. I always set my gear to its highest resolution and most flexible format. Later, those extra bits of data give me room to recover highlights and shadows with ease.
Most phones let you choose between JPEG, HEIF, and RAW capture. If you’re serious about editing, switch to RAW. The uncompressed sensor data keeps noise to a minimum and preserves every nuance.
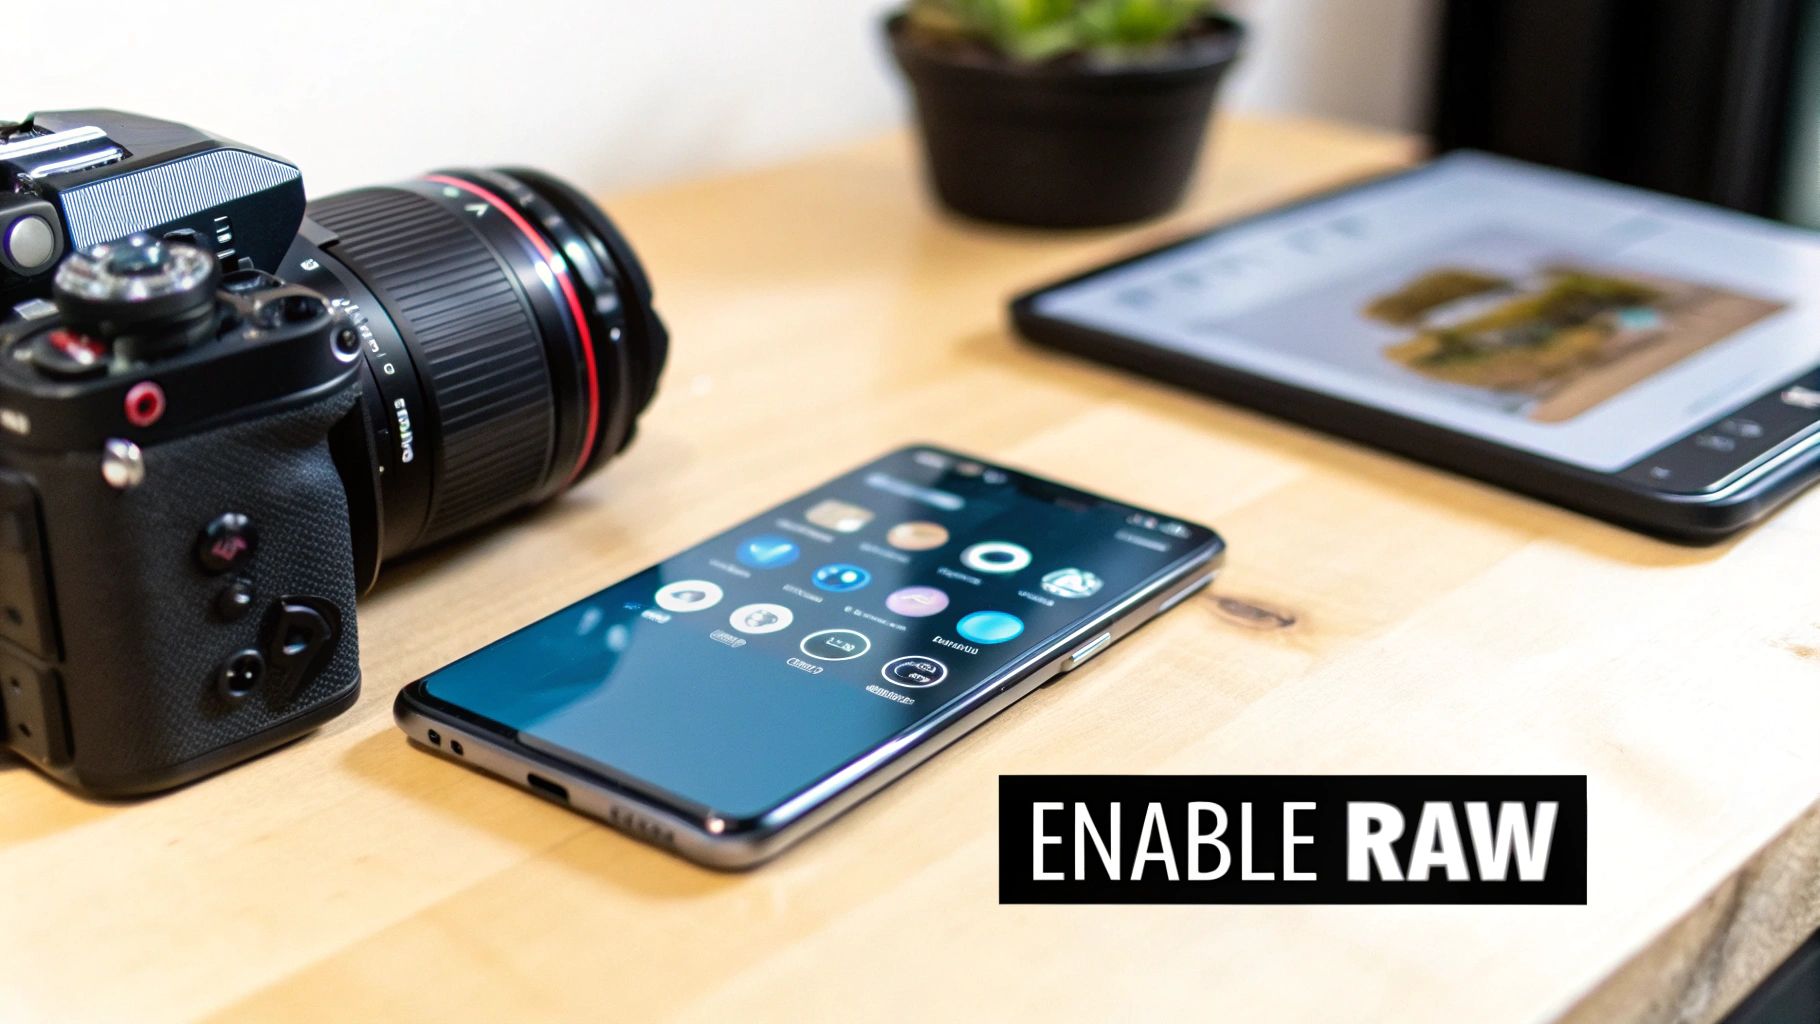
This screenshot highlights where to toggle RAW capture and HDR modes. You’ll see cleaner shadows and more detail across bright skies when these are engaged.
Key Phone Settings
- Resolution & Format: Choose HEIF or RAW for maximum editing flexibility
- Dynamic Range Mode: Enable HDR (or Night on some devices) to balance highlights
- Frame Rate: Stick with 30fps for stills and 60fps if you plan to crop into video
Key Takeaway
Using RAW and HDR+ on smartphones can halve noise and boost detail without extra gear
Choosing Resolution And Format
On a mirrorless or DSLR, crank the resolution up to its maximum megapixel count. Flip on RAW in the file settings. This preserves every tonal value so you can recover shadows or rein in highlights later.
I usually dial in ISO 100–400 for daylight scenes to keep noise at bay. Apertures around f/2.8–f/5.6 strike a nice balance between depth of field and sharpness. Match shutter speed to your subject—faster for sports, slower for motion blur.
File Settings Checklist
- Select RAW or uncompressed TIFF in the camera menu
- Confirm resolution is set to its highest value
- Double-check ISO, aperture, and shutter speed before shooting
Smartphone cameras have come a long way thanks to multi-frame processing and AI-driven noise reduction. Built-in night modes can nearly double your dynamic range in low light. Learn more about smartphone camera evolution on WEF.
Hidden UI Tweaks For Sharper Shots
Turn on grid lines and watch your composition improve instantly. In low-contrast scenes, lock exposure and focus with AE/AF. Those small tweaks add up when you’re after consistency.
Essential UI Controls
- AE/AF Lock: Freeze exposure and focus on tricky subjects
- Histogram Overlay: Keep an eye on highlights and shadows in real-time
- Level Indicator: Line up horizons without guessing
Switching to Pro or Manual mode on your phone unlocks control over ISO and shutter speed. Custom white balance lets you nail accurate colors, no matter the lighting. I often test different lens correction profiles to avoid edge distortion.
Sharper images start with confident button presses and consistent settings
Train your muscle memory on key UI controls for faster reactions
Testing And Confirming Settings
Before any shoot, I grab a handful of test frames both outdoors and indoors. Reviewing them at full size on a laptop reveals any surprises early on. This quick check helps adjust ISO, aperture, or shutter speed before the real work begins.
Test Routine
- Shoot a high-contrast scene to evaluate dynamic range
- Capture a low-light shot and zoom in to inspect noise levels
- Photograph a moving subject at shutter speeds from 1/60s to 1/250s
Once, I found my mirrorless was stuck at ISO 800 indoors. Switching to ISO 400 and opening the aperture sharpened every detail. Comparing RAW and JPEG on the spot also shows which format handles color better.
Run a quick feedback loop on test shots to avoid surprises later
Sticking to these checks means less guesswork in post and consistently strong results from shoot to shoot.
Master Lighting And Composition
Creating a standout image starts long before you press the shutter. It’s all about balancing structure with the way light falls across your scene.
Mixing composition rules with deliberate lighting choices guides the viewer’s eye and adds a sense of depth.
| Rule | Impact |
|---|---|
| Leading Lines | Guides the eye through the scene |
| Rule of Thirds | Creates balanced layouts |
| Framing | Emphasizes subject focus |
Composition Techniques
Leading lines carve a path for the gaze—think country roads or urban canyons.
Positioning your subject at the intersections of a grid brings harmony through the Rule of Thirds.
Look for natural frames—doorways, arches or even overhanging branches—to add context and focus.
Here’s a quick checklist of composition tweaks to test on your next shoot:
- Move your subject off-center for a more dynamic feel.
- Tilt the camera slightly to energize architectural or landscape shots.
- Lock in a level horizon with a tripod and bubble level.
Practical Lighting Options
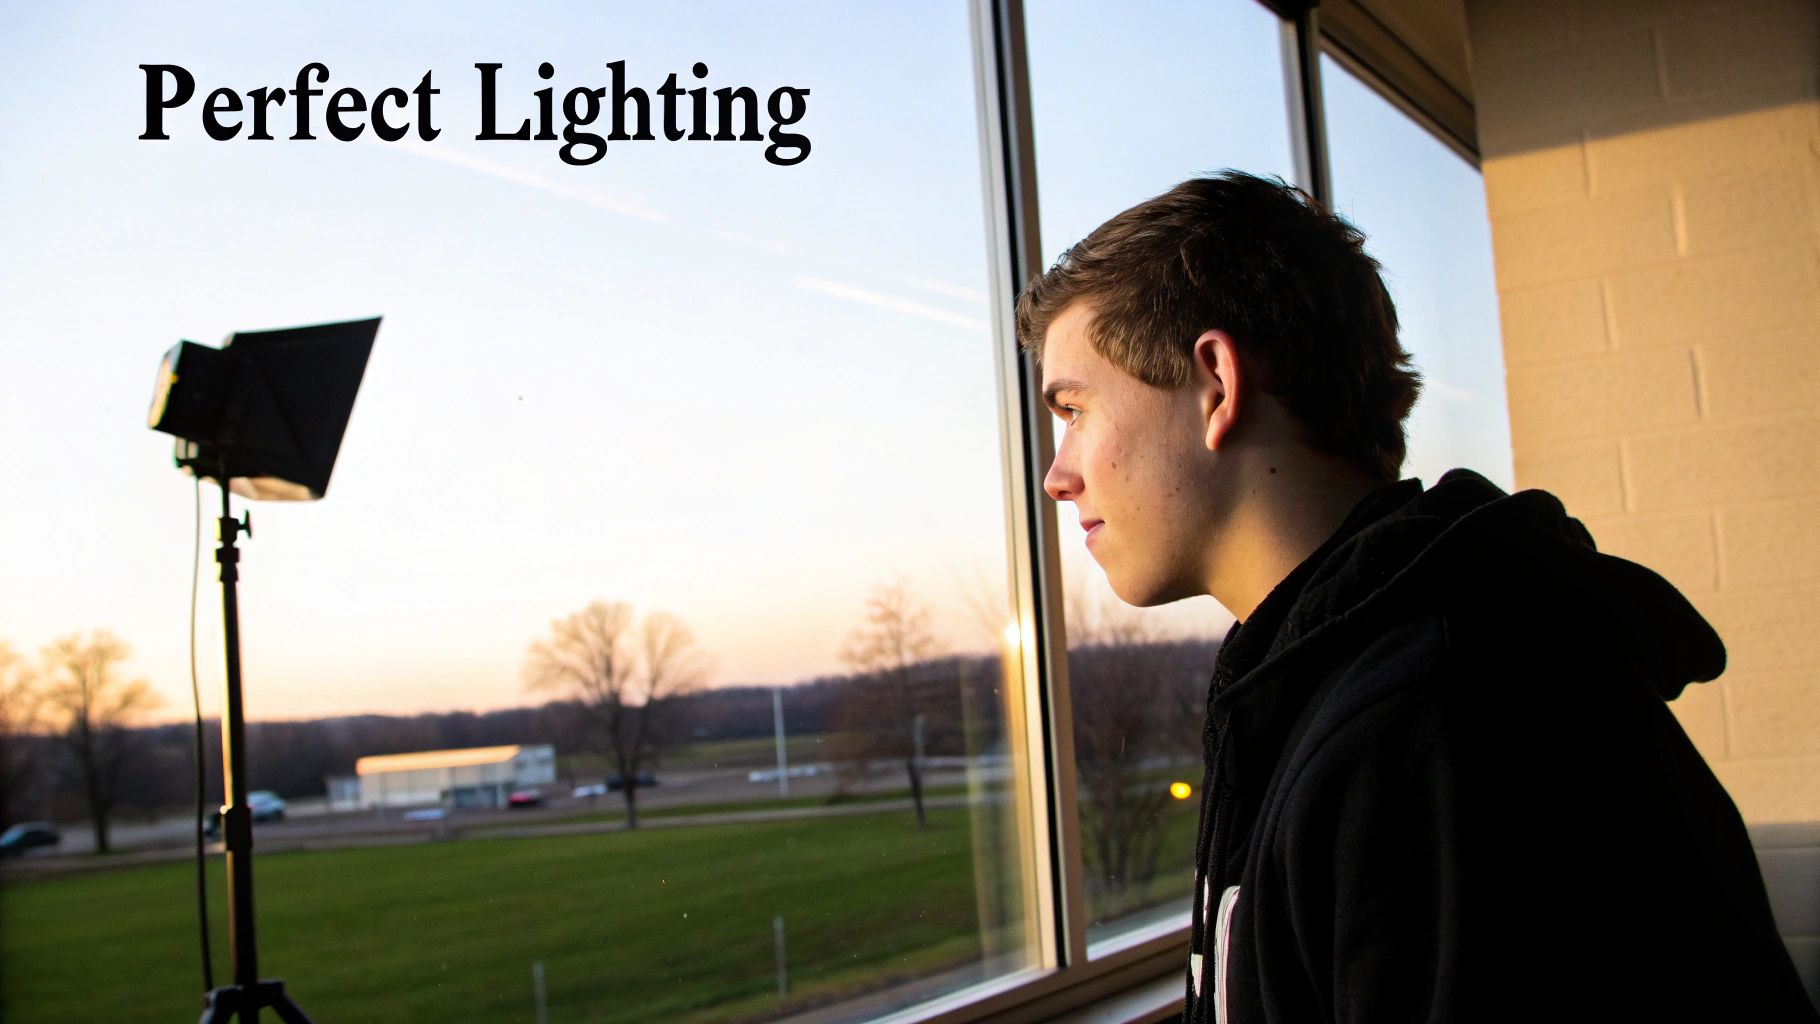
Natural window light acts like a giant softbox, wrapping your subject in gentle illumination.
I once captured a sunset family portrait by leaning each person into the glow until their faces lit up.
DIY reflectors can rescue shadowy areas—grab whatever you have on hand to fill in those dark corners.
Here are three reflector materials to experiment with at home:
- Aluminum foil on cardboard for crisp highlights near facial edges
- White poster board to soften fill light on portraits or products
- Shiny side of a sunshade when you need punchy contrast outdoors
Smartphone cameras now rival DSLRs thanks to sensor and software synergy combining backside illuminated sensors with AI noise reduction.
HDR+ merging expands dynamic range by 4–6 stops and cuts blown highlights by 50% in high contrast scenes.
Learn more about smartphone sensor advancements in this detailed report
Combining Light With Composition
When you align your subject’s face toward the light at golden hour, catchlights sparkle in the eyes.
Use open shade for portraits to avoid harsh shadows and maintain natural color.
Indoors, mixing tungsten and daylight can throw off your white balance—slip gels on off-camera flashes to harmonize the tones.
A small flash at a 45° angle brings a sculpted look without overpowering ambient light.
Pair these techniques and you’ll build a reliable formula that works from studio shoots to outdoor adventures.
Check out our Guide on Advanced Photo Workflows for more inspiration.
Advanced Composition And Lighting Tips
Adding a foreground element—rocks or flowers—instantly boosts depth in landscapes.
Silhouettes pop when your background outshines the subject and you frame that perfect outline.
Negative space can be powerful: place your subject against a clear sky or simple wall to keep things minimal.
Tackling mixed lighting? Try this approach:
- Meter your key subject in manual mode to lock in exposure
- Capture a neutral frame with a gray card or white paper for accurate calibration
- Adjust white balance or slide in preset gels until the colors match
On set, glance at your histogram and preview grid to catch issues early.
If highlights start to clip, dial down exposure compensation or add a graduated ND filter.
Blend handheld reflectors with off-camera flashes to shape layered light zones.
Bounce your flash into a ceiling or wall for a gentle wraparound fill on indoor portraits.
With subject placement, catchlights and contrast all in harmony, your shots will command attention.
Now you’ve got a toolkit to elevate your images through thoughtful lighting and solid composition.
Next up: refine your shooting habits or jump into editing for that final polish. Each finished photo will tell a more engaging story today.
Adopt Practical Shooting Habits
Your results mirror your routine. When you build habits that work, you spend less time troubleshooting and more time capturing great images.
On set, I always lock down my rig, dial in burst mode, and bracket exposures. These moves give me plenty of options when lighting gets tricky.
Picture freezing a basketball fast break under stadium lights with 120fps on a sturdy gimbal. Now imagine handheld mountain vistas at dawn—ISO 100, wide open, and rock-steady.
A quick glance at your histogram after each frame saves you from blown highlights or crushed shadows. Trust me, that little graph can rescue an entire shoot.
Before I even lift the camera, I jot down three must-capture shots for each location. Keeping that simple shot list on hand stops me from chasing ghosts.
- Stabilize gear with a tripod or gimbal to eliminate shake.
- Fire off burst mode for sports or wildlife and pick the sharpest frame later.
- Bracket exposures in high-contrast scenes to preserve detail in highlights and shadows.
And don’t forget to confirm focus points every time you swap lenses or zoom in. A quick check prevents those heart-stopping “out-of-focus” surprises.
Key On Set Routines
Tripods and monopods feel bulky, but they’re the secret sauce for tack-sharp photos. I mount, level, and lock in before thinking about composition.
When I cover basketball, I’ll set shutter to 1/500s and hold burst for six seconds straight. From about 300 frames, there are usually ten that nail the perfect expression.
- Mount camera on tripod and confirm it’s level.
- Switch to high-speed continuous shooting for peak action.
- Review the histogram overlay to catch blown highlights instantly.
At dawn, I switch to handheld with an f/2.8 aperture and ISO 100. Bracing my elbows against my torso takes out the micro-shake.
In low-contrast scenes, I’ll flip into manual focus and make a tiny lens adjustment. That twist keeps every frame crisp.
Pro Tip Checking focus every ten frames cuts reshoots by 60% on fast-paced shoots.
Those quick in-camera reviews keep me calm, even during marathon sessions.
Essential Support Gear
Small items like beanbags or sturdy straps can dampen shake when you’re in tight spots. I sling a strap around my neck, pull it taut, and feel the steadiness immediately.
When the light jumps around, hit the exposure lock, recompose, and carry on. It’s a small move that keeps your sequence looking consistent.
For gigs that move fast—weddings, street work—I keep a monopod in hand and tuck a mini-tripod in my bag for pauses.
| Support Gear | Ideal Use | Stability Level |
|---|---|---|
| Tripod | Landscapes & Timelapse | High |
| Monopod | Sports & Events | Medium |
| Beanbag | Wildlife Hides | Low-Medium |
Each of these habits stacks up to deliver crisp, well-exposed images every time. That reliability is what separates pros from amateurs.
Dropping quick notes on location or white balance into voice memos speeds up batch edits later.
- Label folders by session type to find your go-to presets in a flash.
On-set rituals sharpen your process. Prep thoroughly, stay consistent, and build in checks at every turn.
Always stay photo-ready. Review your shot metadata at breaks to learn what works. Logging settings over time refines your personal recipe.
Implement Detailed Editing Workflow
Every great photo benefits from a solid edit. Whether you work in Lightroom, Photoshop, or a mobile app, a step-by-step routine keeps adjustments on track. Here, you’ll learn how to tackle noise, sharpen details, refine contrast curves, and apply color grading so each image shines.
Start with these core moves:
- Noise Reduction: Clean sensor noise but keep texture intact
- Sharpening: Boost edge contrast for crisp, natural detail
- Tone Curves: Shape highlights, midtones, and shadows
- Color Grading: Set the mood with subtle or dramatic palettes
- Layer Masks: Target edits without touching the entire frame
- Batch Processing: Roll out consistent tweaks across dozens of files
Noise Reduction With Detail Preservation
First, go easy on the luminance and color denoise sliders. Overdo it and your picture turns plasticky. Zoom in at 100% to check for softness before you commit.
- Push luminance noise to around 20–30 in Lightroom’s Detail panel
- Tame chromatic speckles with color noise reduction at 25–40
- Hold Alt (Option) while dragging to differentiate noise from real detail
- Apply a mask over the sky or walls, then feather it 50–70% for a smooth blend
Comparing the RAW file side by side makes it clear how much noise you can remove without losing fine elements.
Targeted Sharpening Techniques
Sharpening needs focus—literally. Aim your adjustments at high-contrast edges and leave smooth areas alone.
- Use an Unsharp Mask with Radius 1–1.5 and Amount 50–75
- Duplicate the layer, apply a 2–3px High Pass, then set that layer to Overlay
- Fill a layer mask with black, then paint white on edges where you want clarity
- Dial sharpening layers back to 60–80% Opacity so results stay natural
- Convert to a Smart Object if you think you’ll revisit these settings
These tricks boost textures without creating ugly halos or amplified grain.
Fine-Tuning Contrast Curves
A gentle S-curve does wonders for depth. Tweak each channel in the Tone Curve panel to tackle color casts and achieve balance.
- Lift shadows by nudging the lower-left point up a hair
- Pull highlights down from the upper-right corner for controlled brightness
- Shift midtone sliders to fine-tune overall exposure bias
- Tweak individual RGB curves if you spot a green or magenta tint
- Save your favorite curve as a preset, so you can apply it in one click
These small adjustments bridge the gap between a flat RAW shot and a punchy image ready for grading.
Cinematic Color Grading
Color profiles and LUTs give your pictures that ‘big screen’ look. Use masks to apply different palettes to sky, foliage, or skin tones.
- Load a Kodak Portra emulation LUT for warm, film-like hues
- Try CineStill 800T simulation if you want moody, blue-tinted shadows
- Push highlights toward gold and shadows toward teal with split toning
- Dial back saturation in the HSL panel to maintain realism
On mobile, apps like Snapseed let you shoot RAW and recover 2–3 stops of dynamic range. Night modes on modern phones merge 10–20 frames to shave off up to 70% of noise before you even open the editor.
Batch Processing Tricks
When you’ve shot dozens—or hundreds—of images, manual tweaks can slow you down. Automate where it makes sense.
- Create a preset stack (noise, sharpening, curves) in Lightroom
- Sync across selected shots via Ctrl+Shift+S (Win) or Cmd+Shift+S (Mac)
- Build Photoshop Actions that layer adjustments, apply a LUT, then export
- Export with custom names and watermarks in one batch run
- Explore Adobe Cloud or third-party scripts for hands-off automation
Check out our guide on batch editing and automation in our guides section for more tips.
Workflow Case Study
I once had a wedding reception with 200 RAW files shot under tungsten lights. This process cut my edit time in half and nailed consistent color across every frame.
- Noise reduction saved the lace detail on the bride’s dress
- A cinematic LUT warmed faces without flattening the background
- Batch syncing kept white balance uniform from ceremony to dance floor
- Total editing time dropped from 8 hours to 4
This example shows how a clear routine delivers both speed and quality on big jobs.
Below is an infographic illustrating key habits that support editing workflows, from stabilizing gear to reviewing histograms.
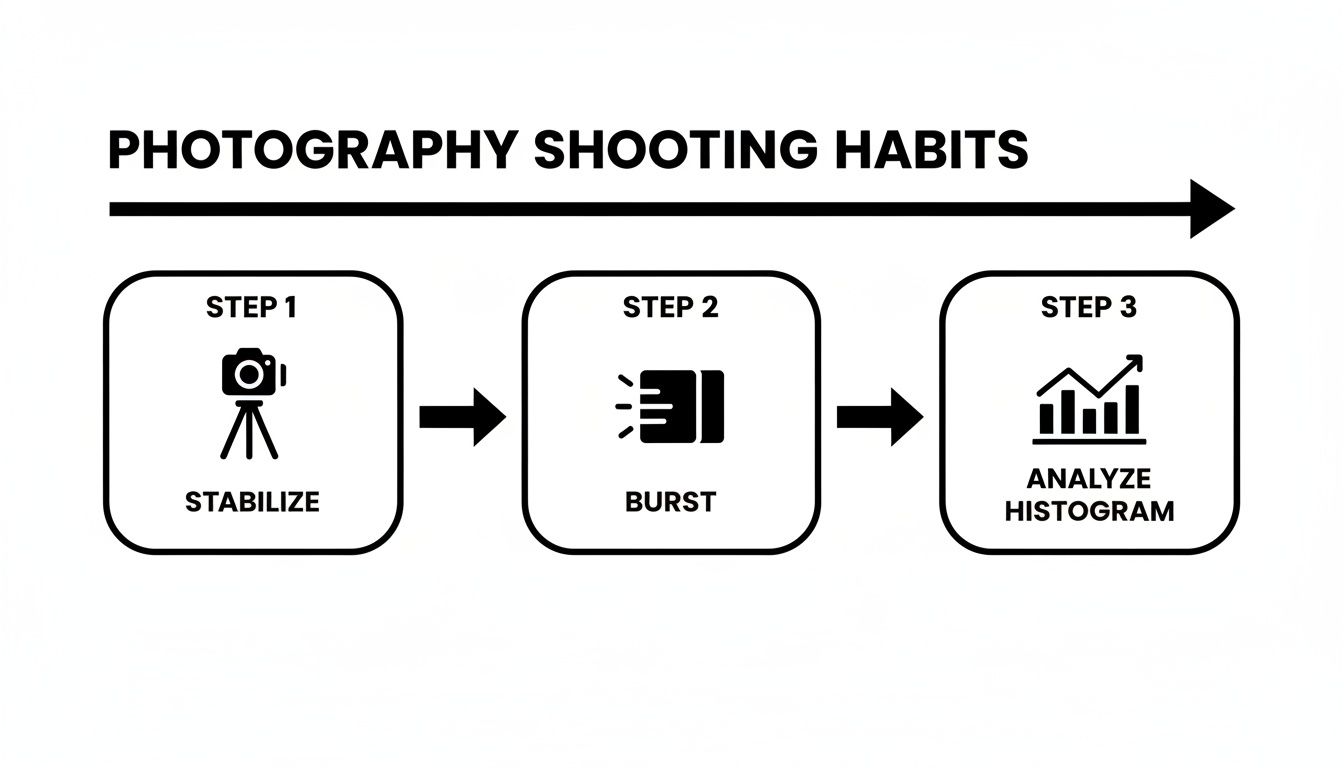
Consistency in preparation and editing drives professional-looking final images.
Using Smart Objects for non-destructive edits and syncing presets across files will help every photo reach its full potential. Review your work on a calibrated monitor to catch subtle color shifts, and build a library of custom LUTs to match your style. With practice, this workflow will feel as natural as choosing your favorite lens.
Use AI Upscaling and Export Techniques
AI upscaling brings out hidden detail in low-resolution shots without the artificial sheen. You might feed a 500×500 portrait into Topaz or Gigapixel and watch it expand to full-screen sharpness.
- Apply an AI upscaler with 90% detail retention for web profiles.
- Use the HyperReal engine to rebuild fine textures on older prints.
- Test output at 85% JPEG quality to balance file size and clarity.
- Batch process dozens of files at once to save time without losing fidelity.
Export settings shift depending on the platform:
- Instagram wants sRGB at 1080×1350 pixels.
- YouTube favors H.264 at 4K or 1080p.
- Print labs typically ask for TIFF or a high-quality PDF with embedded ICC profiles.
Choosing The Right Codec
Every codec leaves its mark on compression and color reproduction. MOV files hold deep tones nicely for client galleries, while MP4 is perfect for quick sharing.
Key Insight: Use ICC profiles to lock in accurate hues across screens.
PNG offers lossless support for graphics with sharp edges—think logos or UI mockups. JPEG still rules photos when file size is at a premium, but avoid repeated saves to prevent quality loss.
Batch Export Strategies
Presets let you apply size, format, and watermarks in a single click. Lightroom and Affinity Photo both handle export queues smoothly.
- Save an Instagram preset at 1080×1350 in sRGB.
- Create a print preset at 300dpi with PDF or TIFF output.
- Use a web gallery preset with JPEG quality set to 80%.
- Build your client folder structure during export to speed up review.
Always test final files on the actual devices your audience uses. Sharing proofs via Google Photos or WhatsApp helps you spot issues early.
Pro Tip: Missing an ICC profile can shift colors dramatically on some screens.
Combining AI upscaling with smart exports keeps your images crisp on social feeds, in print, and across professional galleries. For dating apps, compress images lightly so they load instantly.
Batch scripts in Photoshop can run AI upscaling plugins overnight. I once cut processing time by 70% on a 10,000-image batch with a custom script.
Remember to archive your original RAW files before any resampling. That guarantees you always have untouched data for future edits. Using AI-aware naming conventions makes version history crystal clear.
This workflow ties AI upscaling to export best practices from start to finish. Stick with it, and you’ll avoid pesky artifacts every time.
Frequently Asked Questions
Photo quality tweaks often raise the same questions. Here’s a concise set of answers to keep you moving forward.
What Format Works Best For Editing
RAW files hold uncompressed sensor data, giving you room to pull back highlights and reveal shadow detail. If you’re aiming for top-tier prints, TIFF delivers excellent fidelity. When you need to preserve layers and masks, PSD is your friend. Once editing is wrapped up, export as JPEG at the highest quality setting for web sharing.
Embedding ICC profiles on export locks in accurate colors across devices.
Reducing Unwanted Lens Flare
Bright light can slip in and wash out your image in an instant. A lens hood is your easiest defense, but shading the lens with your hand works in a pinch. Even a slight shift in shooting angle often banishes flare.
- Attach a lens hood matched to your focal length
- Reframe until direct light sources sit just outside your field of view
- Stack or rotate a neutral density filter to tame sudden bursts of light
Maintaining Consistent Colors
When color accuracy matters, a calibrated display is non-negotiable. A hardware colorimeter will align your monitor to sRGB or Adobe RGB standards. Don’t forget to embed that same ICC profile on every export.
Regularly re-calibrate every few weeks as your monitor ages.
What Free AI Tools Are Effective
For quick upscaling, open-source solutions like Waifu2x or community-built Gigapixel alternatives can double your image size (2× enlargement) without costing a cent. They won’t match every refinement of a paid app, but they’re fast and reliable for casual projects.
- Try Waifu2x on portraits and digital art
- Compare results with the Topaz Photo AI trial for sharper detail
- Schedule overnight batch jobs to keep the workflow running
When you’re prepping for social feeds or dating profiles, always conform to recommended dimensions—1080×1350 for Instagram posts, and the presets your favorite app suggests. That way your photos appear crisp without any on-the-fly resizing.
Smartphone shooters: switch to RAW mode, lock exposure and focus (AE/AF lock), and use gridlines to nail your composition every time.
Ready to elevate your photos with automated AI upscaling? Try CreateInfluencers at https://createinfluencers.com and unlock HD-quality avatars instantly.