Mastering Face Swap for Pictures A Practical Guide
Discover how to master face swap for pictures. This guide provides actionable tips, tool advice, and AI techniques for creating stunningly realistic results.
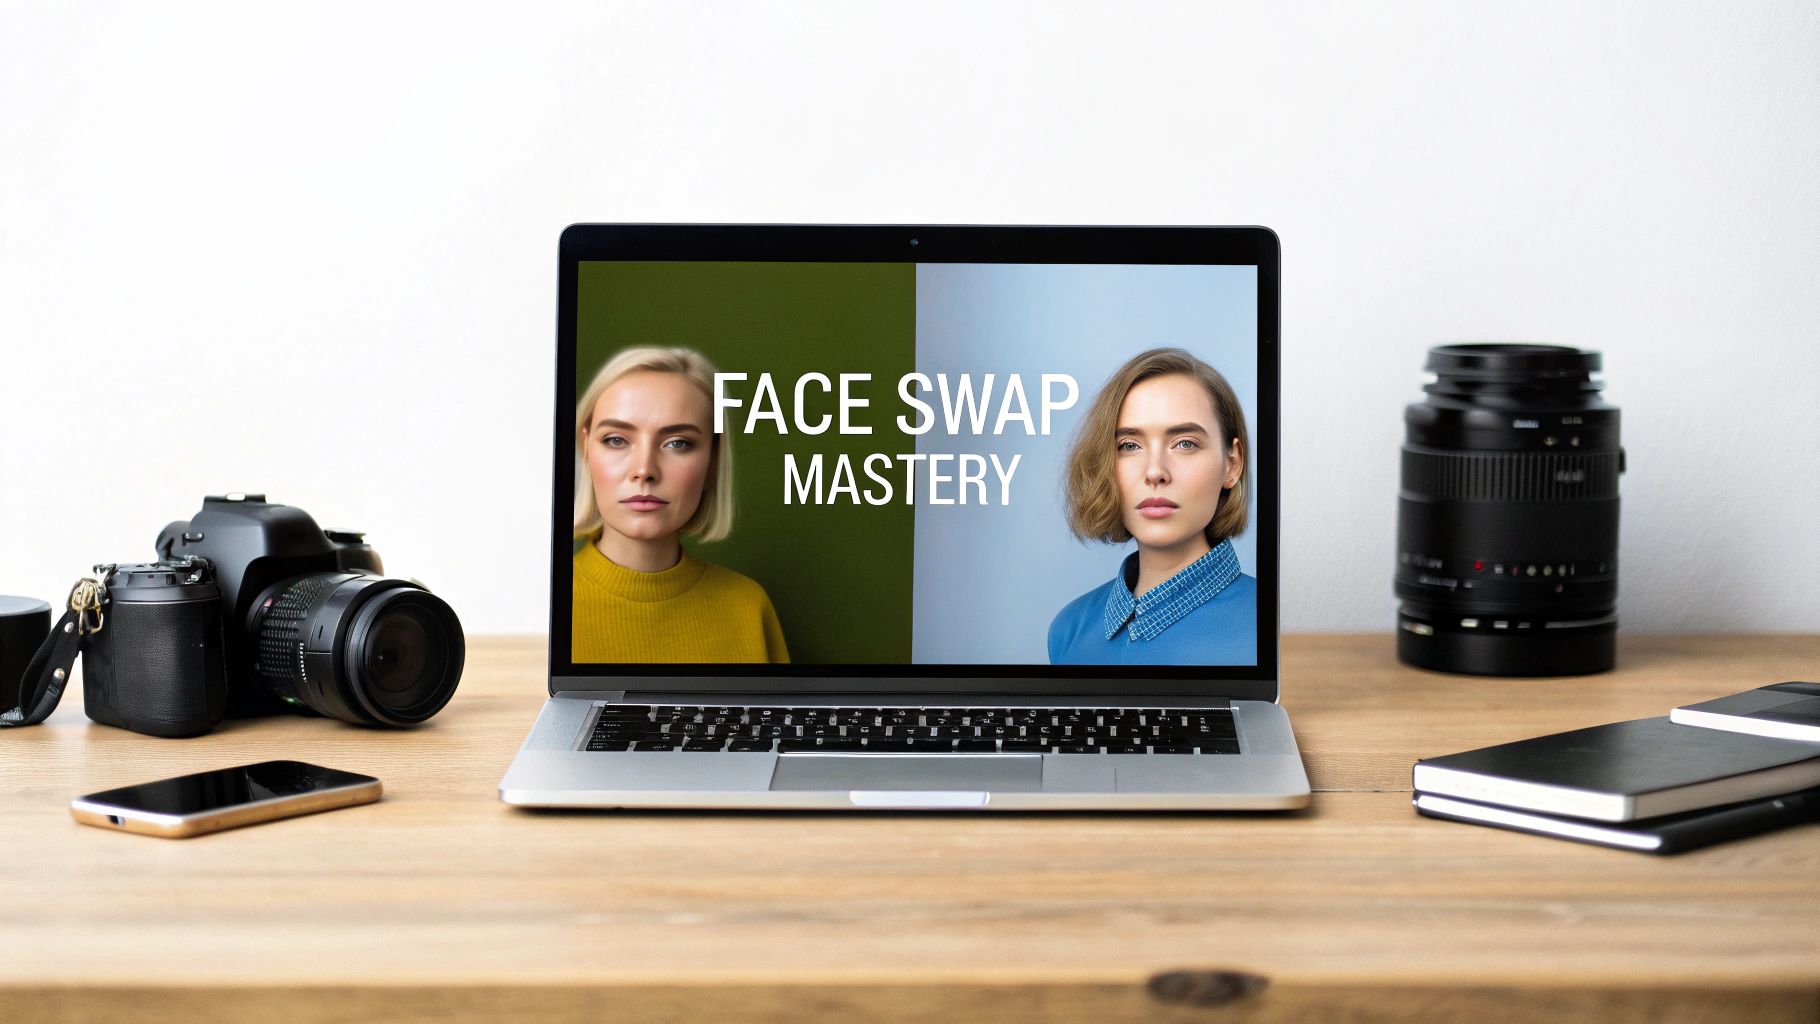
Welcome to the world of AI-powered face swapping. This technology has come a long way from being just a fun gimmick; it's now a serious tool for creators, marketers, and artists. Learning to create a high-quality face swap for pictures is easier than you think, and it opens up a ton of possibilities for professional-grade images, whether for branding, marketing, or your own personal projects.
The Art and Science of AI Face Swapping
The ability to seamlessly swap faces in photos has moved far beyond those simple mobile apps we've all played with. Today, it's a valuable skill for anyone involved in digital content, from building realistic AI influencers to crafting one-of-a-kind ad campaigns. This guide is designed to be a practical walkthrough, helping you master the technique without getting bogged down in confusing tech-speak.
We're going to focus on the core principles that make the difference between a sloppy edit and a believable, high-quality result. Getting these fundamentals right is the secret to avoiding that "uncanny valley" effect, where a swapped image just looks off.
Why This Skill Matters
When you get good at a realistic face swap for pictures, you unlock the ability to maintain perfect brand consistency, create endless variations for your marketing materials, or even produce some seriously compelling digital art. It’s a powerful blend of creativity and technical know-how.
Some of the biggest benefits I've seen are:
- Content Versatility: You can generate a huge variety of visual content from a single photoshoot or even just one AI-generated scene.
- Brand Consistency: It’s easy to use the same AI influencer or model across completely different campaigns and settings, reinforcing your brand's image.
- Creative Freedom: You get to experiment with unique concepts without the massive cost and logistics of a traditional photo shoot.
The impact of this technology is hard to ignore. The AI face swap software market was already valued at USD 1.6 billion in 2023 and is expected to rocket to USD 14.2 billion by 2033. If you want to understand the foundational tech that makes this possible, exploring an AI Face Generator is a great place to start.
Your success really boils down to understanding what makes a swap look real. It's all about matching the lighting, getting the angles right, and of course, using the right software. Tools like CreateInfluencers are built to handle the heavy lifting, putting professional results within reach for just about anyone.
By the time you finish this guide, you’ll have the skills to produce impressive images—and the knowledge to do it responsibly. For more tips on building your digital presence, you can always find great insights over on the https://createinfluencers.com/blog.
Choosing the Right Photos for a Flawless Swap
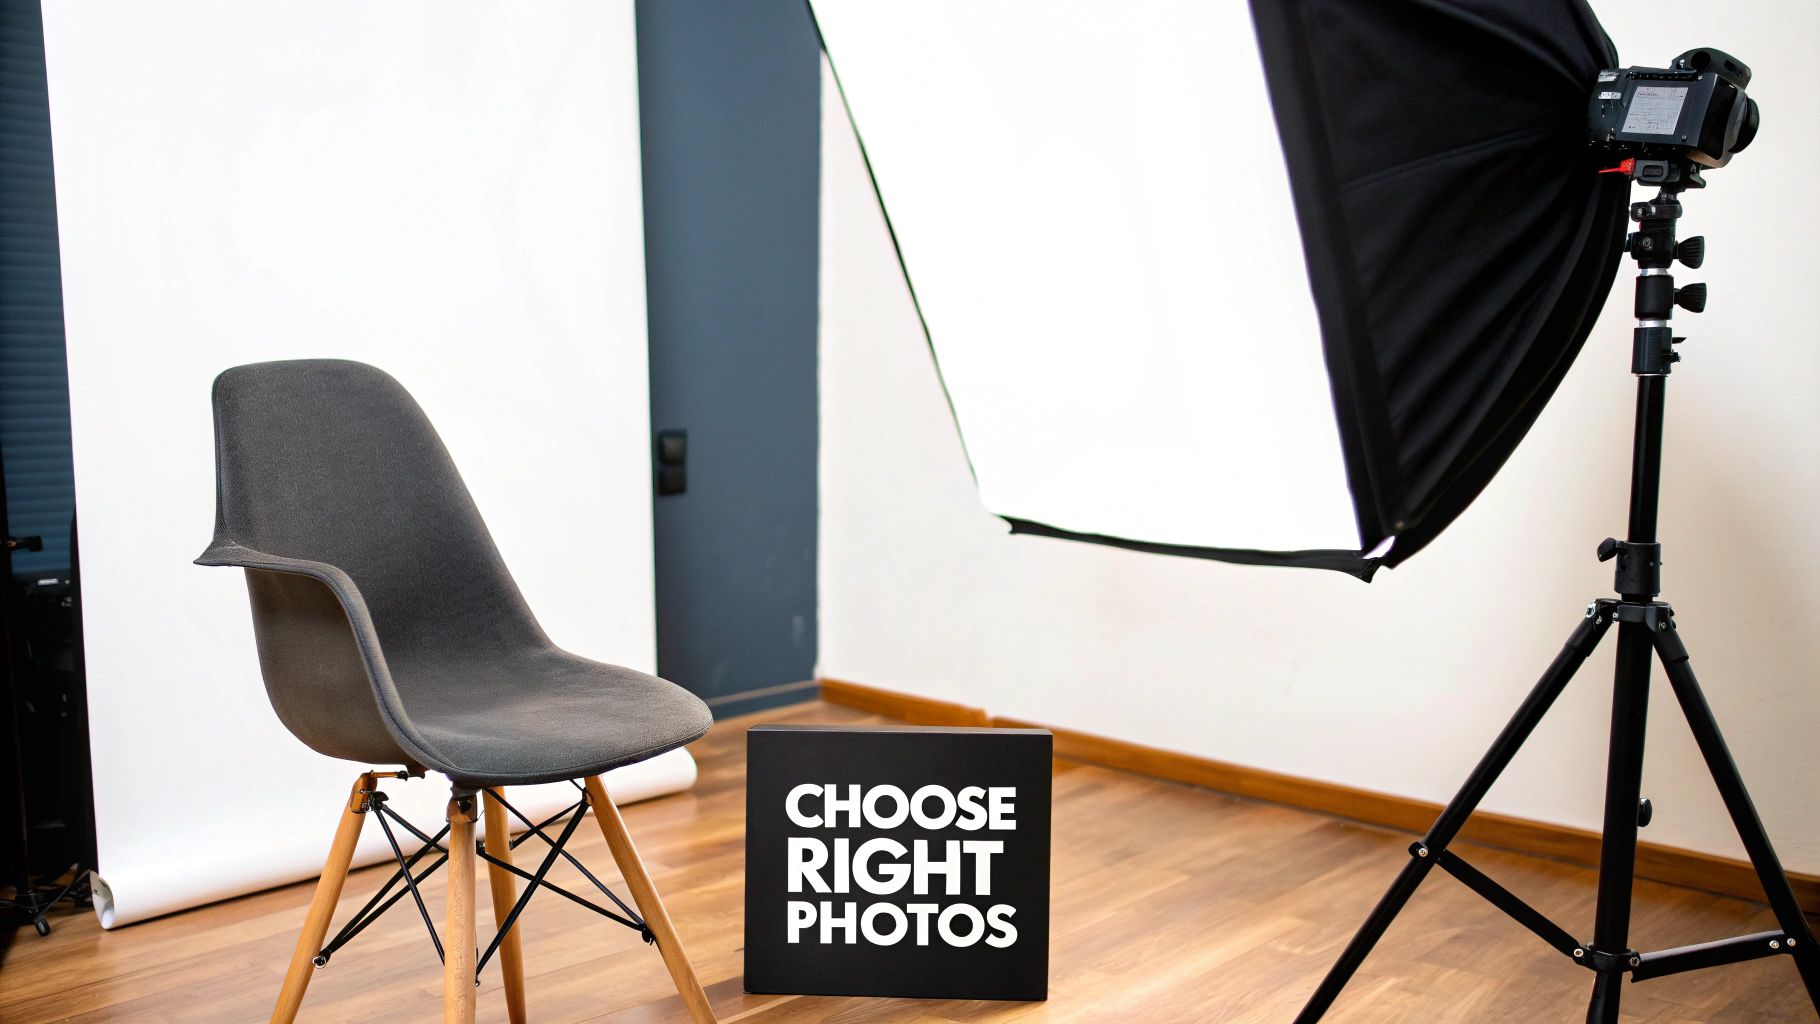
The real secret to a believable face swap for pictures isn't buried in complex software settings. It's all about the photos you start with. Seriously. Putting a little thought into your image selection is the single best thing you can do to get a realistic result and dodge that creepy, artificial look.
The old saying "garbage in, garbage out" has never been more true.
Think of it this way: the AI is trying to match puzzle pieces. When the features, lighting, and angles line up, the final image clicks together seamlessly. But if they clash, the AI is forced to guess, and that’s when you get distorted, obviously fake results.
Taking a few extra minutes on this prep work can save you hours of frustrating cleanup later.
The Source Face Checklist
Your source image—the photo with the face you want to use—is your most valuable player. The AI needs a clean, clear look at the facial features to do its job well. This is the master template for your entire project.
For the best results, hunt down a source photo with these qualities:
- High Resolution and Clarity: The face needs to be sharp and in focus. No motion blur or pixelated noise. The more detail the AI has to analyze, the better the final skin texture and features will look.
- Direct, Even Lighting: Soft, frontal lighting is your best friend. Try to avoid harsh shadows cutting across the face, as they can create bizarre, unnatural contours on the final swap.
- Unobstructed View: Make sure nothing is blocking the face. We're talking hair falling over the eyes, a hand resting on the chin, or even deep shadows. These things can easily confuse the AI.
- Neutral-ish Expression: A calm, neutral expression or a simple, closed-mouth smile tends to work best. Extreme expressions—like a wide-open laughing mouth or tightly squinted eyes—are much harder for the AI to map accurately.
The gold standard for a source photo? A high-quality, forward-facing portrait where the person is looking right at the camera. This gives the AI a complete, balanced dataset of their facial structure to work from.
Selecting the Perfect Target Photo
The target photo is the destination—the scene or body you're dropping the new face onto. Your mission here is to find an image that’s a good match for your source face. Mismatches in this step are the number one reason swaps look fake.
Pay close attention to the head position and lighting. If your source face is looking straight ahead, the person in your target photo should have a similar head tilt. A profile shot just won't look right swapped onto a front-facing body.
Lighting is just as important. If the target photo is lit dramatically from the side but your source face has flat, even light, the final result will look like a sticker slapped onto a picture. The AI can make small adjustments, but it can’t work miracles. Matching the lighting direction and intensity is absolutely key.
To make this even easier, I've put together a quick checklist to help you compare your options.
Source vs Target Image Selection Checklist
This table is your quick-reference guide. Run your potential photos through this checklist to dramatically increase your chances of a perfect swap on the first try.
| Attribute | Ideal Source Photo (The Face) | Ideal Target Photo (The Scene) |
|---|---|---|
| Resolution | High-quality, sharp, and in-focus | High-quality, sharp, and in-focus |
| Lighting | Even, frontal lighting with minimal shadows | Similar lighting direction and intensity |
| Angle & Pose | Face looking directly at the camera | Head is at a similar angle to the source |
| Obstructions | Face is completely clear of hair, hands, etc. | The original face is visible and not blocked |
| Expression | Neutral or a simple, closed-mouth smile | A similar expression will blend more easily |
| Size in Frame | Face takes up a significant portion of the image | The body/scene is the main focus |
By keeping these points in mind, you're setting the AI up for success. A little prep work here makes all the difference between an amateur edit and a professional-looking final image.
Putting It All Together with CreateInfluencers
Okay, you've prepped your photos and you're ready to go. Now for the fun part. We're going to jump into the CreateInfluencers platform to actually perform the swap. I like this tool because it packs a lot of power but doesn't feel like you need a degree in graphic design to use it.
The journey usually starts with picking a scene or creating a character from scratch. You can either generate a totally custom AI character or look through pre-made photo packs. Imagine you're building a campaign for a high-end fashion brand; you might grab a few images from their 'Old Money' pack to get the right vibe instantly.
From Upload to Final Swap
Once you have your base image, it's time for the main event. You'll upload your source face and the target image right into the face swap tool. This is where the magic happens—the AI gets to work mapping the facial features from your source file onto the new image.
The interface is super straightforward, which I appreciate. You’ll see two simple panels: one for the source face and one for the target. No complicated menus to get lost in.
After your images are uploaded, you get to play with the settings. The most critical one here is the face similarity slider. Think of it as a dial that tells the AI how much of the original person to keep. Cranking it up high will preserve the unique features of the source face, while a lower setting creates more of a blend between the two.
My Pro Tip: For a truly believable face swap for pictures, I almost always start with the face similarity slider set between 70-80%. This seems to be the sweet spot. It keeps the person looking like themselves but allows the face to adapt seamlessly to the lighting and angle of the new photo.
This kind of photo-realistic swapping is exploding in popularity, by the way. It accounted for over 55% of the market share in 2024. That's a huge signal that tools offering high-quality, easy-to-use features are what people are looking for.
Upscaling to a Professional Finish
You've done the swap, and it looks pretty good. But "pretty good" isn't what we're aiming for. The final step is to make sure the image is crisp and clean enough for anything—from an Instagram post to a massive print ad.
CreateInfluencers has a built-in tool for this called the HyperReal engine. It uses AI to upscale your image, bumping up the resolution and sharpening all those little details without making it look crunchy or pixelated. It’s that final polish that takes your work from a cool experiment to a professional-grade asset.
This whole process—finding a base, swapping the face, tweaking the settings, and upscaling—is designed to be intuitive. It lets you focus on the creative side of things instead of wrestling with technicalities. If you're looking for more hands-on tutorials, we have a ton of them in our collection of guides for creators.
Refining Your Image After the Swap
An AI face swap is often just a brilliant first draft. It's the post-processing work that follows—the subtle tweaks and finishing touches—that elevates your image from a clever tech trick to something genuinely flawless and believable.
Think of it like a professional photo shoot; the raw shot is rarely the final product. Even the best AI can leave behind tiny tell-tale signs, like a slight mismatch in skin tone or an odd-looking shadow along the jawline. Thankfully, these are usually easy fixes with basic photo editing tools.
Here’s a look at the fundamental workflow for a high-quality face swap.
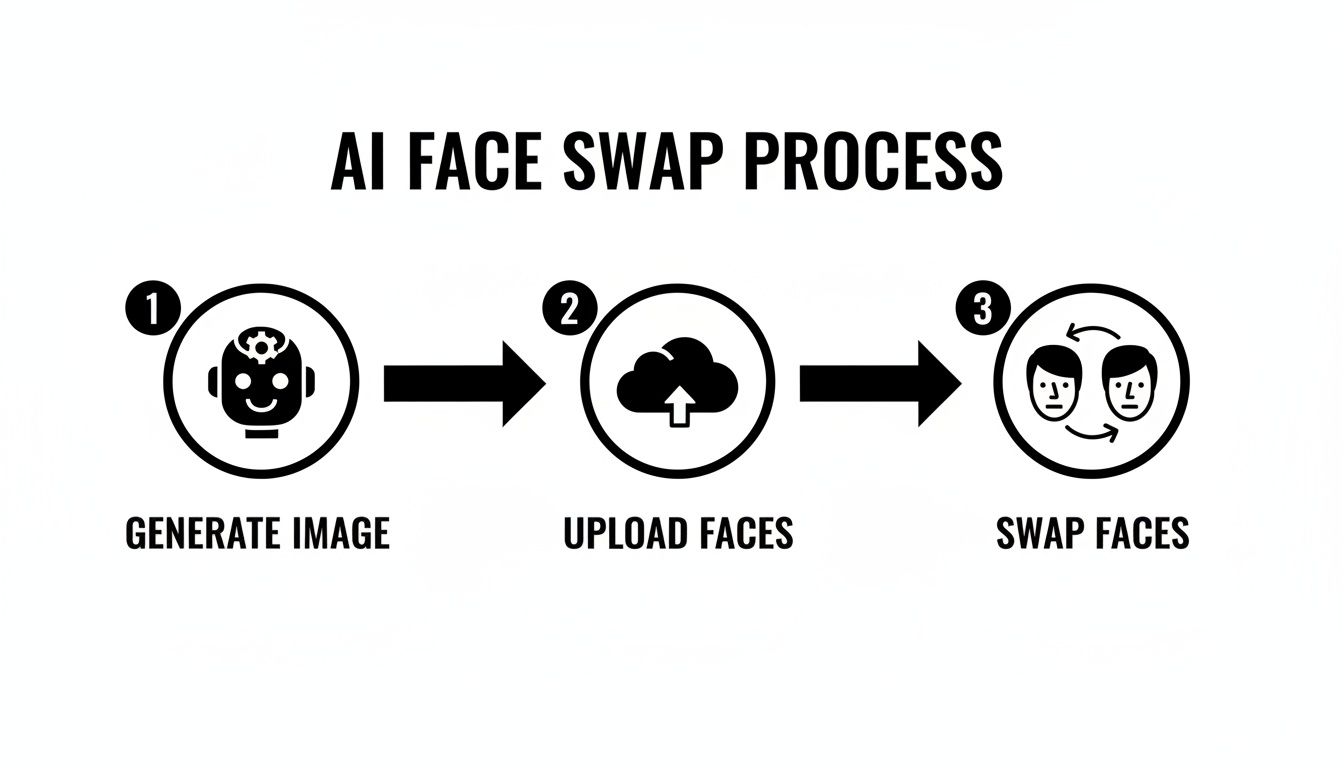
This process—generate, upload, swap—is the core of it, but the real artistry kicks in right after the AI has done its job.
Correcting Colors and Tones
The most common giveaway is a subtle color difference between the new face and the target body, usually because the source photos were shot under different lighting. The fix is simpler than you might expect.
Jump into your favorite photo editor and pull up the color balance or selective color tools. From there, you can gently nudge the reds, yellows, and blues of the new face until it blends perfectly. A great pro-tip is to use the eyedropper tool to sample a skin tone from the neck or chest of the target body and use that color as your guide.
The goal here isn't a massive overhaul. You're looking for finesse. Tiny, incremental adjustments work best. A 1-2% shift in color balance is often all it takes to make the face look like it truly belongs.
Smoothing Out AI Artifacts
Sometimes, the AI can leave behind small visual glitches or distortions called artifacts. These usually show up along the "seam" where the new face meets the original image.
Spotting and smoothing these little imperfections is what separates amateur work from professional results. Keep an eye out for any weird pixelation or unnatural lines.
- The Spot Healing Brush: Your best friend for zapping small, isolated artifacts. It works like magic without messing up the surrounding skin texture.
- The Clone Stamp Tool: For larger problem areas, set this tool to a low opacity (around 20-30%) and gently paint over the glitches using nearby, clean textures.
- Subtle Blurring: Applying a very slight blur only to the seam line can do wonders for merging the two parts of the image naturally.
After swapping, you might also find the image needs a boost in quality. There are plenty of AI tools that offer an AI image upscaling demo to help you see how you can sharpen the final result. For a more integrated experience, platforms like https://createinfluencers.com/ often bundle many of these post-processing features right into their workflow, making the whole process much smoother.
Understanding the Ethics of Face Swapping
Jumping into creating a face swap for pictures is more than just a technical challenge—it comes with some real-world responsibilities. Now that this technology is so easy to get your hands on, knowing where the ethical and legal lines are drawn isn't just good practice. It's essential. The power to alter images this convincingly means we have a duty to respect people's privacy and rights.
Consent is Non-Negotiable
At the absolute core of ethical face swapping is a single, unbreakable rule: consent. You must have clear, enthusiastic permission from anyone whose image you're using. It doesn't matter if you're making a piece of digital art, a marketing campaign, or just a funny meme for your friends. Using someone's likeness without their okay is a massive breach of trust and privacy.
The conversation around consent is so critical because of how easily this tech can be misused. The very same tools we use for fun, creative projects can be turned around to create misleading or straight-up harmful content, which you've probably heard called deepfakes. This is exactly why responsible platforms like CreateInfluencers have strict terms of service and built-in safety measures to prevent malicious use.
Unfortunately, the easier this tech gets, the more we see it used for scams. One security analysis found a shocking 704% increase in deepfake attacks just in 2023. This explosion in misuse is why legitimate platforms are doubling down on consent tracking and secure image handling. It's a necessary step to protect everyone involved. You can read more about these security findings to get the full picture.
"The golden rule here is simple: if you don't have explicit permission, don't do it. Your creative vision should never come at the expense of someone else's rights or comfort."
Legal Guardrails You Can't Ignore
Beyond personal ethics, you've got to be aware of the legal landscape. Two big areas you need to wrap your head around are copyright and the right of publicity. Just because a picture is online doesn't mean it's a free-for-all.
Copyright Infringement: Think you can just grab a scene from a movie or a professional photograph and swap a face onto it? Think again. Doing that can easily violate the original creator's copyright. Stick to images you own yourself, have properly licensed, or that come from a platform offering commercially safe assets.
Right of Publicity: This is a big one. It's a legal concept that protects a person from having their name, likeness, or other recognizable traits used for commercial purposes without their permission. For example, slapping a celebrity's face onto an ad for your product is a fast track to serious legal trouble and financial penalties.
At the end of the day, the goal is to be creative without causing harm or breaking the law. By making consent your top priority and staying within legal boundaries, you can make sure your projects are not only impressive but also responsible.
Answering Your Top Face Swap Questions
Even with the best tools and a solid plan, you're bound to hit a few snags when you first start doing face swaps. It's totally normal. Let's walk through some of the most common questions I hear and get you some practical solutions to sharpen your skills.
Think of these little hurdles less as roadblocks and more as part of the learning curve. Every time you fix an issue, you're training your eye for what makes a swap truly believable.
"Why Does My Face Swap Look So Uncanny or Fake?"
Nine times out of ten, the reason a swap looks "off" is a simple mismatch in lighting or photo quality. If your source face is brightly lit from the front, but the target body has dramatic side lighting, the AI is going to have a tough time making it look natural. That’s when you get that dreaded "uncanny valley" effect.
Another huge culprit is low-resolution photos. If the AI doesn't have enough pixel data to work with, it’s forced to guess, and that leads to blurry, smudged features. You'll also run into trouble with extreme angles or faces that are partially covered by hair or a hand.
The fix? Always start with high-res, well-lit images. Ideally, you want both the source face and the target picture to be shot from a similar, front-facing angle. Using a tool with a really good blending engine, like the HyperReal feature in CreateInfluencers, also makes a massive difference here. It’s built to intelligently adapt the new face to the lighting of the scene.
Here's a piece of hard-won advice: don't get impatient. It’s tempting to just grab the first two photos you see. But spending an extra five minutes finding images with compatible lighting and angles will save you a half-hour of headaches trying to fix it later.
"Can I Just Use Any Photo I Find Online?"
Technically, you can upload almost anything. But legally and ethically? Absolutely not. You have to have the rights or explicit permission to use someone's likeness. This isn’t just a friendly suggestion—it’s a core principle of creating content responsibly.
You could land in hot water for copyright infringement if you swap a face onto a protected photograph. Even more seriously, using someone's face without their consent, especially for commercial use or in a way that could be seen as defamatory, can violate their right to privacy and publicity.
To stay clear of any legal or ethical gray areas, stick to these guidelines:
- Use your own photos whenever possible. It's the safest bet.
- Get images from reputable stock photo sites that have clear licensing terms.
- Lean on AI-generated characters and scenes from platforms designed for that purpose.
"What's the Best Tool for Face Swapping?"
Honestly, the "best" tool really boils down to what you need and how comfortable you are with the tech. There’s no single right answer for everyone, but we can break down the main options.
For most creators looking for a great mix of quality, ease of use, and extra features, a platform like CreateInfluencers is a fantastic choice. It doesn't just do face swaps; it bundles them with AI character generation and themed content packs, making it a complete toolkit for building out a brand or an entire campaign.
If you're more of a technical wizard, open-source options like Roop or FaceFusion give you a ton of control. But they come with a steep learning curve, requiring manual setup and a real understanding of what’s happening under the hood. For the vast majority of people, a user-friendly, all-in-one platform just delivers the best balance of power and efficiency.
"How Do I Fix Mismatched Skin Tones?"
This is probably one of the most common issues, but thankfully, it’s also one of the easiest to fix in post-production. Once you've generated your swap, just open the image in a photo editor like Photoshop or a free alternative.
The trick is to use the color balance or selective color tools to gently tweak the reds, yellows, and magentas in the new face until it perfectly matches the neck and body. Here’s a pro tip: create a new layer and set its blend mode to 'Color.' Then, sample a color directly from the target's skin and paint it over the face. All you have to do then is lower the layer's opacity until you get a subtle, seamless blend.
Remember, small, careful adjustments are always the way to go. When you start with a high-quality AI generation, these final touch-ups are quick and incredibly effective. And once you get good at this, you can even find ways to monetize your skills through programs like the CreateInfluencers affiliate program, which pays you for sharing the tools you love.
Ready to create your own stunning, high-quality AI visuals? With CreateInfluencers, you can generate custom characters, perform flawless face swaps, and access professional-grade photo packs in minutes. Sign up for free today and bring your creative vision to life!