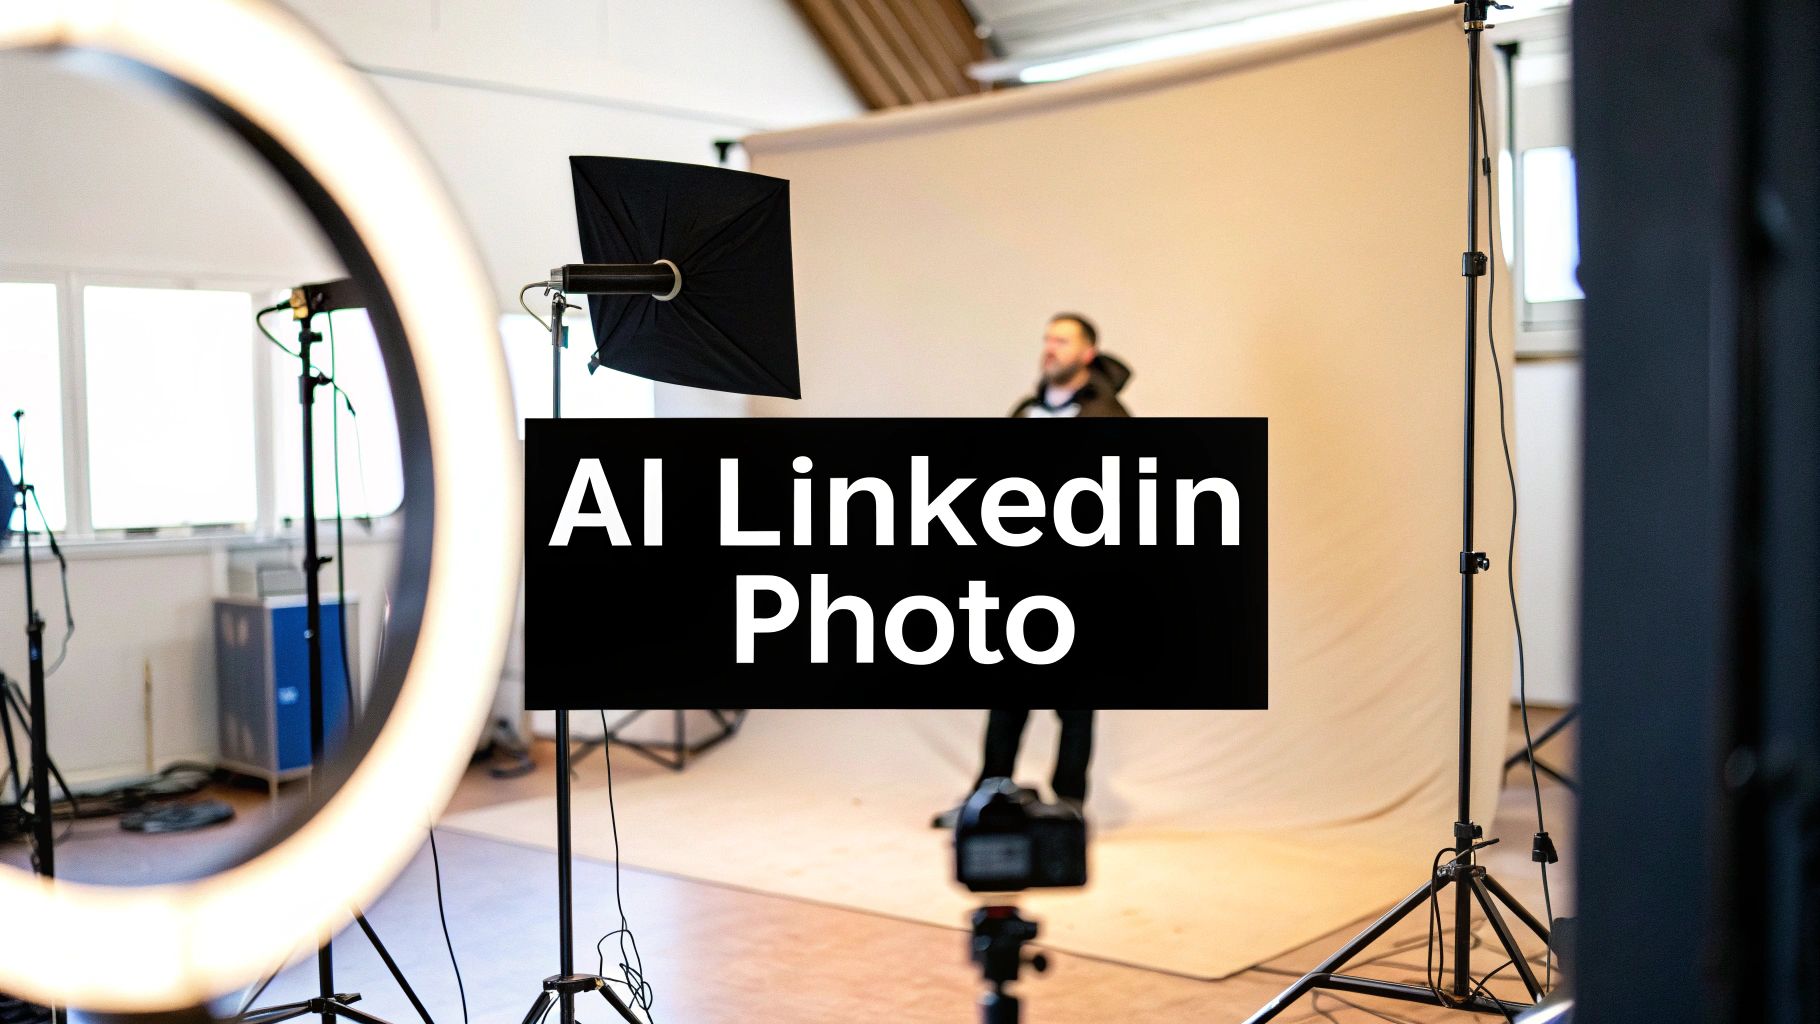
ai linkedin photo: Create a standout headshot with AI
Learn how to create an ai linkedin photo that looks professional: pick source images, craft prompts, and perfect your AI headshot to boost profile impact.
An AI LinkedIn photo is essentially a professional headshot created using artificial intelligence. It's a surprisingly fast and affordable way to get that polished, studio-quality look without booking an actual photoshoot. All you have to do is upload a handful of your own photos, and the AI tools generate a whole new set of professional images for you.
Why Your LinkedIn Photo Is Your Digital Handshake
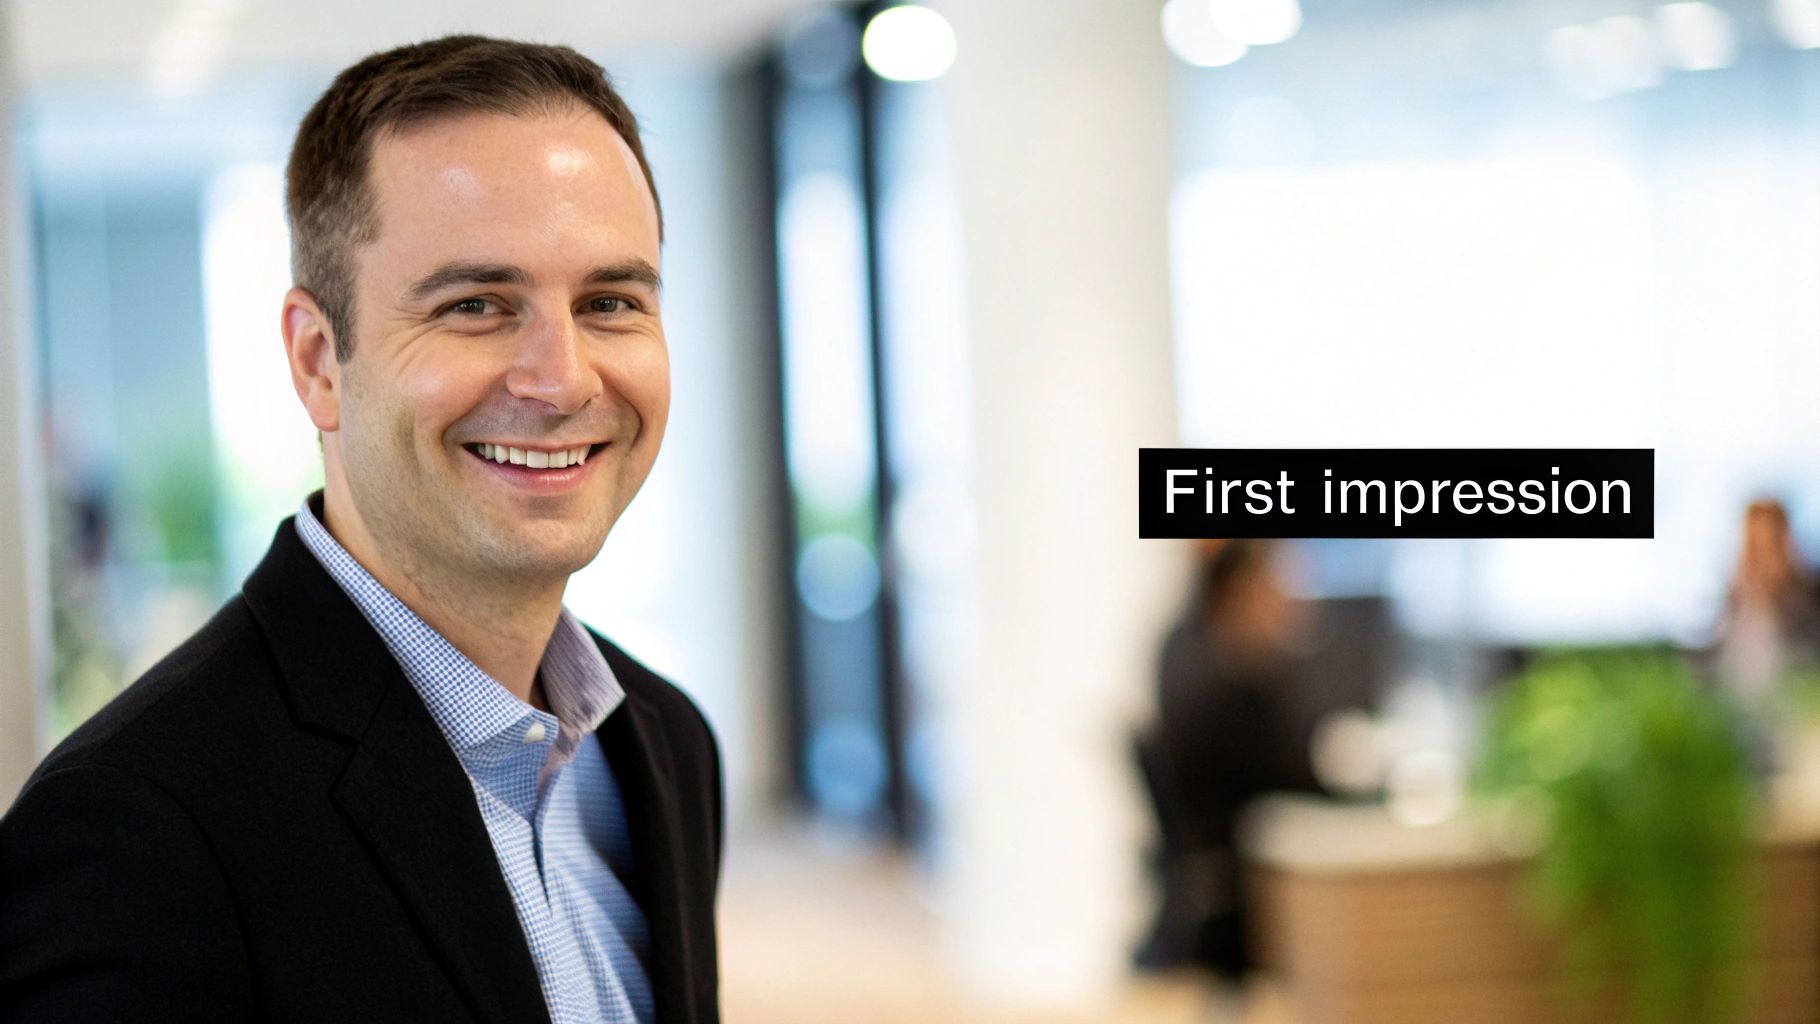
Think of your LinkedIn profile picture as more than just a photo—it’s the very first impression you make. It’s your virtual handshake. Before a recruiter, client, or future colleague ever reads a word of your profile, they see your face. A crisp, professional headshot immediately signals that you're serious and detail-oriented.
On the flip side, a blurry, outdated, or unprofessional photo can instantly damage your credibility. We all make snap judgments, and recruiters are no different. A clear, well-lit image doesn’t just build trust; it makes you seem more approachable and helps you stick in someone's mind.
The Rise of AI in Professional Branding
The trend of using AI for headshots has absolutely exploded. It's estimated that over 1.2 million professionals have swapped out their old profile pictures for AI-generated ones in the past year. This isn't just a gimmick; it's a major shift in how we approach personal branding online.
The numbers speak for themselves. Recent surveys found that 68% of users felt their online presence got a serious boost after using an AI photo, and an impressive 42% said they saw an uptick in connection requests.
AI solves an old problem with a new-school solution. It gives you that high-end, professional look without the cost or hassle of a traditional photoshoot. To see how a quick AI-generated photo can elevate your profile, it’s worth looking into the benefits of using AI-generated LinkedIn headshots. And for those who want to get really good at this, our guides over at https://createinfluencers.com/ offer a ton of resources for creating amazing AI visuals.
Key Takeaway: Your LinkedIn photo is a powerful career tool, not just a picture. An AI-generated photo gives you a competitive edge by delivering a polished, high-quality image without the high cost or time commitment.
AI Headshots vs Traditional Photography: A Quick Comparison
So, should you go with a cutting-edge AI tool or stick with a traditional photographer? It really boils down to your budget, how much time you have, and the level of control you want. Here’s a quick comparison to help you decide.
| Feature | AI-Generated Headshot | Traditional Photoshoot |
|---|---|---|
| Cost | Typically $20 - $60 for dozens of options. | Usually $200 - $1000+ for a set of edited photos. |
| Time Investment | 1-2 hours from photo upload to final image. | Several hours for the shoot, plus days or weeks for editing. |
| Variety & Customization | Generates hundreds of variations in different styles. | Limited to the outfits and locations available during the shoot. |
| Convenience | Can be done from anywhere with an internet connection. | Requires scheduling, travel, and coordinating with a photographer. |
Ultimately, both paths can lead to a great result. AI offers unparalleled speed and variety for a low price, while a traditional photoshoot provides a personalized, hands-on experience that some people prefer.
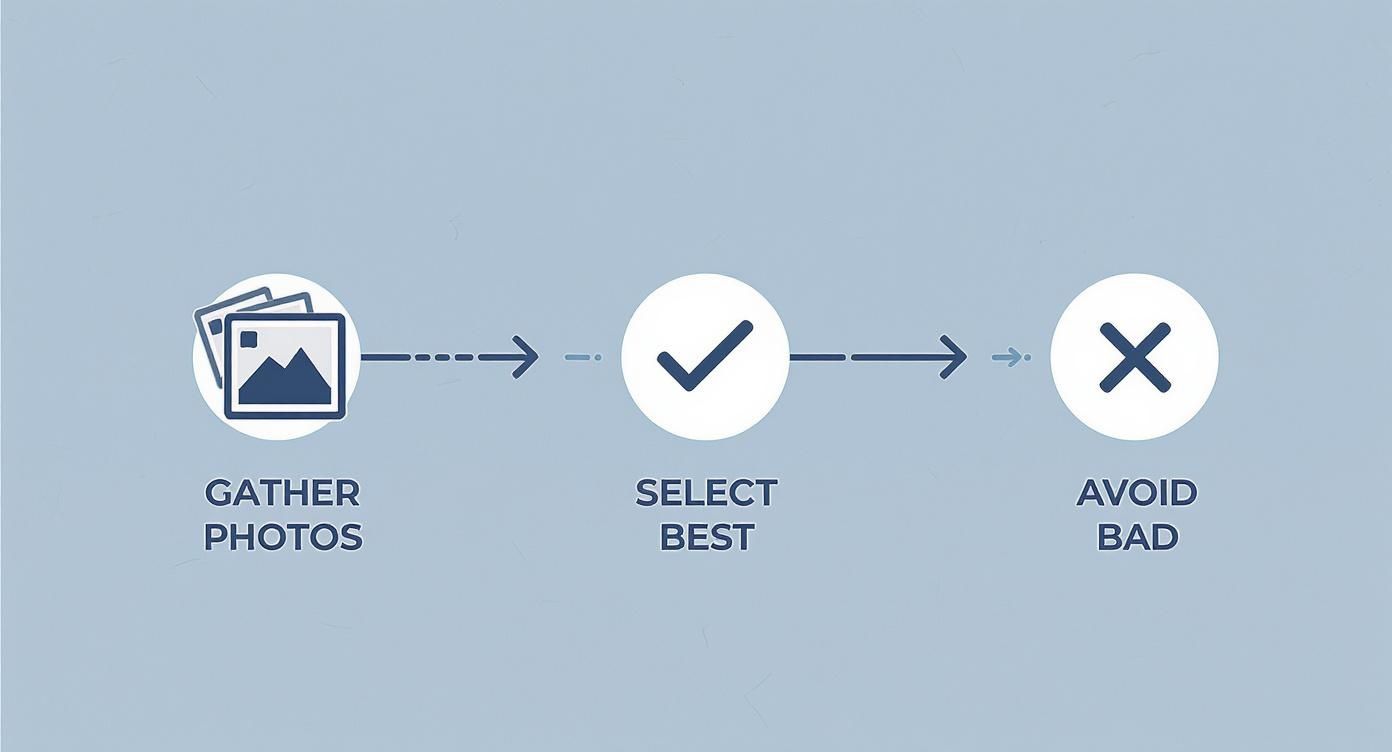
Choosing the Right Photos for Your AI Generator
The final quality of your AI-generated LinkedIn photo hinges entirely on the images you feed the machine. I can't stress this enough. Think of it like this: you can't expect a Michelin-star meal from subpar ingredients. The same "garbage in, garbage out" rule applies here. The AI is learning your face from scratch, and it needs good material to work with.
To get the AI properly trained on your features, you have to give it a solid, well-rounded set of examples. This isn't about finding just one perfect picture; it's about providing a variety of photos that show your face from different angles and in different lighting. A mix of straight-on shots, three-quarter views, and even a slight profile gives the model a much more three-dimensional understanding of your facial structure.
What Makes a Good Source Photo
When you're digging through your camera roll, prioritize clarity and variety above all else. The AI needs clean, unobstructed views of your face to create a headshot that genuinely looks like you. Forget about that blurry, low-resolution picture from five years ago—it just doesn't have the detail the algorithm needs.
Here’s a quick checklist I use to filter my own photos:
- High Resolution: Stick to crisp, non-blurry photos where your face is clearly the main event.
- Varied Head Angles: Mix it up. Include shots looking straight at the camera, slightly left, and slightly right.
- Different Expressions: Don't just use smiling photos. A combination of smiles and more neutral, relaxed expressions will give you a much more natural-looking final result.
- Good Lighting: Soft, even lighting is your best friend. Ditch any photos with harsh shadows, direct sunlight blowing out your features, or dimly lit settings.
- Solo Shots Only: This is non-negotiable. Every single photo must feature only you. If there's another person in the frame, the AI gets confused.
Key takeaway: Your magic number is 8-15 high-quality, varied photos. This is the sweet spot—enough data for the AI to learn your face accurately, but not so much that it gets bogged down with redundant information. For more in-depth tutorials on creating AI visuals, you can explore the various guides on our site.
Photos You Absolutely Must Avoid
Knowing what not to upload is just as critical as knowing what to include. Certain types of pictures will absolutely torpedo your results, confusing the AI and leading to distorted or straight-up weird outputs. Submitting the wrong images is the single fastest way to get a headshot that looks nothing like you.
Be sure to steer clear of these common pitfalls:
- Sunglasses or Hats: Anything that covers up your eyes, forehead, or hairline is a no-go. The AI needs to see your full facial structure.
- Group Photos: I'll say it again—never use pictures with other people. The AI might try to blend features, and trust me, you don't want that.
- Extreme Angles: Photos taken from way up high or down low will distort your proportions and throw the model off.
- Heavy Filters: That dramatic Instagram filter might look cool, but it completely alters your appearance in a way that will only confuse the AI.
By taking a few extra minutes to curate a strong set of source images, you're setting yourself up for a much more successful and realistic AI headshot. It's the most important step in the entire process.
How to Write Prompts That Actually Create Professional Headshots
Once your source photos are ready, you get to play creative director. Honestly, writing a good prompt is the single most important thing you'll do to shape how your ai linkedin photo turns out. This is where you translate that vision in your head into specific, concrete instructions the AI can actually work with.
If you just type "professional headshot," you're going to get something bland and generic. I've seen it a hundred times. The secret is to get really specific and layer in the details. Think of it like ordering a custom-tailored suit—you wouldn't just say "make me a suit." You’d specify the fabric, the cut, the color, and how you want it to fit. It's the exact same idea here.
Getting this right ensures the AI has a clear, targeted goal, which is absolutely essential for creating a high-quality, believable image. Before you even start writing, though, remember that a solid foundation of good source photos is non-negotiable.
As this shows, curating your source images has to happen first. Garbage in, garbage out—it’s as true for AI as anything else.
The Anatomy of a Killer Prompt
A truly effective prompt isn't just one long sentence; it's built from several key ingredients. Each piece you add is another layer of instruction, guiding the AI closer to the exact look you're after. I find it helps to break it down so you don’t miss anything important.
Here's a simple formula I use as a starting point:
[Style/Vibe] + [Your Attire] + [Lighting] + [The Background] + [Technical Details]
Let's unpack what each of these actually means in practice.
- The Style and Vibe: This sets the whole mood. Are you aiming for a serious corporate leader or a friendly creative type? Use descriptions like "clean corporate headshot," "approachable creative professional," or "confident tech founder." These words anchor the entire image.
- Your Attire: Be explicit. Don't just say "suit." Instead, try "professional navy blue blazer and crisp white button-down shirt." The more detail, the better the AI can render it.
- The Lighting: Lighting completely changes the tone of a photo. "Soft Rembrandt lighting" gives you that classic, professional look with gentle shadows. Something like "bright, natural window light" feels more modern and open.
- The Background: Never leave the background to chance, or you'll get some weird, random stuff. Specify exactly what you want, like an "out-of-focus modern office" for a corporate feel or a "solid light gray backdrop" for that clean, studio look.
- The Technical Details: These are the little commands that push for quality. I always add terms like "photorealistic," "4K," "high detail," and "shot on a DSLR with a 50mm lens" to tell the AI to aim for a top-tier, realistic image, not a digital painting.
Real-World Prompt Examples That Work
Let's put this formula into action. You'll immediately see how the examples below are light-years ahead of a lazy "LinkedIn headshot" command.
For a Corporate Professional
Clean corporate headshot of a man in his 30s, wearing a sharp navy blue blazer and white shirt. Soft Rembrandt lighting creating gentle shadows. Background is an out-of-focus modern office with warm tones. Photorealistic, 4K, high detail.
For a Creative Professional
Approachable headshot of a female creative director, smiling warmly. Wearing a black turtleneck sweater. Bright, natural light from a window. The background is a minimalist studio with a solid, light gray backdrop. Shot on a DSLR with a 50mm lens, shallow depth of field.
For a Tech Founder
Confident headshot of a tech entrepreneur. Wearing a casual open-collar dark gray shirt. Dynamic, three-point studio lighting. Background is a sleek, slightly blurred workspace with a computer monitor visible. Ultra-realistic, sharp focus on the eyes.
My Pro Tip: Don't be afraid to experiment. Run a prompt, get your first batch of images, and then just tweak one thing—maybe the lighting or the shirt color—and run it again. This iterative process is how you'll zero in on the perfect combination for your personal brand. If you want more creative prompting ideas, I recommend exploring the articles over on the CreateInfluencers blog.
Polishing Your AI Photo for a Flawless Finish
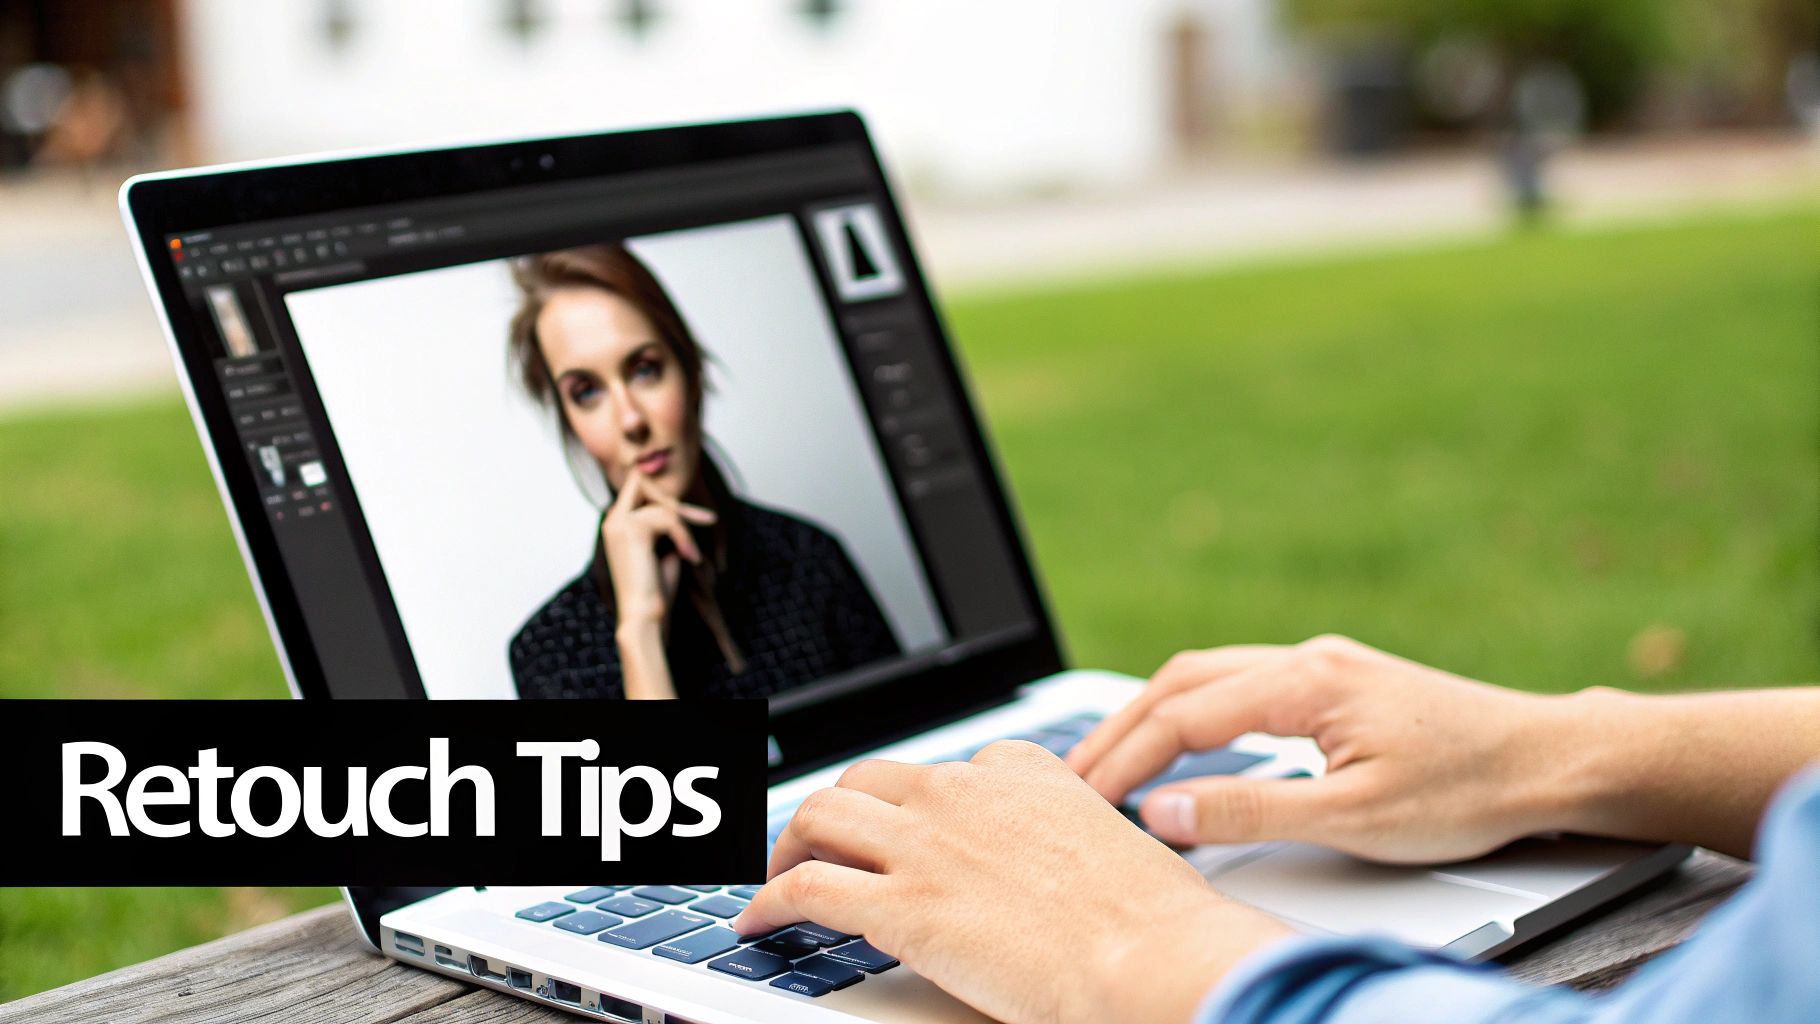
Even the best AI generators can leave behind little quirks and imperfections. This is where you step in. The final touch-ups are what separate a good AI image from a great one, turning the AI's output into a believable, polished headshot that truly represents you.
Think of it as quality control. I've seen countless images that are 95% perfect, but a slightly unnatural-looking eye or a weird artifact in the background can throw the whole thing off. Catching these small issues is the secret to making an ai linkedin photo look genuinely professional.
Targeting Common AI Imperfections
You don't need to be a Photoshop pro to handle the most common AI flaws. In fact, most of them are surprisingly easy to fix. A few minutes in a user-friendly editor like Canva can make a world of difference.
Here are the three areas I always check first:
- Eyes and Teeth: AI can sometimes make eyes look a bit glassy or asymmetrical. Teeth can also look a little too perfect or unnaturally white. The key is to use a simple touch-up tool to soften these features, not completely alter them.
- Background Artifacts: Scan the background for any strange shapes, warped lines, or out-of-place blurry spots. A simple spot-healing brush or a gentle blur can clean these up in seconds, ensuring the focus stays on you.
- Stray Elements: Every now and then, a distorted hand or an odd bit of clothing pops up at the edge of the frame. The easiest fix? A simple crop. Re-framing the shot often solves the problem while improving the composition.
My Two Cents: Your goal here isn't to fundamentally change the photo. It's about removing the tiny, distracting AI fingerprints. The best edits are the ones nobody ever notices.
Upscaling Your Image for Maximum Clarity
After you’ve made your corrections, there’s one last step I never skip: upscaling. Most AI tools generate images at a decent resolution, but "decent" isn't always good enough for a crisp look on high-resolution screens. A blurry photo just screams low-effort.
Upscaling uses AI to intelligently add pixels to your image, sharpening the details and preventing it from looking soft or pixelated on any device. It’s a small step that has a huge impact on perceived quality.
Here’s my quick workflow for this:
- Find an Upscaling Tool: Plenty of free and paid AI upscalers are out there. Our own HyperReal engine at CreateInfluencers is designed specifically for this kind of work.
- Upload Your Edited Photo: Pop the touched-up image you just perfected into the upscaler.
- Choose the Upscale Factor: You don't need to go crazy here. A 2x or 4x upscale is almost always perfect for a LinkedIn profile picture.
- Download and Save: The tool will spit out a new, high-resolution version of your photo that’s sharp, clear, and ready to go.
This simple action ensures your photo looks just as professional on a big desktop monitor as it does on a smartphone. It’s the final polish that guarantees your new headshot makes the best possible first impression.
The Authenticity Tightrope: Keeping Your AI Photo Real
So you've got the perfect ai linkedin photo. The lighting is incredible, your expression is spot-on, and the background is clean and professional. But now for the million-dollar question: does it look like you, or does it feel just a little too perfect? This is the central dilemma when using AI for your professional image.
The goal isn't to create a flawless, plastic-looking avatar. It's to get a headshot that looks like you on your absolute best day. It's a fine line to walk. Push it too far, and you risk hitting the "uncanny valley"—that creepy feeling people get when something looks almost human, but not quite right. That can break the very trust you're trying to build.
Ultimately, your LinkedIn picture is a digital handshake. It needs to feel genuine.
The Real Cost of an "Unreal" Photo
Using an AI-generated photo involves a tricky trade-off. While the tech offers amazing polish, platforms like LinkedIn are getting smarter about differentiating between what's real and what's generated. This has a tangible impact on who sees your profile.
Recent data shows that profiles with obviously AI-generated content can take a serious hit in organic reach. Richard van der Blom’s Algorithm Insights Report found that these profiles might see their visibility drop by as much as 30%. On the flip side, LinkedIn's own numbers show that profiles with authentic photos get 38% more views and 27% more inbound messages. The message is pretty clear: the algorithm—and its users—still prefer the real deal.
This doesn't mean you have to ditch AI altogether. It just means you have to be smart about it. The trick is to find an image that's enhanced, not entirely fabricated.
Crucial Takeaway: The best AI LinkedIn photo is one that nobody suspects is AI. It should look like a fantastic, professionally shot photograph, not a digital rendering. The second someone wonders, "Is that AI?" you've lost.
How to Spot a Fake (And Avoid Choosing One)
You need to train your eye to see the subtle giveaways of an overly cooked AI image. When sifting through your generated options, be on the lookout for these common red flags that scream "fake" to a potential connection.
- Perfect Symmetry: Nobody's face is perfectly symmetrical. If the image looks like it's been mirrored down the middle, that's a classic AI tell.
- Plastic Skin: Real skin has pores, texture, and tiny imperfections. If the skin in the photo is perfectly smooth, it looks unnatural.
- Weird Eyes and Teeth: Watch out for eyes that look glassy or teeth that are too uniform and blindingly white. They often look artificial.
- Funky Backgrounds: Always check the background for bizarre details—warped lines, blurry patches that don't make sense, or strange, unidentifiable objects.
This is a common hurdle for professionals trying to navigate new tools responsibly. If you're looking for more tips, it's worth reading up on how to stay authentic when using AI tools. By picking an AI-generated photo that still holds onto your unique, human quirks, you make sure your first impression feels trustworthy and real.
Your Top Questions About AI LinkedIn Photos, Answered
Jumping into AI for your professional headshot can feel a bit like exploring new territory. It's totally normal to have questions—and maybe even a little skepticism. Let's walk through some of the biggest concerns I hear from professionals just like you.
Who Actually Owns the Photo?
This is a big one. When an AI generates an image based on your photos, who gets the rights? The good news is, in almost all cases, you do. Most AI headshot services grant you full commercial rights to the final images. That means you can use them on LinkedIn, your website, or in marketing materials without a problem.
That said, it's always a good idea to spend five minutes scanning the terms of service of whatever tool you choose. It's a small step that ensures you're completely in the clear.
Can People Tell It's Made by AI?
This is probably the most common worry I come across. Will people look at my profile and think, "That's fake"?
Honestly, if you're careful, the answer is a resounding no. The technology has come so far that the best AI generators create photos that are almost impossible to distinguish from a high-end photoshoot.
The trick is to be a discerning critic of your own results. You need to actively avoid the classic AI giveaways we talked about earlier:
- Skin that looks too smooth or plastic-like.
- Perfectly symmetrical facial features (real faces aren't perfect!).
- Eyes that look glassy or lack depth.
Your goal isn't to find a perfect, flawless avatar. It's to find a photo that looks like you on your best day, captured by a talented photographer with great lighting.
Is This an Ethical Thing to Do?
The ethics around AI are a hot topic, and for good reason. When it comes to your LinkedIn photo, it really boils down to one thing: authenticity.
Using an AI-generated headshot is perfectly fine as long as the photo is a genuine representation of you. The line is crossed when you use AI to alter your appearance so drastically that you're no longer recognizable.
I tell my clients to think of it like this: a great AI headshot is the digital equivalent of a photographer using flattering lighting and doing some light-touch editing. You're simply presenting a polished, professional version of yourself—not creating a fake persona. As long as the person who joins the Zoom call looks like the person in the profile picture, you're building trust, not breaking it.
Ready to see what's possible? With CreateInfluencers, you can turn your casual photos into high-resolution, professional headshots in just a few minutes. It's a simple way to create a credible, polished image that opens doors. You can get started for free and see the difference for yourself.