A Guide to AI Generated Realistic Images
Create stunning AI generated realistic images. This guide covers prompt engineering, model selection, and pro tips to get photorealistic results.
AI-generated realistic images are no longer just a cool experiment—they're a powerful tool for creating stunning, photorealistic visuals from a few simple words. With platforms like CreateInfluencers, you can bring incredibly lifelike scenes to life, transforming your ideas into reality.
The New Reality in Digital Art
We've moved past the "AI art is just for fun" phase. Today, realistic AI imagery is a serious asset in marketing, design, and entertainment, completely changing how creative work gets done.
In real-world terms, this means slashing production time and costs. Instead of long, expensive photoshoots, creators can now iterate on visual concepts almost instantly.
Imagine generating hyperrealistic portraits, detailed landscapes, or polished product shots in just a few minutes. That's what you can do with a tool like CreateInfluencers.
- Marketing teams can produce entire ad campaigns without booking a single photoshoot, saving countless hours and budget.
- Designers can mock up concepts with incredibly realistic textures and lighting in seconds, not days.
- Content creators can craft custom influencer avatars that perfectly align with their brand's specific look and feel.
Practical Use Cases
Different creative professionals are finding unique ways to put realistic AI images to work.
For instance, e-commerce brands can now visualize products in all sorts of settings before a single item is even manufactured. This is a game-changer.
- You can create mockups of a new clothing line, getting the fabric textures just right.
- It's possible to generate product shots with dynamic, true-to-life shadows and reflections.
- Teams can quickly develop custom background scenes that match seasonal campaigns, like a beach setting for summer or a cozy fireplace for winter.
Testing these visuals ahead of time helps teams sidestep the huge expense and hassle of reshoots.
A Market in Hyper-Growth
Think about a fashion brand. They can now generate entire runway collections, complete with models and lighting, before they even think about booking a studio or hiring a photographer.
This shift isn't just anecdotal; the numbers are staggering. Between 2022 and 2025, the global generative AI market shot up from $29 billion to an estimated $44.89 billion. That’s a 54.7% jump, with over $23 billion of that growth coming from the US alone. Experts are forecasting the market will hit $66.62 billion by the end of 2025 and an almost unbelievable $1.3 trillion by 2032. You can dive into the full research on generative AI market growth on mend.io.
Getting Your Hands on the Tools
Ready to see what you can create? You can explore the CreateInfluencers platform right now. They offer a free signup, detailed guides, and projects to get you started with generating your own realistic images.
By spending a little time with these tools, you'll quickly develop a workflow that delivers professional-grade results without a massive investment of time or money.
Your First Steps
Don't overthink your first prompt. Start simple. Something like, "portrait of a person under soft light" is a great starting point. From there, you can begin layering in more specific details.
Try describing camera settings in your prompt. Mentioning things like "shallow depth of field" or "telephoto lens" can dramatically influence the focus and mood of your final image.
The more focused and clear your prompts are, the better the AI can deliver consistent, high-quality results.
Moving Toward Mastery
As you create more, make a habit of reviewing what worked and what didn't. Take note of which phrases and details consistently produce the best lighting, textures, and compositions.
Be sure to experiment with features like CreateInfluencers’ HyperReal engine. It’s fantastic for taking a good initial draft and upscaling it into a final image with incredible sharpness and clarity.
My best advice? Keep a personal library of your most successful prompts. It'll become your secret weapon for kicking off new projects quickly and effectively.
Picking the Right AI Model for Photorealistic Images
Your first, and arguably most important, decision in creating truly realistic AI images is choosing the right model. Think of each AI model as a different photographer, each with their own unique style, camera, and lens kit. You wouldn't hire a street photographer for a high-fashion studio shoot, and the same logic applies here.
CreateInfluencers gives you access to a whole roster of these "AI photographers." Some are masters of hyperrealistic portraits, able to render every pore and eyelash with stunning accuracy. Others specialize in sprawling, cinematic landscapes, perfectly capturing the way light filters through a misty forest.
Matching the AI Model to Your Creative Goal
Let's put this into a real-world context. Say you're an art director with two projects on your desk. The first is a gritty, urban-themed campaign for a new line of boots. You'll want an AI model that delivers sharp, high-contrast images with a raw, almost documentary-style feel.
For the second project, a soft-focus ad for a luxury skincare brand, you’d need something completely different. You'd pick a model that excels at gentle lighting, smooth skin tones, and an overall dreamy, ethereal vibe. The model you choose is the bedrock of your final image.
The difference between models isn't just stylistic—it's about quality. The technology is moving at a breakneck pace. What looked a bit waxy and artificial in early 2024 now looks shockingly real, thanks to huge leaps in AI architecture. We’re talking about models that can now render individual strands of hair and simulate how light realistically bounces off different surfaces. You can see a great visual breakdown of this evolution over at Mission Cloud.
This decision tree gives you a good idea of how to get started, whether you prefer to learn the ropes first or just dive in and experiment.
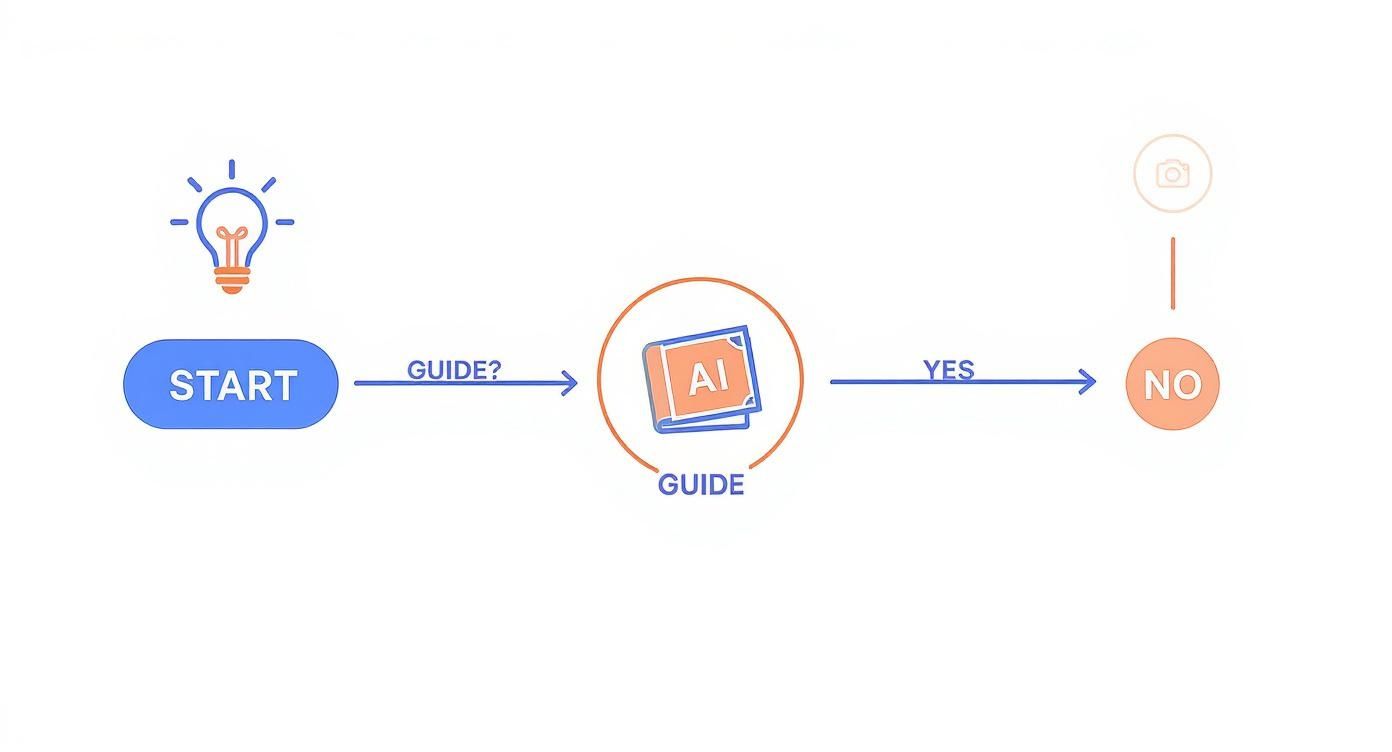
Honestly, there's no right or wrong path, but spending a little time with a guide can save you a lot of headaches and help you get professional-quality results much faster.
How to Find Your Go-To Model
So, how do you find the perfect match? The best way is to just play around. Pick a simple, consistent prompt and run it through a few different models. You’ll see the differences immediately.
Here's a quick cheat sheet based on my own experience:
- For lifelike portraits: You need a model that obsesses over the details in eyes, hair, and skin texture. On CreateInfluencers, the "HyperReal" engine is fantastic for this.
- For epic landscapes: Look for models that can handle vast scenes, natural light, and tricky textures like water, clouds, and foliage.
- For slick product shots: Your best bet is a model that understands clean lines, studio lighting, and how to render accurate reflections on different materials.
My best piece of advice? Don't get locked into one model. If you’re not getting the look you envisioned, switch it up. The freedom to test and pivot without any real cost is a massive advantage of creating with AI.
To help you get started, here's a quick comparison of some popular models available on CreateInfluencers. I've broken down their strengths and weaknesses to make your decision a little easier.
AI Model Selection Guide
| Model Name | Best For | Key Characteristics | When to Avoid |
|---|---|---|---|
| HyperReal v3 | Ultra-realistic portraits, fashion photography | Exceptional skin/hair detail, accurate eye reflections, professional studio lighting. | Stylized art, fantasy scenes, or non-human subjects. |
| Cinematic v2 | Landscapes, action shots, environmental scenes | Wide dynamic range, dramatic lighting, film-like grain, excellent atmospheric effects. | Close-up portraits where fine detail is critical, product shots. |
| ProductPro | E-commerce images, isolated product renders | Clean backgrounds, precise object geometry, accurate reflections, commercial lighting. | Organic scenes, portraits, or anything requiring a "human" feel. |
| CreativeXL | Artistic concepts, illustrative styles | Versatile, handles abstract prompts well, vibrant color palettes, less strict on realism. | Photorealistic output, corporate headshots, technical images. |
Ultimately, the model you select has a direct and powerful impact on the mood, realism, and overall success of your image. Getting to know their individual quirks and specialties is the first step toward mastering AI image generation.
If you want to dive deeper into model selection or learn other pro techniques, you can find more in-depth tutorials in our complete collection of CreateInfluencers guides.
How to Craft Prompts That Create Reality
The leap from a vague idea to a jaw-droppingly realistic image hinges entirely on the quality of your prompt. If you just ask for "a photo of a car," you're leaving way too much up to the AI's imagination. You’ll probably get something bland and forgettable.
The real secret is to start thinking like a photographer. You need to give the AI the same detailed instructions you’d hand to a creative team for a high-stakes photoshoot. You’re the director here, and your prompt is the script. By breaking down your vision into specific, descriptive pieces, you’ll be able to guide the model to the exact result you’re looking for and create truly ai generated realistic images.
Building Prompts from the Ground Up
I've found the most effective prompts are built layer by layer, starting with the absolute essentials and adding details from there. Each new element closes the gap between the concept in your head and the final picture on your screen.
Always start with your subject. Don't be shy with the details. Instead of "a woman," push for something like "a young woman with prominent freckles and long auburn hair." Once you’ve nailed that down, start building out the world around her.
- Subject: Who or what is the absolute focus? Describe their appearance, age, and any defining features. The more specific, the better.
- Style & Mood: What’s the vibe? Use words like "cinematic," "gritty," "serene," or "vibrant" to set the emotional tone of the image.
- Lighting: This is a big one. Is the scene lit by the "golden hour" sun? "Soft studio lighting"? Or maybe some "dramatic shadows" or a "neon glow"?
- Composition: How is the shot framed? Think in camera terms: "close-up portrait," "wide-angle shot," or "captured from a low angle."
This approach turns a simple idea into a detailed creative brief that the AI can actually work with.
A great prompt doesn't just describe what you see; it describes how you see it. When you include details about camera settings, you're telling the AI not just what to create, but how to capture it.
From Vague to Vivid: A Practical Example
Let’s put this into practice. The difference between a lazy prompt and a well-crafted one is night and day.
- Before:
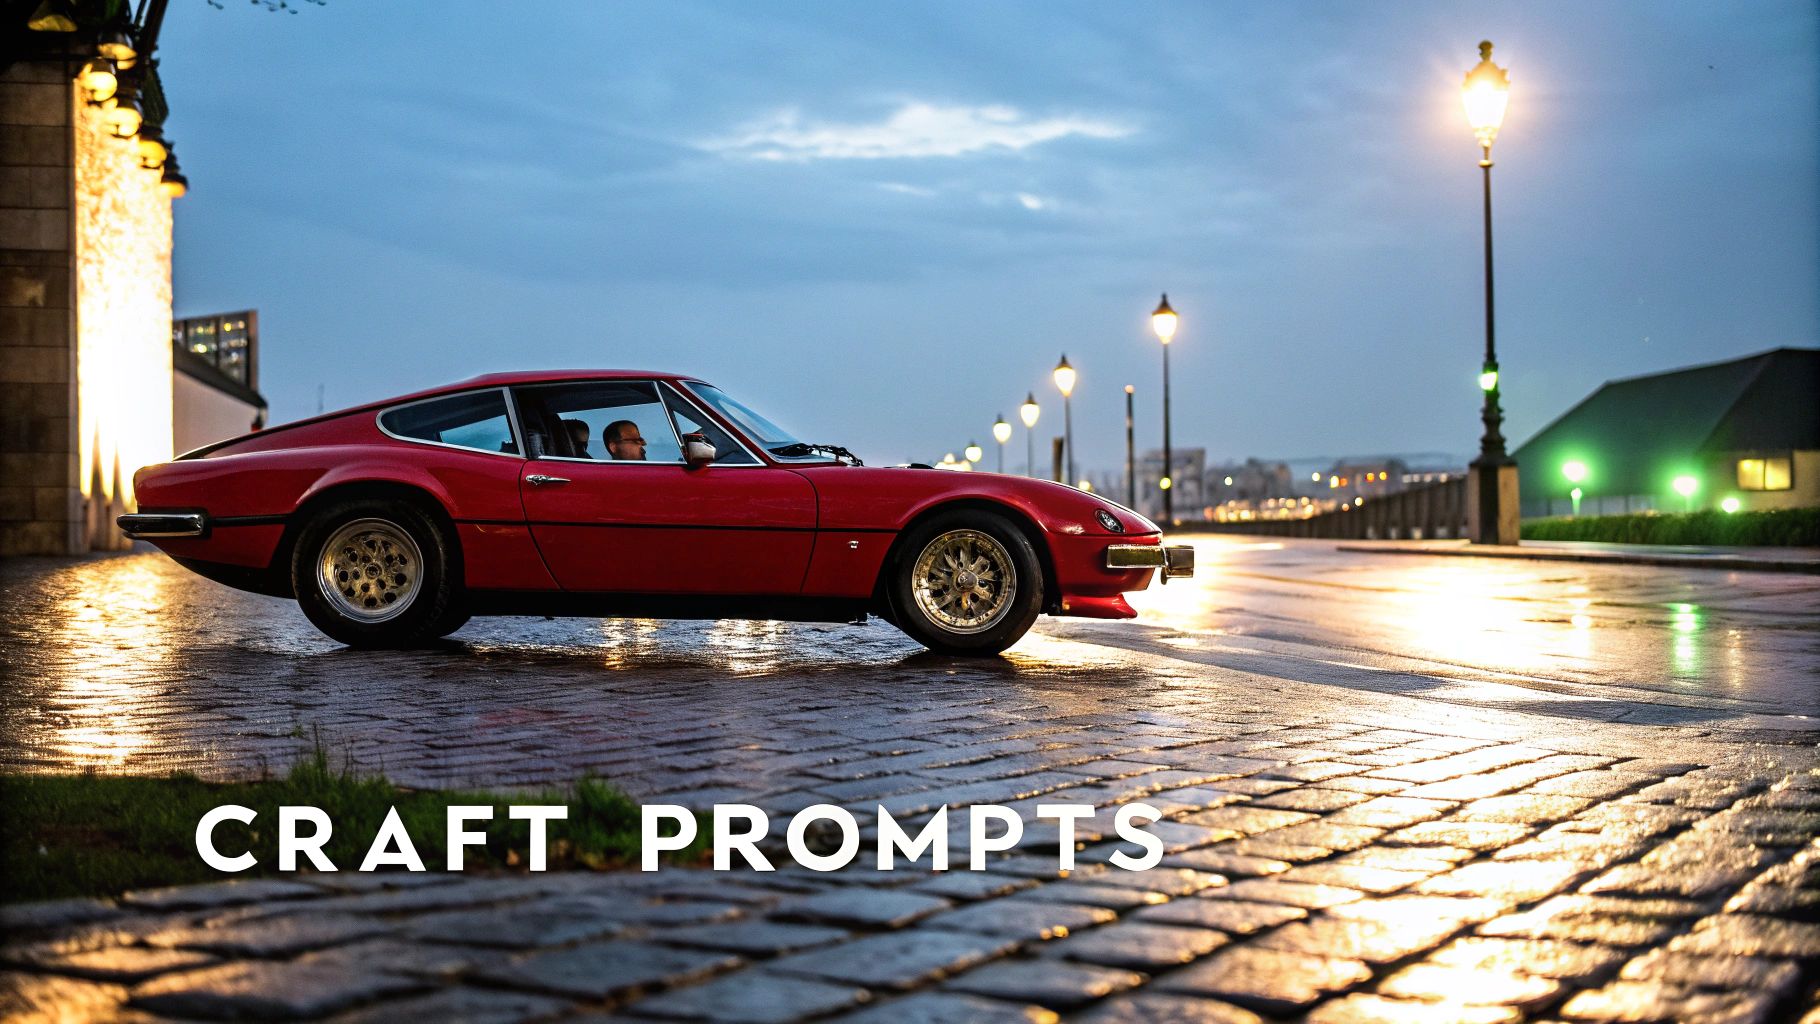
a photo of a car - After:
Hyperrealistic shot of a vintage red sports car on a wet cobblestone street at dusk, reflections from neon signs on its polished hood, shot with a Sony A7III, 50mm f/1.8 lens
See the difference? The "After" prompt is a command, not a vague wish. It nails down the car's type and color, the environment, the time of day, and even the specific camera and lens. That’s how you get professional-grade images that look real.
This push for high-quality visuals isn't just a niche trend; it's happening everywhere. In fact, AI image tools are being adopted fastest in developing economies like Vietnam, India, and China. It’s no surprise, then, that many enterprise executives expect AI-generated visuals will slash creative production costs by at least 25% by 2026. You can dive deeper into these global AI art trends on Canva.com.
The Power of Negative Prompts
Telling the AI what you want is only half the battle. You also have to tell it what you don’t want. That's where negative prompts become your secret weapon. Think of them as a filter that helps you remove common AI quirks and polish the final image.
AI models are notorious for producing weird textures, distorted hands, or a look that’s just a little too perfect and plastic. Negative prompts help you sidestep these common pitfalls.
Common Negative Prompts for Realism:
cartoon, painting, illustration, 3d renderblurry, grainy, low-resolution, out of focusdeformed, distorted, extra limbs, missing fingersunrealistic, oversaturated, plastic look, fake
Using negative prompts is just part of a professional workflow. It's your quality control, ensuring the final image is clean, coherent, and doesn't have any of those telltale signs that scream "this was made by AI."
Getting Your AI Images Just Right Through Refinement
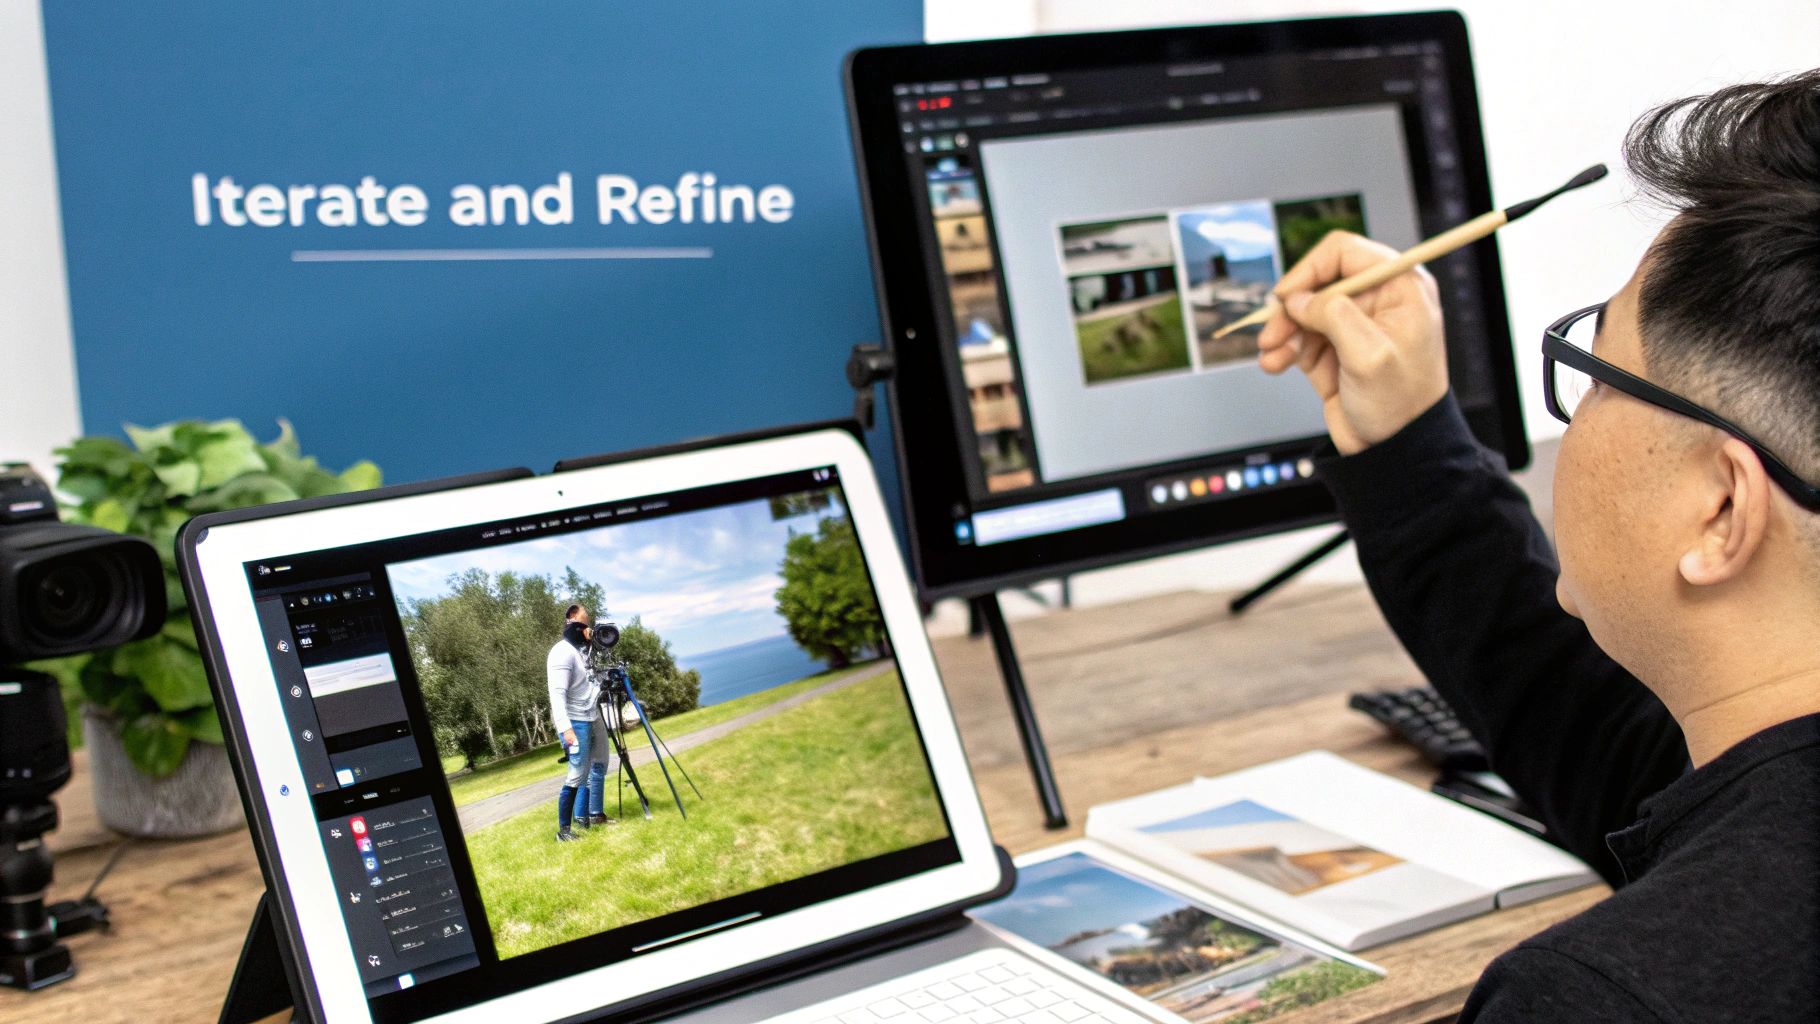
It’s rare for the very first AI-generated image to be perfect. Often, that initial render is a fantastic starting point, but it's the small, deliberate tweaks that transform a good image into a jaw-dropping one.
Maybe the lighting isn't quite hitting right, or a tiny detail on a face feels off. This is where the real artistry begins—a process of refining and iterating until the image matches the vision in your head.
The Power of Iterative Prompting
The secret to making precise changes without starting over from scratch is to reuse the same seed number. Think of the seed as the image's unique DNA. By locking it in, you can adjust a detail—like the intensity of the light in someone's eyes—without the AI completely changing the person's pose or the background.
This gives you an incredible amount of control. You can methodically fine-tune your creation by:
- Using a fixed seed to keep the core composition consistent while you adjust smaller details.
- Modifying style weights or temperature settings to gently shift the overall mood or artistic feel.
- Adding negative prompts to tell the AI what not to include, which is perfect for cleaning up strange artifacts or unnatural textures.
Your prompt is the conversation you're having with the AI. Keeping it consistent is how you steer that conversation toward a refined, polished final image.
This iterative loop is so much more efficient. You're building on your progress, not constantly rolling the dice for a better result.
Inpainting and Outpainting: Your Digital Scalpel and Canvas
Sometimes, you need to perform more targeted surgery on an image. That’s where inpainting and outpainting come in. They are two of the most powerful tools in your arsenal for fixing specific areas or expanding your scene.
Imagine you have a great product shot, but there's a distracting reflection on the packaging. With inpainting, you can simply mask that area and instruct the AI to fill it in seamlessly, erasing the imperfection as if it were never there.
Outpainting, on the other hand, lets you expand the world of your image. If you have a beautiful landscape shot but wish it had a more dramatic, sweeping sky, you can use outpainting to extend the canvas and have the AI intelligently build out the scene.
| Tool | Common Scenario | The Outcome |
|---|---|---|
| Inpainting | Removing an unwanted logo from a t-shirt. | A clean, focused subject without distractions. |
| Outpainting | Adding more of a scenic background to a portrait. | A more immersive, context-rich environment. |
These features allow you to guide the AI with incredible precision, correcting flaws and expanding creative possibilities without compromising the original image's integrity.
Working With the AI, Not Against It
The most effective workflow feels less like giving commands and more like a creative partnership. You provide the high-level vision, and the AI handles the complex details of rendering light, texture, and form.
A typical refinement cycle looks something like this:
- Start by generating your initial image and seeing what you get.
- Identify specific areas that need work—maybe a hand looks unnatural or the background is too busy.
- Use masking to select that area and submit an inpainting job with a simple prompt like, "fix the hand" or "make the background a simple grey wall."
- Once that's done, evaluate the result. You can keep refining the same area or move on to the next, always using the same seed to maintain consistency.
To push the realism even further, some creators use AI humanization tools as a final step to smooth out any remaining digital artifacts and give the image a more organic feel.
This back-and-forth process is incredibly fast and keeps you in the driver's seat, ensuring every change aligns with your creative goal.
Final Touches and Where to Learn More
Once the AI has done its heavy lifting, the last 5% of polish often happens in your favorite photo editor. Small adjustments to color grading, contrast, or saturation can add a final layer of depth and professionalism that makes the image pop.
We dive much deeper into these advanced techniques on our blog. For practical guides and real-world examples from other creators, check out the CreateInfluencers blog. It’s packed with advice to help you get the most out of the platform.
Here's what to remember:
- Seeds are your best friend for maintaining consistency.
- Inpainting lets you fix targeted problems.
- Outpainting is for expanding your scene.
- An iterative workflow saves time and gives you control.
Following these practices will help you move beyond basic generations and start producing truly handcrafted, professional-grade visuals.
Tips for Consistent Quality
As you work, small habits can make a huge difference. Getting organized is key to achieving reliable and repeatable results over time.
- Keep a record. Label your saved images with the seed number and key prompt phrases. You'll thank yourself later.
- Create templates. If you often create images with a similar theme, save your base prompts to use as a starting point.
- Compare versions. Look at your iterations side-by-side to really see how your small tweaks are affecting the image.
Mastering AI photorealism is all about embracing this cycle of refinement. Every adjustment you make is a step closer to perfecting your vision.
Now, try applying these techniques to your own project. You'll be amazed at how much your image quality improves. Happy creating
Upscaling and Finalizing Your Images
You’ve nailed the prompt and generated a fantastic image, but don't pop the champagne just yet. The image you see on screen is probably not big enough for what you need. To be truly useful for a high-quality print or a crisp digital ad, your AI generated realistic images need to be upscaled.
Simply resizing a photo in a standard editor just stretches the existing pixels, which is a surefire way to get a blurry, low-quality result. AI upscalers are a different beast entirely. They intelligently analyze your image and then add brand new, context-aware pixels. The result? A larger image that’s actually sharper and more detailed than the original.
The CreateInfluencers platform gives you a few different upscaling algorithms to choose from. This isn’t a one-size-fits-all situation—picking the right tool for the job is crucial for getting a flawless final image.
Choosing the Right Upscaler for the Job
Think of this step like picking the right grit of sandpaper for a woodworking project. You wouldn't use a rough grit for a fine finish. Similarly, the upscaler you'd use for a soft, delicate portrait is completely different from one you’d choose for a sharp architectural photo.
Here’s how I approach it:
- For Portraits and Organic Textures: I always go for an upscaler that excels at smooth gradients and preserving natural details. This helps avoid that dreaded "plastic" look on skin and keeps hair looking soft and believable.
- For Architecture and Products: In this case, you want an algorithm that enhances sharp edges and fine lines. It’s perfect for making the details in a product shot or a cityscape really pop with clarity.
A great pro tip is to test the different upscalers on a small section of your image first. This lets you see which one gives you the look you want without creating weird artifacts or unwanted textures.
The goal of a great upscale is to make the image look like it was originally captured in high resolution, not just enlarged. The AI should add believable detail, not just pixels.
Final Polish in an External Editor
Once your image is upscaled, that last 5% of polish often happens in an external tool like Adobe Photoshop or Lightroom. This is where your own artistry comes into play, adding those final human touches that can make an AI image truly indistinguishable from a professional photograph.
A few minor tweaks here can make a world of difference. I usually focus on these three things:
- Color Grading: This is your chance to set the mood. You can warm up the tones for a cozy, inviting feel or cool them down for a sleek, modern vibe.
- Contrast and Levels: A little bump in contrast can add a ton of depth, making your subject stand out and giving the image more of a dramatic punch.
- Sharpening: I always apply a final, subtle sharpening filter. It’s amazing for bringing out the tiniest details, especially in key focus areas like the eyes in a portrait.
This workflow—combining smart AI upscaling with your own manual finishing—is exactly how the pros create stunning, high-resolution visuals. And for those of you looking to turn this skill into a side hustle, checking out something like the CreateInfluencers affiliate program is a logical next step. It's a great way to earn by sharing the very tools you've mastered.
Got Questions About AI Image Generation? We've Got Answers.
Even with the best tools at your fingertips, you're bound to hit a few snags when creating AI-generated realistic images. It happens to everyone. The good news is that most issues are simple to fix once you know what's causing them. Let's walk through some of the most common questions and how to troubleshoot them.
"Why Do My AI Images Look Fake or Just… Weird?"
This is, without a doubt, the number one frustration I hear about. When an image comes out looking flat, cartoonish, or has bizarre flaws (like the dreaded six-fingered hand), it almost always boils down to two culprits: a vague prompt or the wrong AI model for the job.
The fastest way to get more realistic results is to get way more specific.
- Talk about the light: Don't just say "daytime." Try "golden hour sunlight," "soft, diffused window light," or "dramatic sidelighting from a single source." Light is everything in photography, and it's everything here, too.
- Think like a photographer: Add camera and lens details. Terms like "shot on 35mm film," "macro shot with a shallow depth of field," or "long exposure with light trails" tell the AI exactly the vibe you're after.
- Focus on textures: What does everything feel like? Including descriptions like "worn leather jacket," "polished chrome bumper," or "rough, weathered concrete wall" adds a layer of tangible realism.
And don't sleep on negative prompts. They are your best friend for cleaning up common AI mistakes. Simply adding cartoon, painting, blurry, extra fingers, disfigured to your negative prompt can work wonders.
Finally, remember that different models on CreateInfluencers are specialized. If one isn't giving you the look you want, the quickest fix is often just to switch to another model and try again.
"Can I Actually Use These Images for My Business?"
Yes, you absolutely can—but you have to be careful about where you create them. It all comes down to the terms of service for the platform you're using. Many free or experimental AI tools have licenses that strictly forbid commercial use, which could put you in a sticky legal situation if you use their images in a business context.
For any professional work, it's non-negotiable: you must use a service that explicitly grants you commercial usage rights. Always, always read the fine print before an image goes into a marketing campaign or a client project.
This is exactly why platforms like CreateInfluencers are built for professional creators and businesses. The paid plans come with clear commercial licenses, giving you the peace of mind to use the images you generate for profit. As a general rule of thumb, it's also smart to avoid prompting for trademarked logos or specific public figures to stay clear of copyright or publicity rights issues.
"How Can I Get the Same Character in Different Pictures?"
Ah, character consistency. This is one of the more advanced skills in AI image generation, but it's totally achievable once you learn the tricks of the trade. The most powerful tool you have for this is the seed number. Think of a seed as a unique starting point for an image; if you use the same seed with a similar prompt, you'll get visually related results.
First, create a highly detailed "character sheet" right in your prompt. Describe their specific facial features, hair color and style, eye color, and clothing. The key is to reuse this exact description for every new image, only changing the action or the scene around them.
Here’s how that looks in practice:
- Generate your first image with your super-detailed character prompt. Find a result you love and save its seed number.
- For the next image, plug in that same seed number.
- Keep the character description identical, but change the setting. For instance, you might change the prompt from "sitting in a cozy cafe" to "standing on a busy city street at night."
Another powerful technique is using a finished image as a reference or an "image prompt" for your next generation. Many platforms offer this feature, and it dramatically improves the AI's ability to maintain a consistent look.
Ready to stop troubleshooting and start creating? With CreateInfluencers, you can generate your own custom AI influencers, create stunning photorealistic images, and produce high-quality videos in minutes. Start creating for free today.